14
206-4340
EZ-Manager Wizard (Cont.)
(Continued from previous page)
Use the Left/Right arrow keys on the Installer Remote to navigate between options on this screen.
Each time you select/highlight one of the following options, the screen text and elds will change
in accordance with your selection.
• To continue with Pro:Centric conguration, select Next (default) and press OK on the Installer
Remote. See “Congure Pro:Centric Settings” on pages 15 to 18 for additional information.
• To set the Zoning feature on the TV, select Zone & Room Number. See “Zone and Room
Number Assignments” below for further information.
• To access the TV Manager / USB download options, select USB Conguration. See “USB
Conguration” on pages 18 to 20 for further information.
Note: If you choose to exit the EZ-Manager Wizard from this point on, you will have the option to
save any settings made by selecting Save and Exit in the exit conrmation window. Or, you can
exit the wizard without saving any settings by simply selecting OK in the conrmation window.
Zone and Room Number Assignments
You may complete one or more of the elds in the Zone, Label, and Room Number screen or leave
them at their default settings (Zone) or blank (Label and Room Number), as desired. However, if you
intend to use the Zoning feature on this TV, you MUST specify the appropriate value in the Zone
eld as described below. See also Reference section, “Using the TV Zoning Feature,” for further
information.
Note: The TV Zoning feature is only applicable for TVs that will be congured using a “.tlx” le
(local or remote conguration).
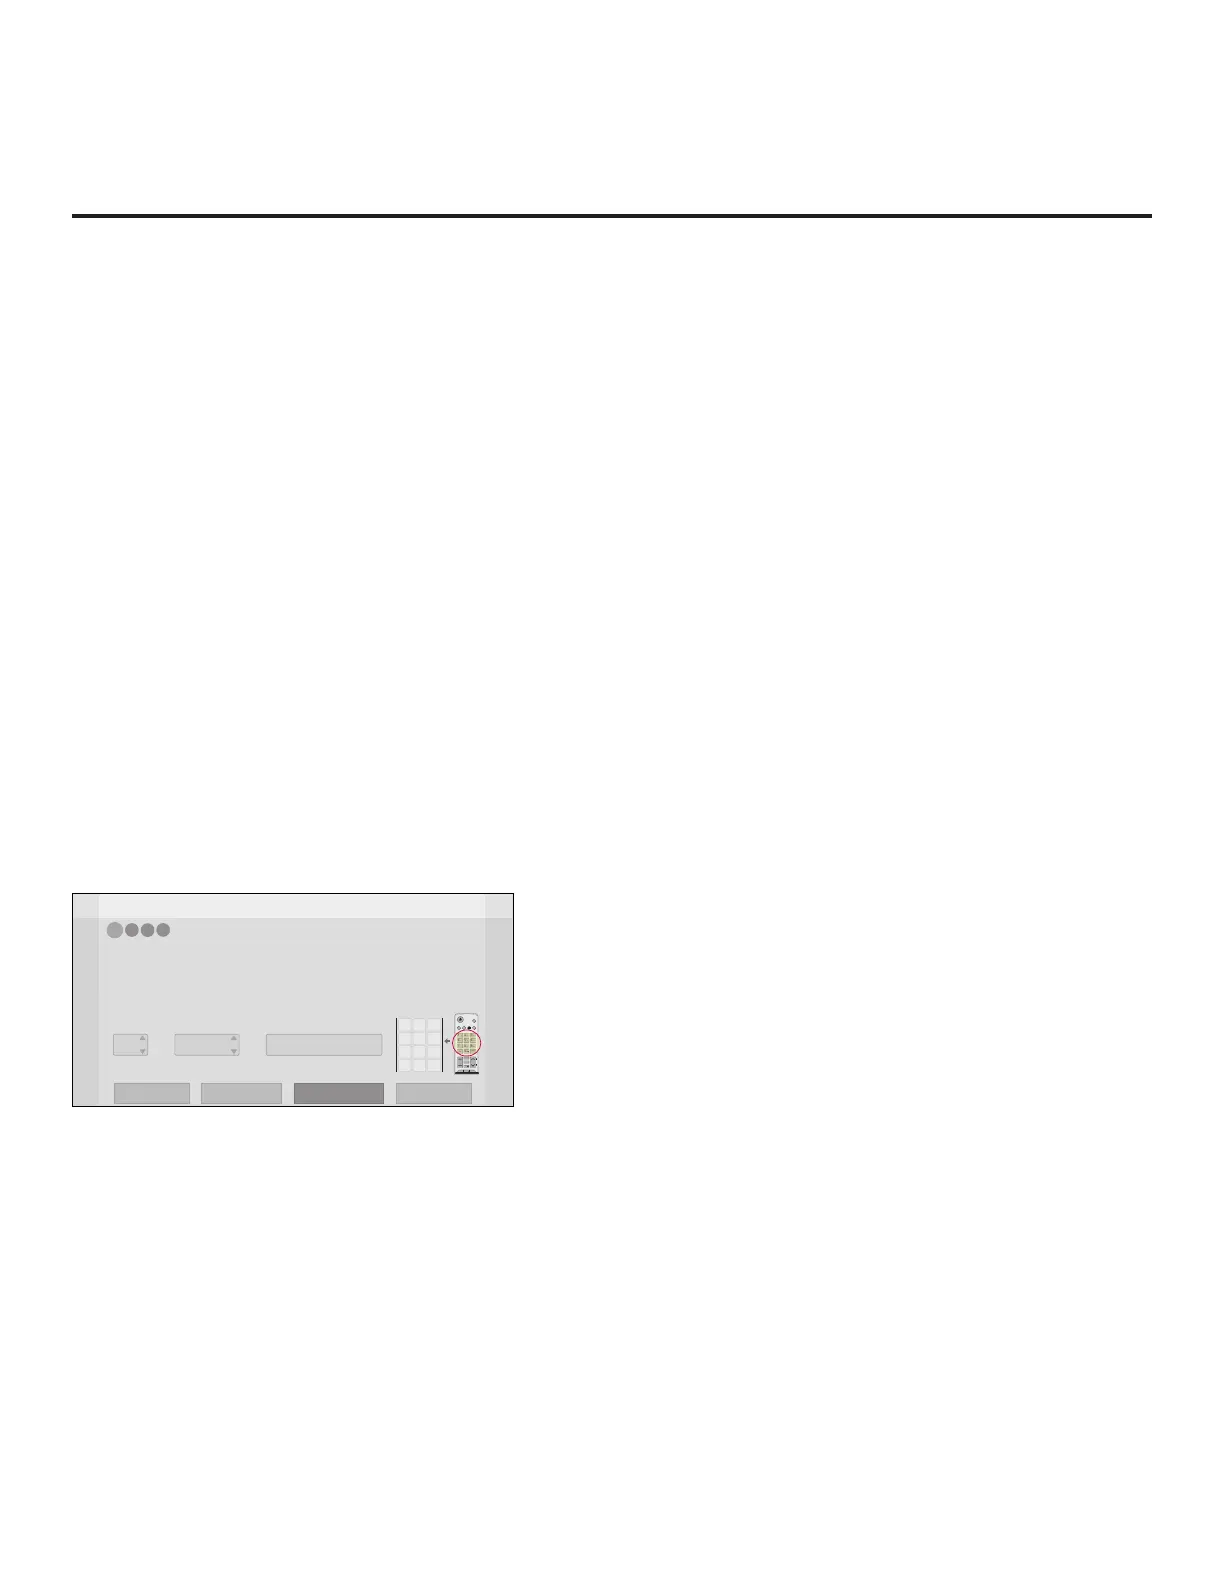
Z
EZ-Manager Wizard
4
3
2
1
Zone, Label, and Room Number
CHVOL
1 2 3
4 5 6
7 8
0
9
P
A
G
E
Q.MENU
CHAR/NUM
FLASHBK
GUIDE
PORTAL
TV
DVD
INPUT
MARK
CC
TIMER
MUTE
INFO
PIP PIPCH+ PIPCH
-
SWAP
PIP
INPUT
SAP
MENU
SETTINGS
abc def
ghi jkl mno
pqrs tuv wxyz
.,;
@
DELETE
1
2
3
4
5 6
7
8
0
9
DEL
NUM
Zone
Room Number
Label
0
-----
•
If creating Zones for Installer Menu settings and/or Channel Mapping, select the appropriate Zone # (0-8)
based on the Zone in which this TV is installed. (See Commercial Mode Setup Guide for more information.)
• Select a Label and/or use the alphanumeric keypad on the remote to input the Room Number.
• When done, select ‘Next’ to continue.
Exit
Next
USB Configuration
Zone & Room Number
1. Complete the appropriate eld(s) as described below. Use the Left/Right arrow keys on the
Installer Remote to navigate between each of the elds.
• Zone: Enables you to set a TV Zone # so that the TV can be congured with Installer Menu
and/or Setup Menu settings intended only for the assigned Zone. The Installer Menu and/or
Setup Menu settings may be provided in a Clone/Conguration (.tlx) le. If the TV is being
congured for FTG Mode via CPU, the TV Zone # setting also allows the TV to omit channels
that have been restricted in the FTG Channel Map.
(Continued on next page)
 Loading...