25
USING THE PROJECTOR
Using the Keystone
Function
To prevent the screen image from
becoming trapezoidal, Keystone
adjusts the top and bottom width of the
image if the projector is not set up at a
right angle to the screen.
Because the Keystone function may
cause inferior screen image quality, use
this function only when it is not possible
to set up the projector at an optimal
angle.
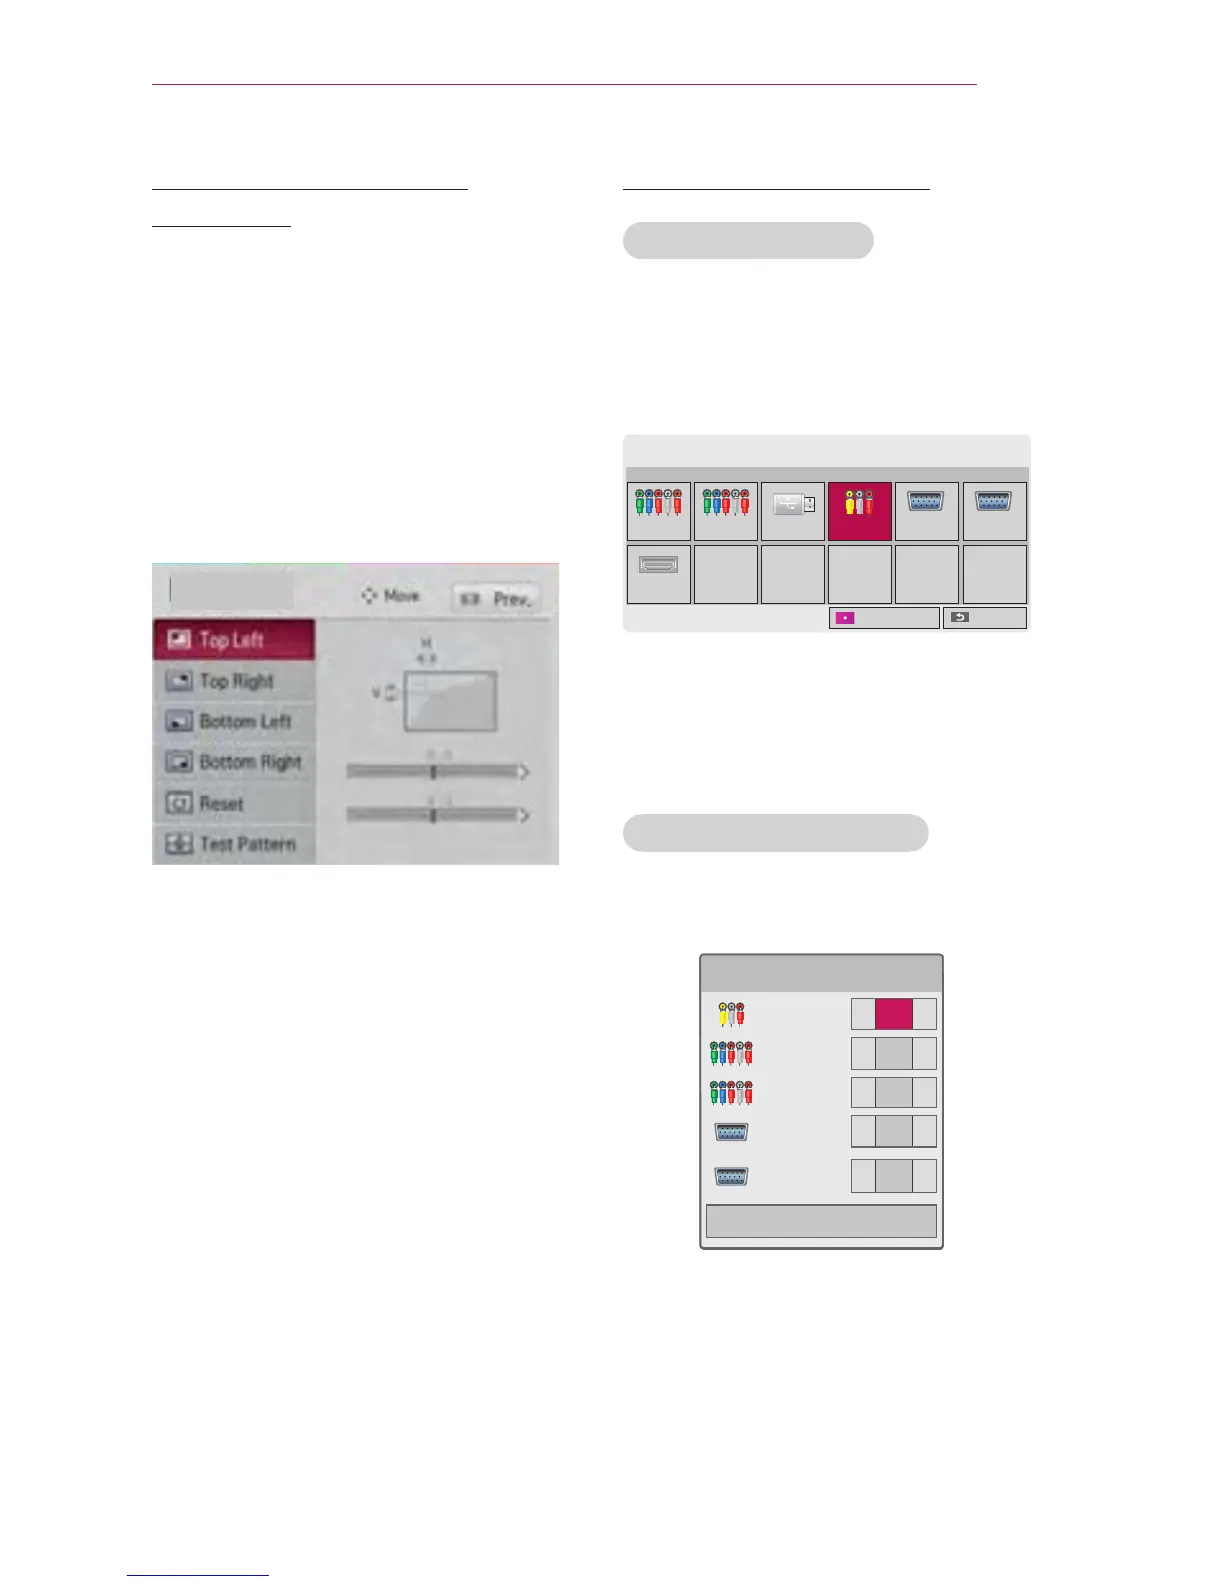
Keystone
1 Adjust the screen using the
Key's button.
y
Keystone value ranges are as fol-
lows
.
Top left (H: 0 to 100, V: 0 to 100)
Top right (H: -100 to 0, V: 0 to 100)
Bottom left (H: 0 to 100, V: -100 to 0)
Bottom right (H: -100 to 0, V: -100 to 0)
2 Press the OK button after
adjustment.
Using the Input List
Using the Input List
1 Press the INPUT button to display the
input selection screen.
- The connected input mode
appears rst. Note that the compo-
nent is always enabled.
INPUT List
Component1 Component2 USB AV RGB-PC1 RGB PC2
HDMI
ꔂ Move ꔉ OK
Exit
Input Label
2 Use the INPUT button to select an
input signal to switch the projector to
the desired input mode. Use the
, , or, button to switch
between all input modes.
Selecting an Input Label
You can select an input label to display
which devices are connected to which
input ports.
Input Label
AV
Component1
Component2
RGB-PC1
RGB-PC2
Close
1 Press the INPUT button to display the
input selection screen.
2 Press the RED button.
3 Use the or button to scroll to
one of the input sources.
4 Use the or button to select a
device name.
 Loading...