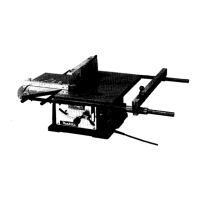
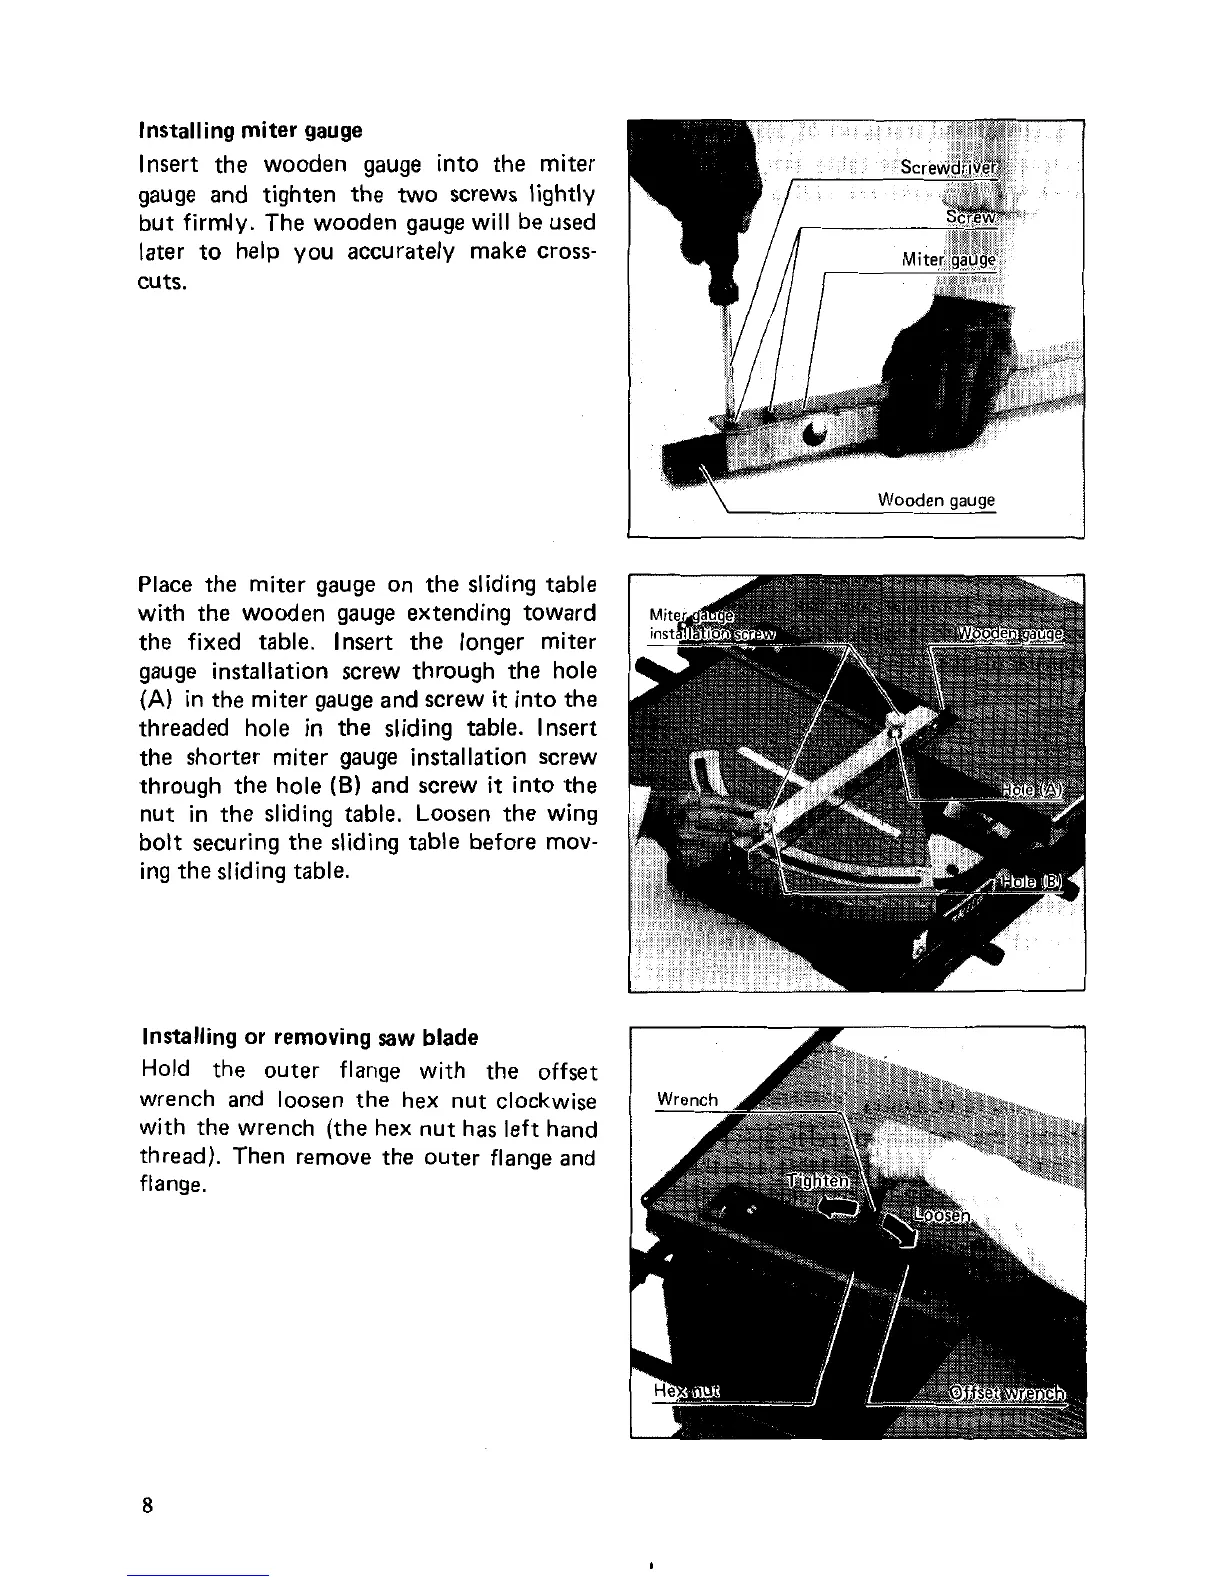
Installing miter gauge
Insert the wooden gauge into the miter
gauge and tighten
the
two
screws lightly
but firmly. The wooden gauge will be used
later to help you accurately make cross-
cuts.
Place the miter gauge on the sliding table
with the wooden gauge extending toward
the fixed table. Insert the longer miter
gauge installation screw through the hole
(A)
in the miter gauge and screw
it
into the
threaded hole in the sliding table. Insert
the shorter miter gauge installation screw
through the hole
(B)
and screw
it
into the
nut in the sliding table. Loosen the wing
bolt securing the sliding table before
mov-
ing the sliding table.
Installing or removing
saw
blade
Hold the outer flange with the offset
wrench and loosen the hex nut clockwise
with the wrench (the hex nut has left hand
thread). Then remove the outer flange and
flange.
8
 Loading...