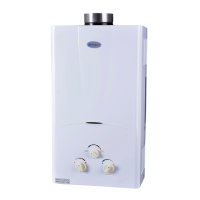
3534
Ensure compliance with applicable electrical codes during
installation including the U.S. National Electric Code (NFPA 70) or
the Canadian Electrical Code – Part 1 (CGAS C22.1) depending on
location.
1. Ensure that a properly grounded 120 V/ 60 Hz three prong outlet is available. DO
NOT PLUG IN THE UNIT UNTIL INSTALLATION IS COMPLETE, TESTED, AND
READY FOR INITIAL START UP.
Optional WIRED REMOTE CONTROL
Choose a location for the optional wired controller to be installed per the following
specifications and in compliance with all local code requirements.
1. The controller should be located out of the reach of small children.
2. Avoid installing in an area where set point can be adjusted by non-authorized
personnel.
3. Avoid locations where the controller can become wet or be splashed.
4. The cable for the temperature controller shall be 18/2 Thermostat Wire. The
maximum recommended cable length is 328' (100 m).
5. Pull wire from remote location to water heater location.
6. ENSURE POWER TO WATER HEATER IS DISCONNECTED! Remove cover
from unit.
7. Terminate wires at the Remote Control Terminals as shown threading the wire
through wire guides.
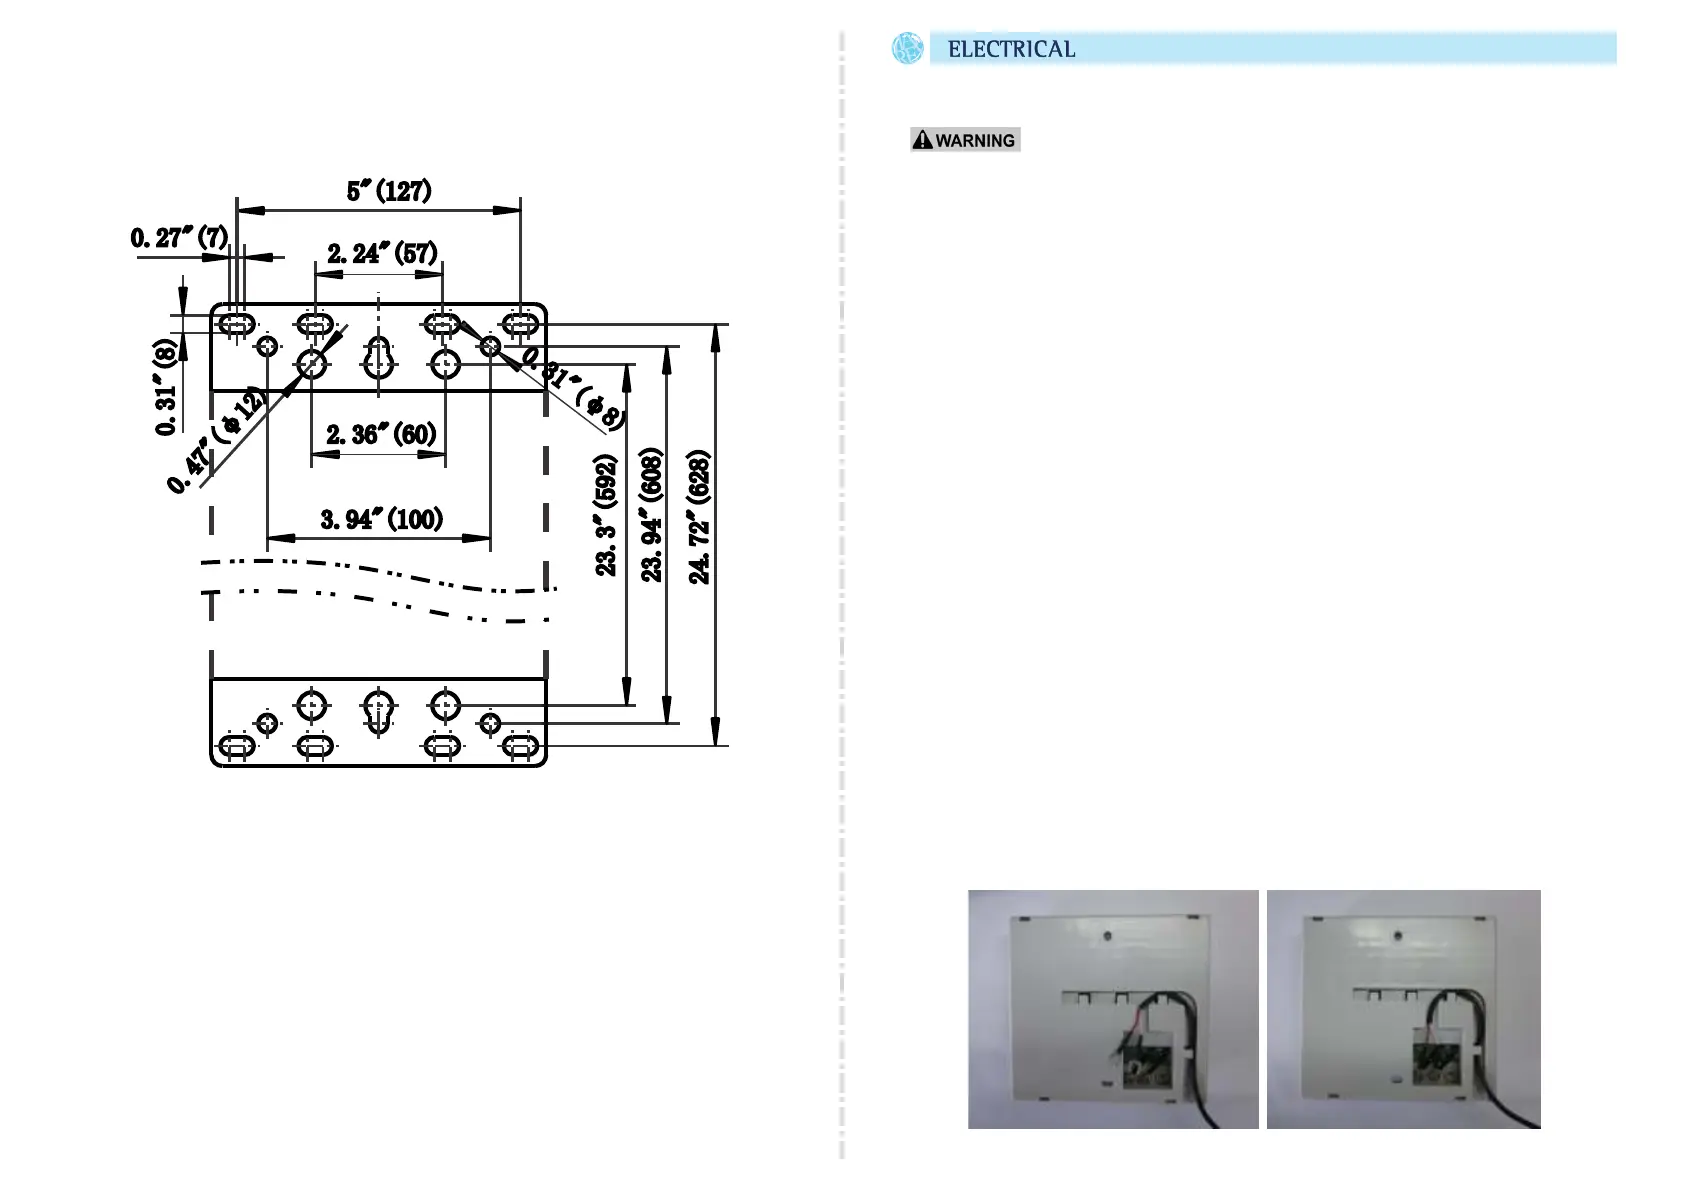
3. Measure and mark the center locations for three (3) holes according to the
installation measurements below.
4. (For installation on Concrete or Block) Drill three each 5/16” (or 8 mm) holes at the
marked locations. Insert the supplied ¼” (6 mm) Steel expansion bolts into the
holes.
5. (For wall installation) Locate a stud and use supplied mounting screws or hollow
Wall Anchors. To use the hollow wall anchors, drill 5/16” holes at marked locations
and insert the anchors into the hole. A combination of mounting screws and anchors
is acceptable.
6. Remove the cover of water heater from carton.
7. Position the water heater into place. Fasten to the wall.
 Loading...