Ballast System
Preparations
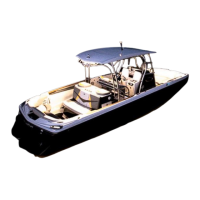
Step 1: Attach a hose to the starboard side ballast hose that comes out of
the deck at the rear seat.
Step 2: Placetheotherendintoagallonofnon-toxic,RV-typeanti-
freeze.
Step 3:Turnthepumpontoemptyandpumpanti-freezeintothe
systemuntilanti-freezecomesoutofthethru-hullonthe
side.
Step 4:Turnthepumpontollandpumpanti-freezebackintothe
jug.
Re-Activating the Boat
After Storage
Step 1:Removetheducttapefromtheexhaustaps.
Step 2:Fullychargethebatteryandinstallitintheboat,followingall
safetyprecautionsassociatedwithchangingbatteries.
IMPORTANT NOTE: Often, batteries that have been stored over winter
will require re-charging. If the battery is charged by utilizing a battery
charger, use only a three-stage or more battery charger. It is important
that the operator never turn a battery charger immediately to “start,”
as the sudden jolt of voltage may cause damage to the electrical system,
particularly control modules for ballast system. Regardless of whether
it is during the re-activation process or at any time, care should also be
used in charging the battery.
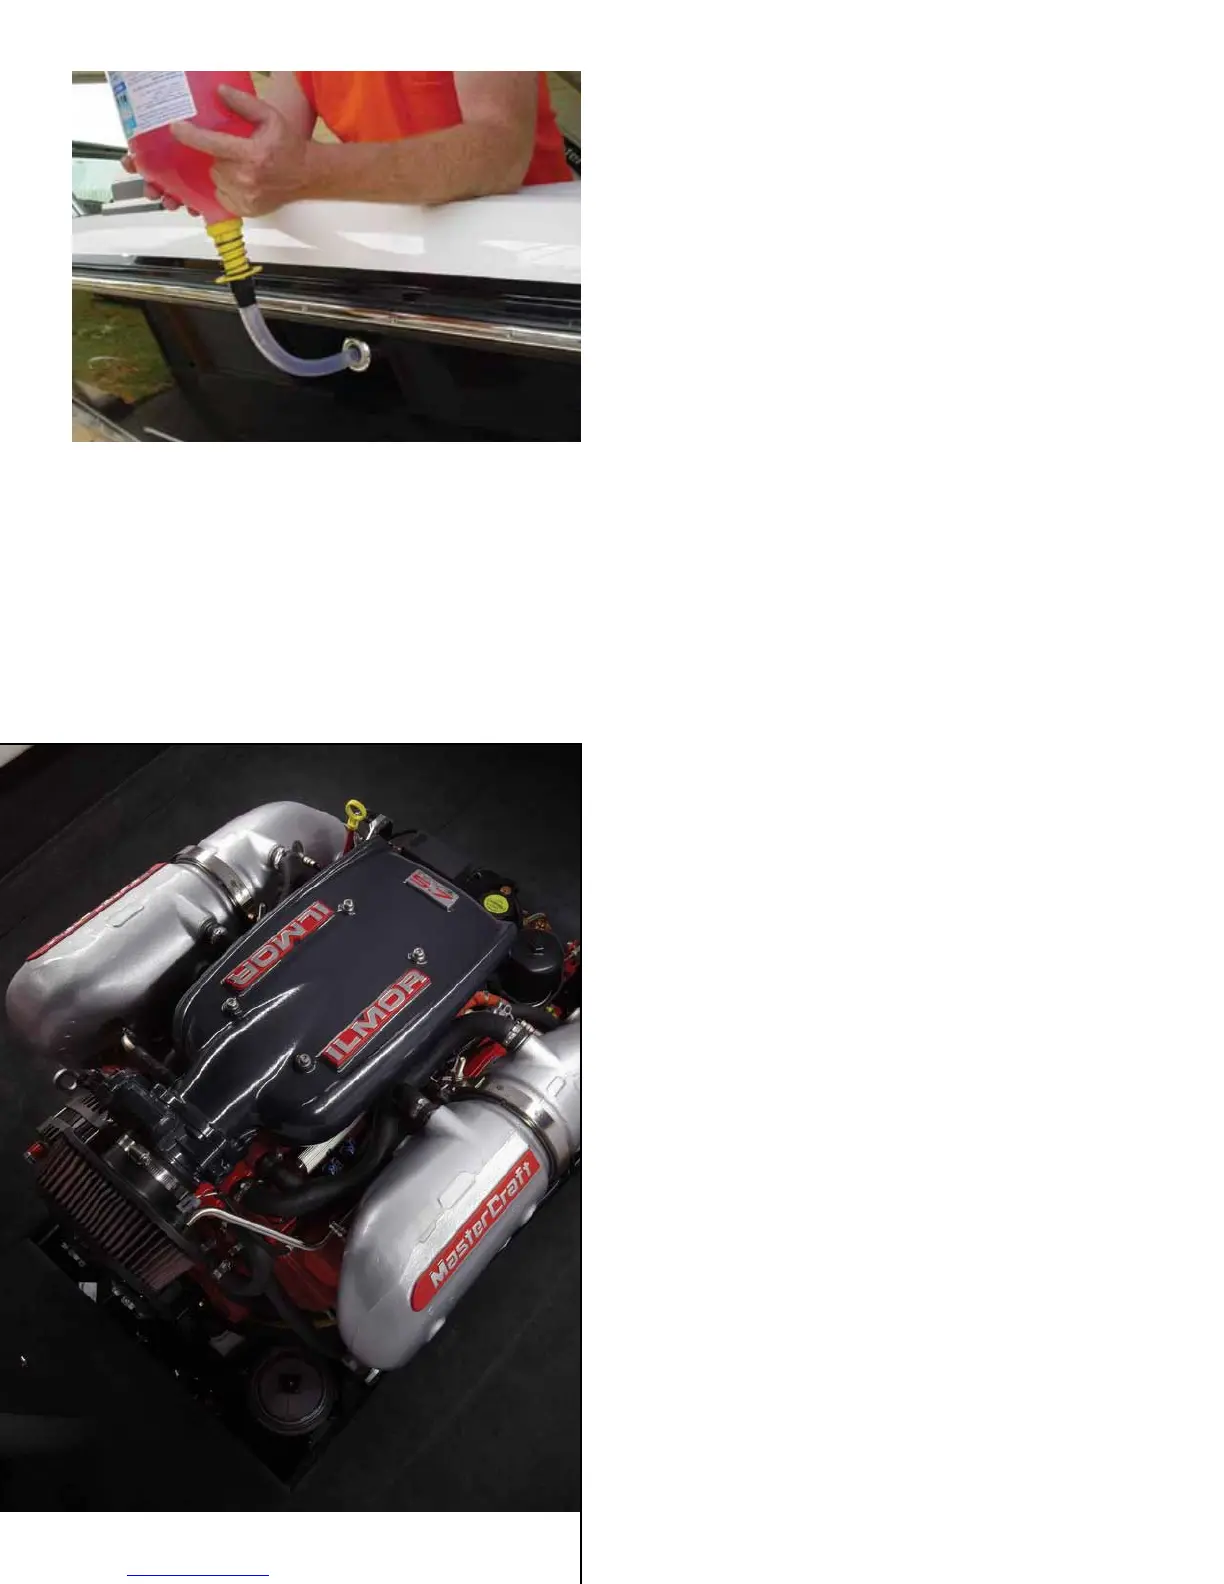
Step 3: Followallinstructionsforreactivatingthedrivetrainasdetailed
intheengineowner’smanual.NOTE:Duetothecomplexna-
ture of the reactivation process, MasterCraft recommends hav-
ing an authorized MasterCraft dealer perform this function.
Step 4: Ensure that all drain plugs throughout the boat and drive train
have been reinstalled to avoid unwanted intrusion of water.
Step 5: Ifapplicable,reconnectthehosestoyourheaterorshower.
Step 6: Check the engine compartment and bilge for signs of nesting
animals.Cleanasnecessary.
Step 7: Checktheentireenginesystemforuid,oilandcoolantlevels.
Addasnecessary.
Step 8: Check the entire engine for cracks or leaks caused by freeze
damage.
Step 9: Checkallhoseclampsfortightness.Installthebilgedrainplug
andthereardrainpluginboatsequippedwithcertaintypesof
ballastsystems.
Step 10: Greasethepropellershafttaperandinstallthepropeller.
Step 11: Fullyre-chargeandre-installthebatteryorbatteries.
Step 12: PerformthedailymaintenanceasnotedpreviouslyinthisOwn-
er’sManual.Ifitwasnotdonepriortostorage,performthean-
nual maintenance as well.
Step 13: Iftheboatisequippedwiththeoptionalfreshwatercoolingsys-
temandwasdrainedforstorage,llthesystemwithfreshcool-
ant solution per instructions.
Step 14: Checkthealignmentbetweentheoutputangeonthetrans-
missionand thepropeller shaftange.Ifthemaximum feeler
gauge that can clip between the ange faces at any point is
0.003”,theunitisproperlyaligned.Ifathickergaugecanbein-
sertedatanypoint,theenginemustbere-adjusteduntilproper
alignmentisobtained.Thisshouldbeperformedbyanautho-
rized MasterCraft dealer’s service department.
Step 15: Forallmodels,withtheboatinthewater,cyclethekeyONand
thenOFFtwo(2)orthree(3)times,allowingten(10)seconds
betweenkeycycles,beforecrankingtheengine.Thisallowsthe
fuelpumptoprimethefuellines;thenstarttheengine.Inthe
event the engine does not respond, allow a two-minute cool-
downperiodforeverythirty(30)secondsofcranking.Whenthe
engineres,keep aclosewatchover the gauge readings and
check for leakage and abnormal noises. Keep speeds low for the
rstfteen(15)minutestoallowtheenginetoreachnormalop-
erating temperatures.
Step 16: InProStar197sequippedwithballastbags,whenreconnectingthe
hook-ups, be sure to squeeze the prongs to help slide the connec-
tor back on. Dish soap or some similar product will help slide the
connects back together. Note that the red ring goes over the raised
ring to ensure a working connection.
MasterCraft 2012 Owners Manual • Care and Maintenance • Page 4-22
 Loading...