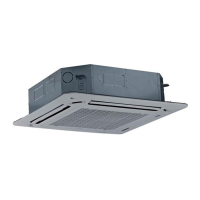
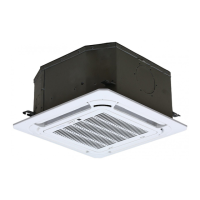
NOTE: If the height of the indoor unit needs to
be adjusted, you can do so through the
openings at the panel’s four corners. Make sure
that the internal wiring and drainpipe are not
affected by this adjustment.
Failure to tighten screws can cause water
leakage.
If the unit is not hung correctly and a gap exists,
the unit’s height must be adjusted to ensure
proper function. The unit’s height can be
adjusted by loosening the upper nut,
and adjusting the lower nut.
3. Hang the intake grille on the panel, and then
connect the lead connectors of the louver motor
and the control box on the panel to the
corresponding connectors of the
main body.
4. Re-installed into the style grid.
5.Reinstall the installation cover.
Fix the installation cover plate rope to the pillar
of the installation cover plate, and gently press
the installation cover plate into the panel.
NOTE: After installation, the butt plugs of
display, swing, water pump and other wire
bodies must be placed in the electric control
box.
14.3 Outdoor unit installation
14.3.1 Service space for outdoor unit
More than 30cm
(11.81in)
More than 60cm
(23.62in)
More than 200cm(78.74in)
Air inlet
Air inlet
More than 30cm(11.81in)
Air outlet
(Wall or obstacle)
Maintain channel

 Loading...


