V4+R VRF 50/60Hz
90 201608
Midea V4+R Series Service Manual
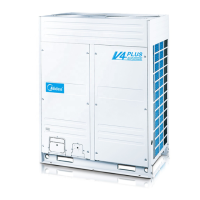
and ensure the wiring is correct; if the compressor with the xL8/xL9 error still does not run normally, it needs to
be replaced. Refer to Part 5, 4.11.10 “Compressor replacement procedure”.
Figure 5-4.13: Connecting compressor to an error-free unit
If there is no error-free unit nearby:
Replace the main PCB of the unit with the xL8/xL9 error and ensure the wiring is correct. If the compressor with
the xL8/xL9 error runs normally, a fault with the main PCB was causing the xL8/xL9 error; if the compressor with
the xL8/xL9 error still does not run normally, it needs to be replaced. Refer to Part 5, 4.11.10 “Compressor
replacement procedure”.
Compressor replacement procedure 4.19.10
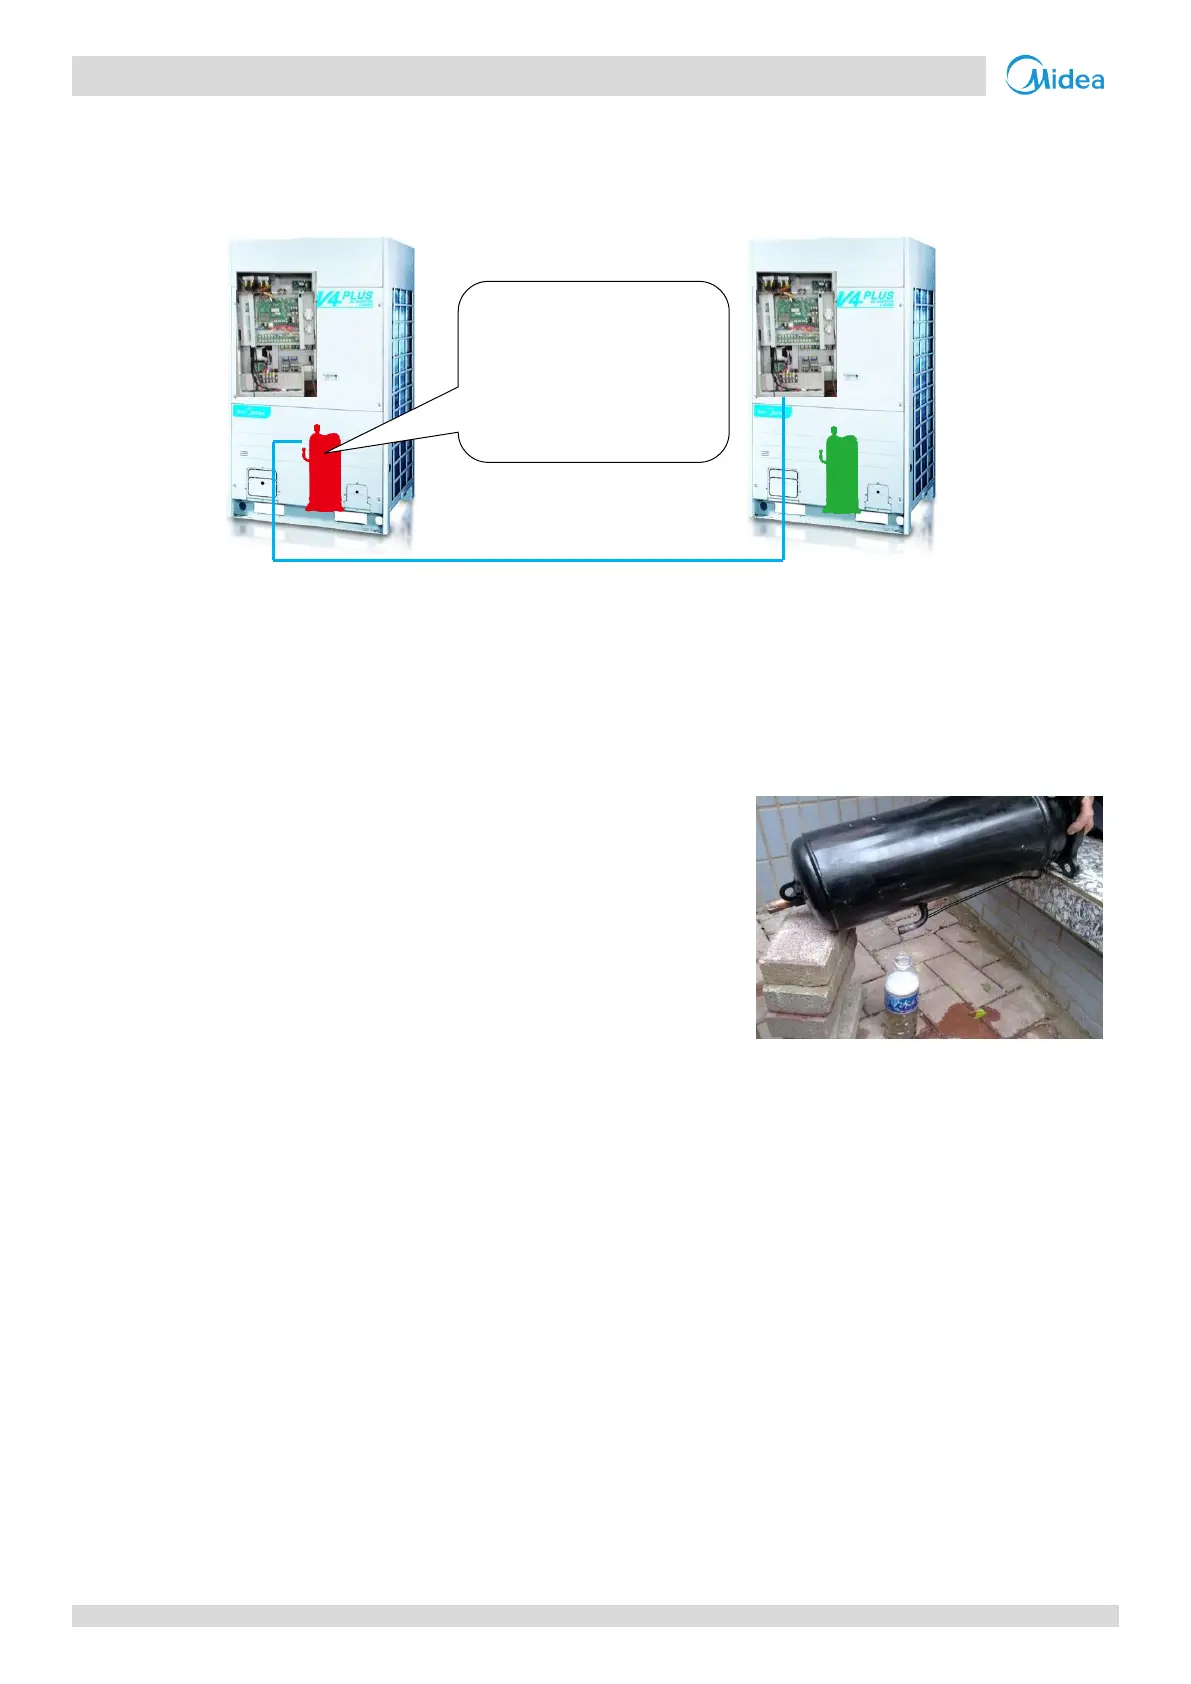
Step 1: Remove faulty compressor and remove oil
Remove the faulty compressor from the outdoor unit.
Before removing the oil, shake the compressor so as to not allow
impurities to remain settled at the bottom.
Drain the oil out of the compressor and retain it for inspection.
Normally the oil can be drained out from the compressor discharge
pipe. Refer to Figure 5-4.14.
Step 2: Inspect oil from faulty compressor
The oil should be clear and transparent. Slightly yellow oil is not an indication of any problems. However, if the oil is
dark, black or contains impurities, the system has problems and the oil needs to be changed. Refer to Figure 5-4.16
for further details regarding inspecting compressor oil. (If the compressor oil has been spoiled, the compressor will
not be being lubricated effectively. The scroll plate, crankshaft and bearings will wear. Abrasion will lead to a larger
load and higher current. More electric energy will get dissipated as heat and the temperature of the motor will
become increasingly high. Finally, compressor damage or burnout will result. Refer to Figure 5-4.17.)
Step 3: Check oil in other compressors in the system
If the oil drained from the faulty compressor is clean, go to Step 6.
If the oil drained from the faulty compressor is only lightly spoiled, go to Step 4.
If the oil drained from the faulty compressor is heavily spoiled, check the oil in the other compressors in the system.
Drain the oil from any compressors where the oil has been spoiled. Go to Step 4.
Step 4: Replace oil separator(s) and accumulator(s)
If the oil from a compressor is spoiled (lightly or heavily), drain the oil from the oil separator and accumulator in that
unit and then replace them.
Figure 5-4.14: Draining oil from a compressor
Power line (U, V, W terminals)
Connect compressor with
xL8/xL9 error to control box in
an error-free unit and see
whether or not it runs
normally
 Loading...