 Loading...
Do you have a question about the Miele CVA610 and is the answer not in the manual?
| Brand | Miele |
|---|---|
| Model | CVA610 |
| Category | Coffee Maker |
| Language | English |
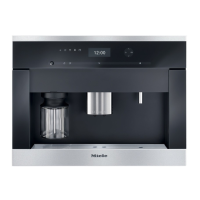
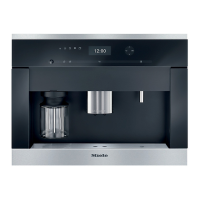
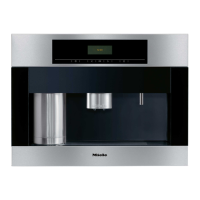
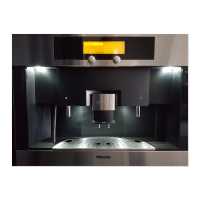
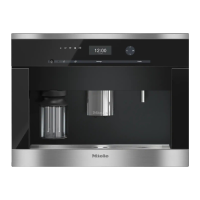
Provides a visual overview of the appliance's front and control panel.
Details product dimensions and electrical specifications for the coffee system.
Illustrates and lists the various internal components of the coffee system.
Outlines the steps required to install the coffee system into cabinetry.
Explains the basic steps for operating the coffee system.
Details the process of making coffee using the appliance.
Instructions on how to immediately stop an ongoing coffee preparation.
Explains how to turn the steam function on and off using the selector.
Describes the procedure for dispensing hot water from the appliance.
Guides on adjusting the grinder for finer or coarser coffee grounds.
Instructions for safely filling the coffee bean container.
Details on how to fill the water tank with fresh water.
Explains the function of the door switch in interrupting the main power circuit.
Describes the overflow switch and its role in detecting leaks.
Specifies the required position of the brew unit for removal.
Details how the brew unit connects to drive and water systems.
Step-by-step explanation of how coffee is brewed.
Explains the function of the waste unit for used coffee grounds.
Describes the switch that detects the presence of the waste unit.
Details the water tank's role and its valve assembly.
Explains the water level switch and its operation.
Details the grinder assembly and how grinding grade is adjusted.
Explains the overload protection mechanism for the grinder.
Describes how ground coffee is dispensed and how quantity is adjusted.
Details the components and function of the brew unit drive system.
Explains the water pump's operation, pressure, and safety features.
Describes the flow meter's function in measuring water quantity.
Provides technical data for the coffee, hot water, and steam heaters.
Explains the operation of the hot water/coffee and steam heaters.
Illustrates and describes the path water takes through the appliance.
Details how the water pump draws water from the tank.
Describes the water path for coffee preparation.
Describes the water path for hot water dispensing.
Describes the water path for steam generation.
Explains the steam valve and its associated switch.
Details the heater outlet valve and its role in brewing.
Provides a preview of the electronic board assembly.
Instructions for removing the appliance lid.
Procedure for removing the mains filter.
Steps to remove the rear panel of the appliance.
Procedure for removing the adjustment slide switch frame.
Instructions for removing the door contact switch.
Steps for removing the base plate of the appliance.
Procedure for removing the drip tray.
Instructions for removing the overflow switch actuator float.
Steps to remove the overflow switch.
Procedure for removing the fluorescent lamp.
Instructions for removing the lamp starter.
Steps for removing the rear door panel.
Procedure for removing the fascia panel cover.
Instructions for removing the selector switch.
Steps to remove the display module and electronic unit.
Procedure for removing the coffee dispensing nozzle.
Instructions for fitting the coffee dispensing nozzle.
Steps for removing the steam valve and its switch.
Procedure for removing the hot water nozzle.
Instructions for removing the hot water valve.
Procedure for checking the coffee temperature.
Steps to remove the brew unit when in its home position.
Procedure for removing the brew unit when not in its home position.
Instructions for installing the brew unit into the appliance.
Details the manual cleaning procedure for the brew unit.
Steps for cleaning the filters within the brew unit.
Procedure for degreasing the brew unit using the rinse cycle.
Guides on lubricating the brew unit components.
Procedure for manually resetting the brew unit to home position.
Steps to remove the brew unit's creamer valve.
Instructions for removing the brew unit handle.
Procedure for removing the brew unit funnel.
Steps for servicing the brew unit ram.
Procedure for removing the water tank level indicator float.
Instructions for removing the water tank valve sealing ring.
Steps to remove the lower section of the tank valve.
Procedure for removing the bean container.
Instructions for removing the bean container guide.
Steps for disassembling the grinder unit.
Procedure for assembling and setting the grinder unit.
Steps for removing the grinder unit.
Instructions for removing the brew unit present switch.
Procedure for removing the dispensing solenoid.
Steps to remove the dispenser switch.
Procedure for positioning the brew unit drives to the home position.
Procedure for checking the water path and flowmeter functionality.
Procedure to test for water leaks in the system.
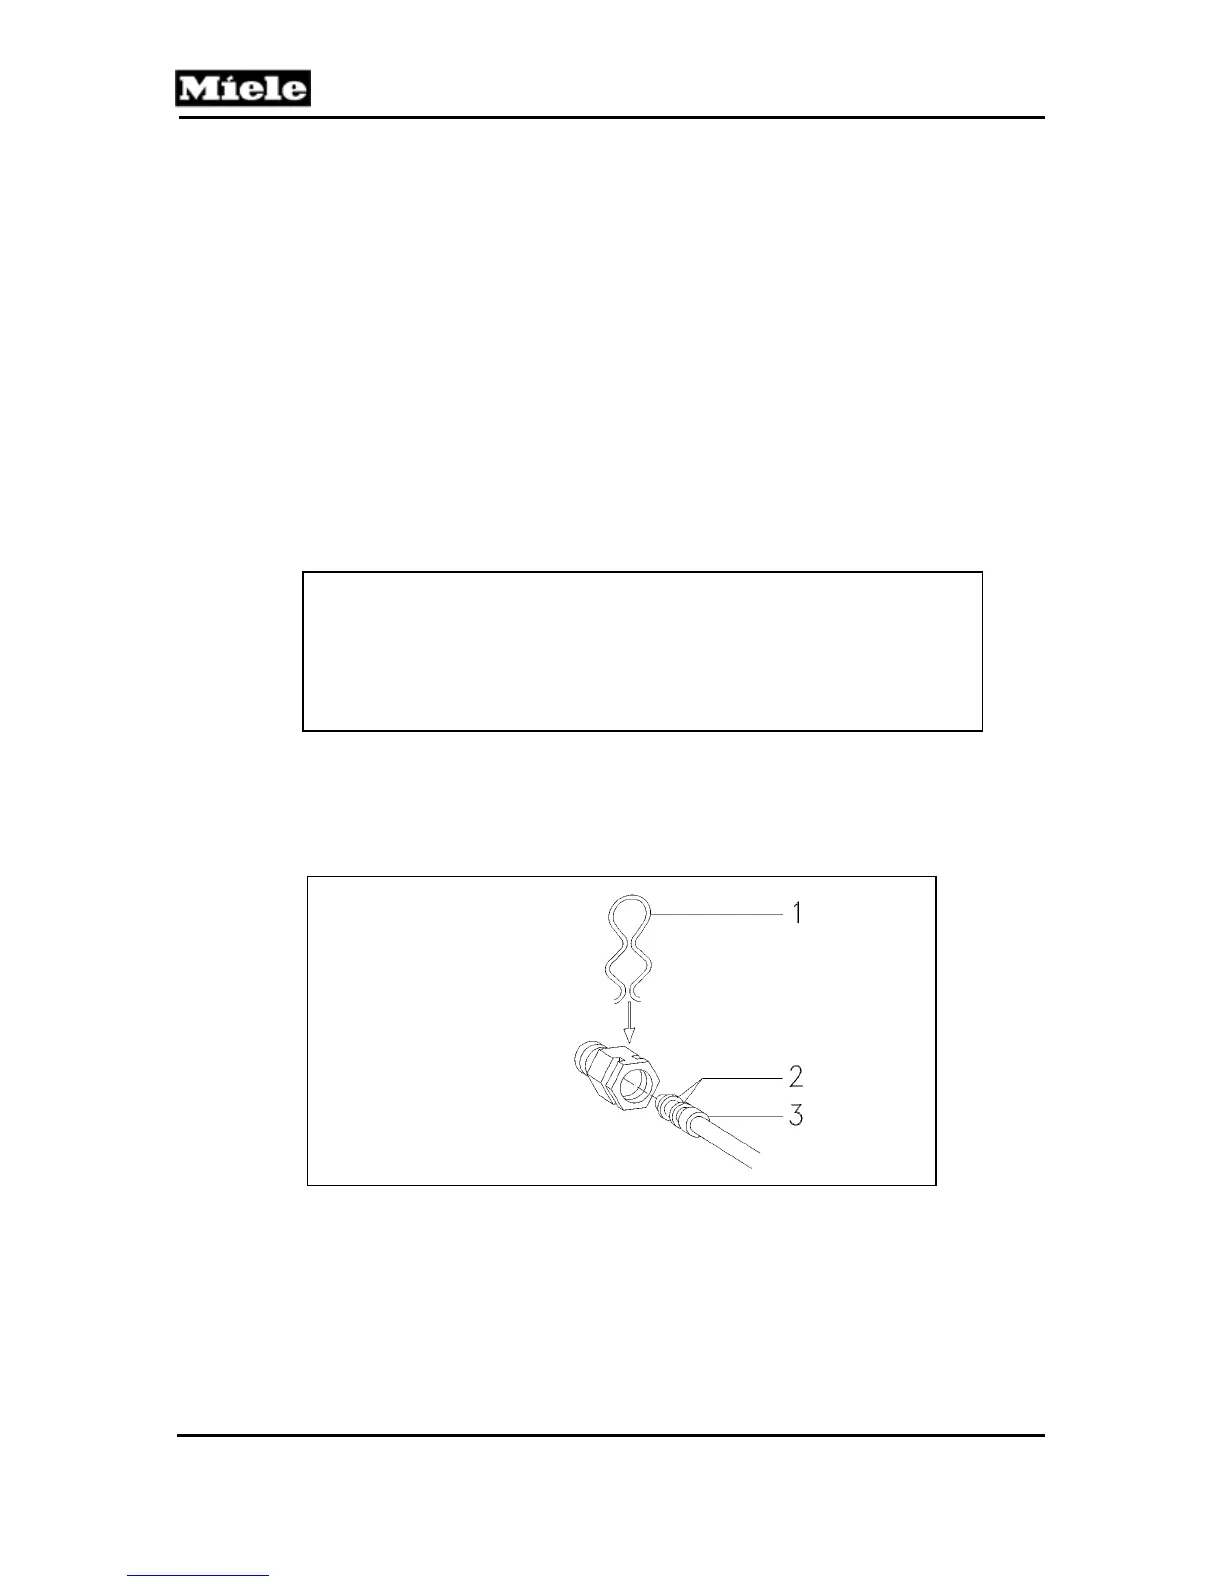
Steps for safely releasing water connections.
Instructions for fitting water connections.
Details on accessing and using the appliance's programming mode.
Procedure for accessing and navigating the appliance's service mode.
Information on common displayed messages and their meanings.
Troubleshooting steps for uneven filling when preparing two cups.
Troubleshooting steps when the brew unit cannot be removed.
Troubleshooting steps when the brew unit cannot be installed.
Troubleshooting for grinder adjustment lever issues.