49
E
D
F
PR
ES
I
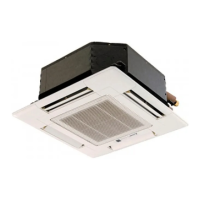
8. Installing the grille
8
8.
8.
8.
8.
8.
8. Installer la grille
8. Instalação da grelha
8. Anbringung des Gitters
8. Instalación de la rejilla
8. Installazione della griglia
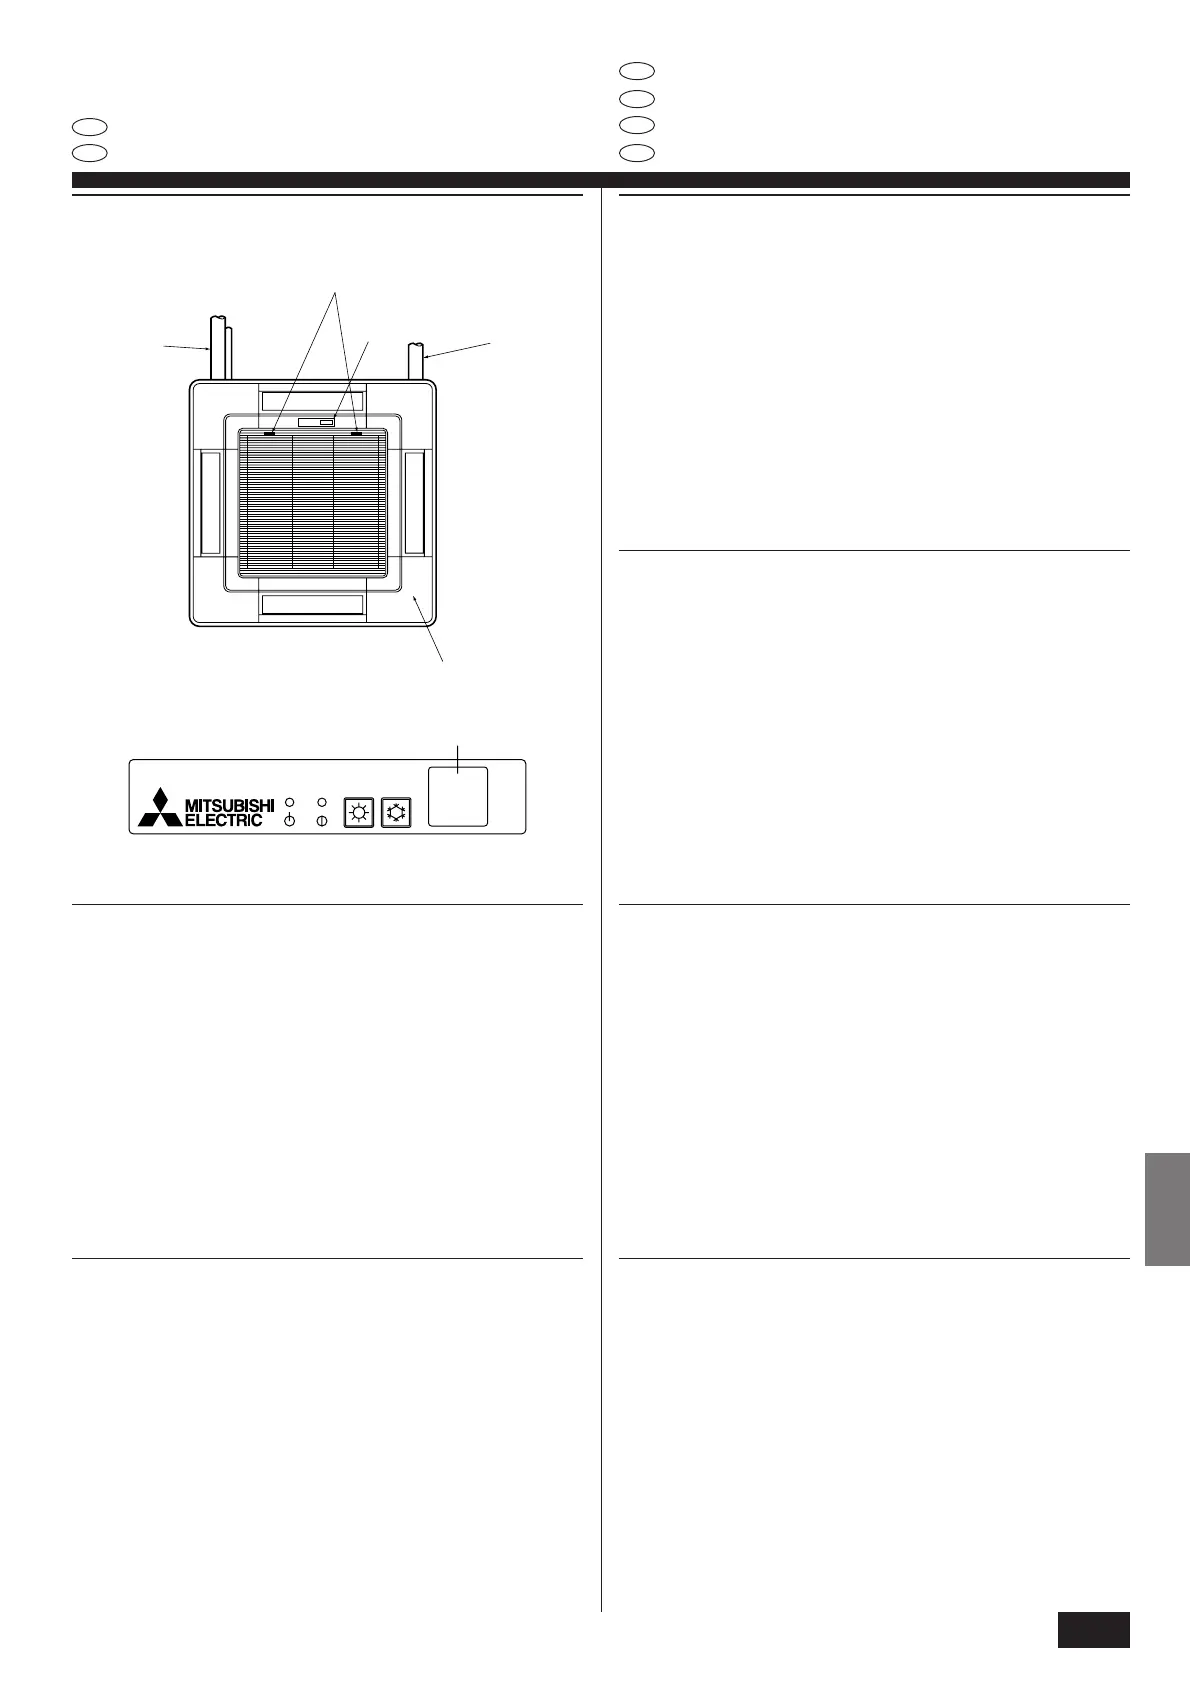
8.5. Installing the intake grille
• Perform the procedure that is described in “8.2 Preparing to attach the grille” in
reverse order to install the intake grille and the corner panel.
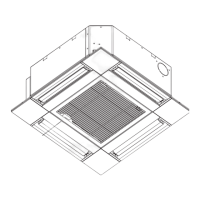
A Refrigerant piping of the main unit
B Drain piping of the main unit
C Corner panel
* Installation in any position is possible.
D Position of the levers on the intake grille when sent from the factory.
* Although the clips can be installed in any of four positions.
E Receiver
8.6. Check
• Make sure that there is no gap between the unit and the grille, or between the grille
and the surface of the ceiling. If there is any gap between the unit and the grille, or
between the grille and the surface of the ceiling, it may cause dew to collect.
• Make sure that the wires have been securely connected.
E
8.5. Anbringung des Ansauggitters
• Den Ablauf der unter “8.2. Vorbereitung zum Anbringen des Gitters” beschrieben
ist, in umgekehrter Reihenfolge zum Installieren des Ansauggitters und der Eckplatte
vornehmen.
A Kältemittelrohrleitung der Hauptanlage
B Abflußrohrleitung der Hauptanlage
C Eckplatte
* Installation in jeder beliebigen Stellung möglich.
D Stellung der Hebel am Ansauggitter bei Versand ab Werk.
* Obwohl die Klammern an jeder der vier Positionen angebracht werden können.
E Empfänger
8.6. Überprüfung
• Vergewissern, daß keine Lücke zwischen der Anlage und dem Gitter oder zwi-
schen dem Gitter und der Fläche der Zimmerdecke vorhanden ist. Wenn eine
Lücke zwischen der Anlage und der Zimmerdecke oder zwischen dem Gitter und
der Fläche der Zimmerdecke besteht, kann dies zu Kondenswasserbildung füh-
ren.
• Vergewissern, daß die Elektroleitungen fest und sicher angeschlossen wurden.
8.5. Instalación de la rejilla de admisión
• Invierta el procedimiento descrito en el apartado “8.2. Preparación para conectar
la rejilla” para instalar la rejilla de admisión y el panel angular.
A Tubería de refrigeración de la unidad principal
B Tubería de drenaje de la unidad principal
C Panel angular
* Aislamiento en cualquier posición, en caso de que sea posible.
D Posición de las palancas de la rejilla de admisión cuando es enviada de fábrica.
* Aunque puede instalar los clips en cualquiera de las cuatro posiciones.
E Receptor
8.6. Comprobación
• Asegúrese de que no hay ningún hueco entre la unidad y la rejilla, ni entre la rejilla y
la superficie del techo. Si hubiese alguno, podrían formarse gotas de condensación.
• Asegúrese de que los cables han quedado firmemente conectados.
8.5. Installation de la grille d’aspiration
• Procéder comme indiqué au point “8.2. Préparaton avant d’attacher la grille” mais
en sens inverse pour mettre la grille d’admission et le panneau en coin en place.
A Tuyau de réfrigérant de l’appareil principal
B Tuyau d’écoulement de l’appareil principal
C Panneau en coin
* Installation dans toute position possible.
D Position des leviers de la grille d’admission à la sortie d’usine.
* Bien que les clips puissent être fixés dans n’importe laquelle des quatre positions.
E Récepteur
8.6. Vérification
• Vous assurer qu’il n’y a aucun espace entre l’appareil et la grille, ou entre la grille
et la surface du plafond. S’il y a un espace quelconque entre l’appareil et la grille,
ou entre la grille et la surface du plafond, il est possible que de la rosée s’y accu-
mulera.
• Vous assurer que les fils sont bien connectés.
8.5. Instalação da grelha de admissão
• Siga o procedimento descrito em “8.2. Preparar a fixação da grelha” pela ordem
inversa, para instalar a grelha de admissão e o painel de canto.
A Tubagem de refrigerante da unidade principal
B Tubagem de drenagem da unidade principal
C Painel de canto
* É possível a instalação em qualquer posição.
D Posição das alavancas na grelha de admissão quando enviada da fábrica.
* Embora os grampos possam ser instalados em qualquer uma de quatro posições.
E Receptor
8.6. Verificação
• Assegure-se de que não há folga entre a unidade e a grelha, nem entre a grelha e a
superfície do tecto. Se houver folga entre a unidade e a grelha, ou entre a grelha e a
superfície do tecto, pode ocorrer formação de condensação.
• Assegure-se de que os fios foram bem ligados.
8.5. Installazione della griglia di ingresso
• Per installare la griglia di ingresso e il pannello angolare, seguire la procedura
descritta al punto “8.2. Preparazione dell’attacco della griglia” in ordine inverso.
A Tubazione del refrigerante dell’unità principale
B Tubazione di drenaggio dell’unità principale
C Pannello angolare
* Installazione in qualsiasi posizione possibile.
D Posizione delle leve della griglia di ingresso al momento della spedizione dalla fabbrica.
* Sebbene sia possibile installare i fermi in una qualsiasi delle quattro posizioni.
E Ricevitore
8.6. Controllo
• Accertarsi che non vi siano spazi vuoti fra l’unità e la griglia o fra la griglia e la
superficie del soffitto. In caso contrario, vi è il rischio della formazione di gocce di
condensa.
• Accertarsi che i fili siano stati collegati in modo corretto.
A
D
B
E
C
 Loading...