– 10 –
GB
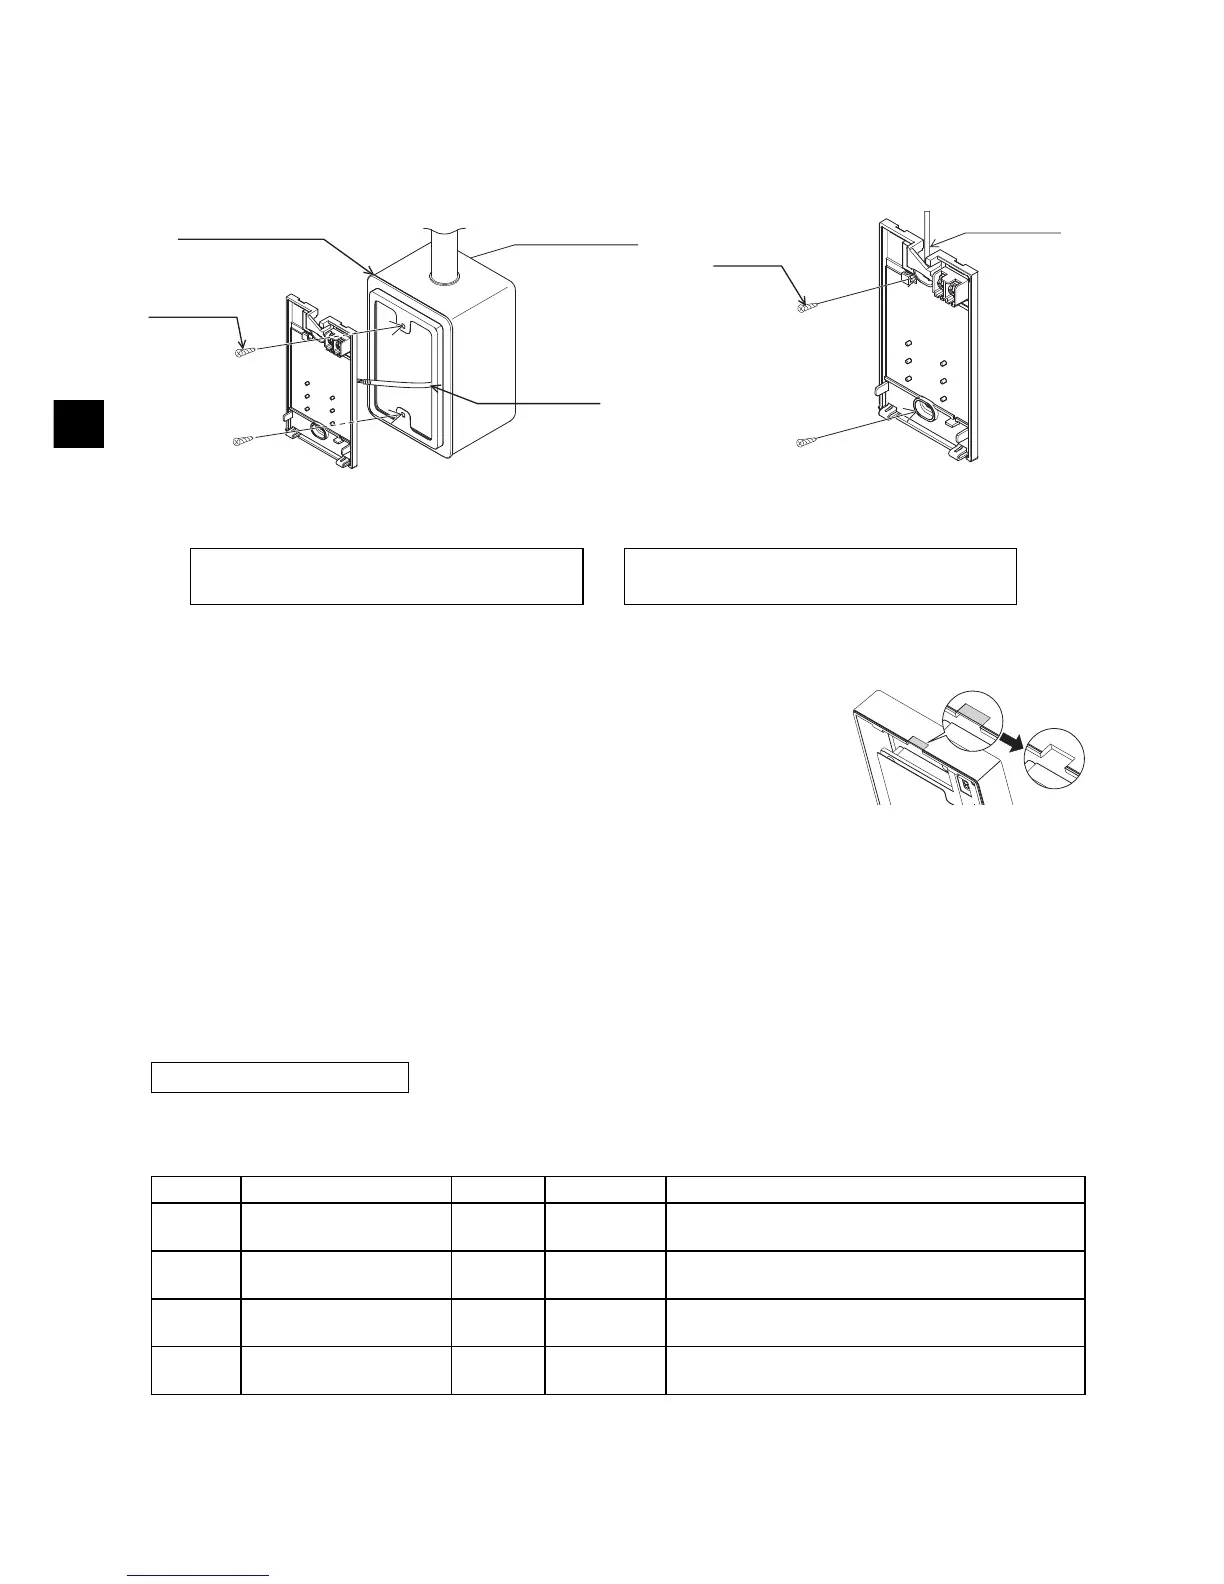
5 Install the bottom case.
Be sure to secure two places of the bottom case.
6 Cut out the cable access hole.
■ Direct wall installation (when running the cable along the wall)
• Cut out the thin-wall part on the cover (the shaded area in the right
figure) with a knife or a nipper.
• Thread the cable from the groove behind the bottom case through
this access hole.
7 Set the dip switches on the top case.
When using two remote controllers in one group, set the dip switches.
When using two remote controllers in one group, specify the main and sub remote controllers using
dip switch No. 1 shown below.
• When connecting only one remote controller to one group, it is always the main remote controller.
When connecting two remote controllers to one group, set one remote controller as the main
remote controller and the other as the sub remote controller.
• The factory setting is “Main”.
There are switches on the back of the top case. Remote controller Main/Sub and other function
settings are performed using these switches. Ordinarily, only change the Main/Sub setting of SW1.
(The factory settings are ON for SW1, 3, and 4 and OFF for SW2.)
■ Installation using a switch box ■ Direct wall installation
Setting the dip switches
SW No. SW contents Main ON OFF Comment
1
Remote controller
Main/Sub setting
Main Sub
Set one of the two remote controllers at one
group to “ON”.
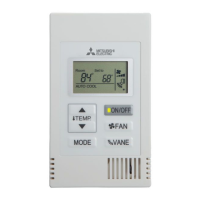
2
Temperature display
units setting
Celsius Fahrenheit
When the temperature is displayed in
[Fahrenheit], set to “OFF”.
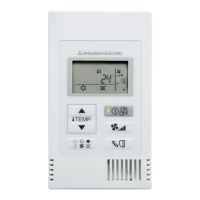
3
Cooling/heating
display in AUTO mode
Yes No
When you do not want to display “Cooling” and
“Heating” in the AUTO mode, set to “OFF”.
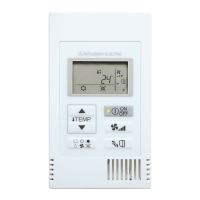
4
Indoor temperature
display
Yes No
When you do not want to display the indoor
temperature, set to “OFF”.
 Loading...