EN-19
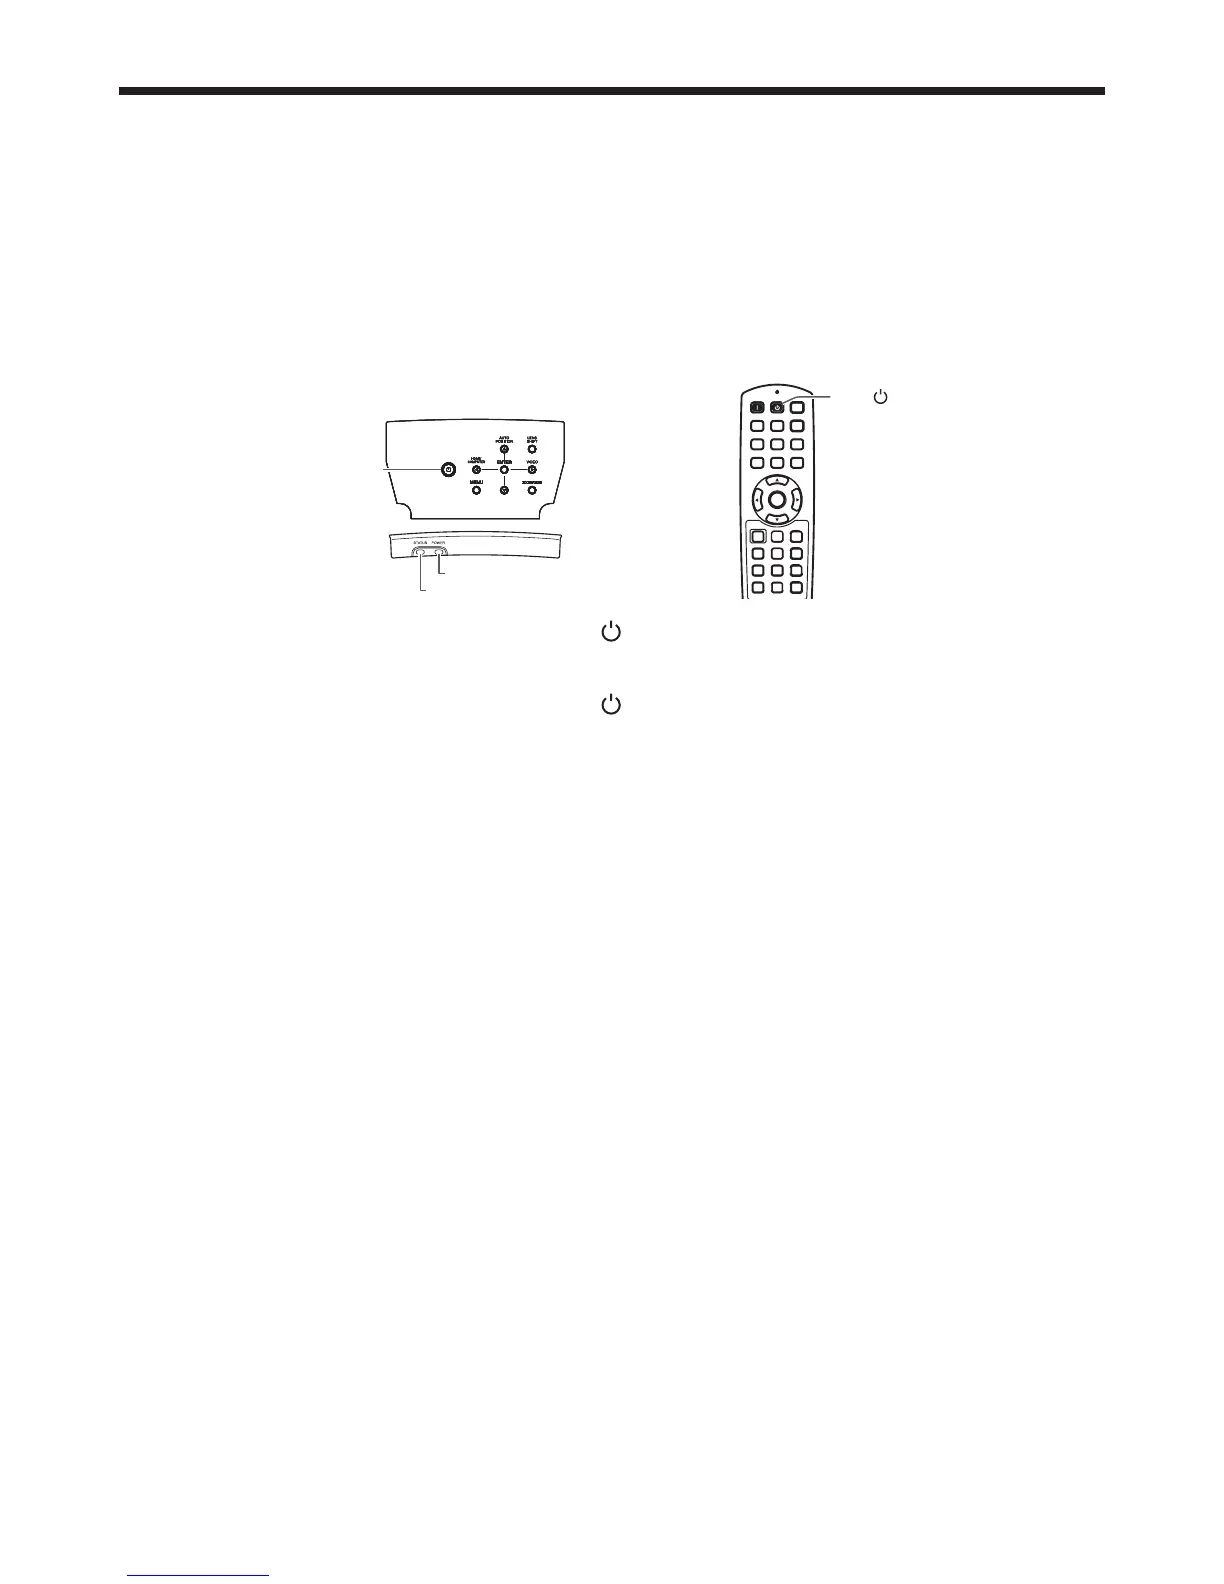
Press the POWER button on the projector or the OFF ( ) button on the remote control.
A confi rmation message is displayed.
To cancel the procedure, leave the projector for a while or press the MENU button.
Press the POWER button on the projector or the OFF ( ) button on the remote control again.
The lamp goes out and the projector goes into a standby mode. In this standby mode, the STATUS indicator
blinks green.
Wait about 2 minutes.
During this period of 2 minutes in the standby mode, the intake fan and exhaust fan rotate to cool the lamp.
The lamp can’t be lit again for 1 minute after turning off the projector for safety purpose. It will take another 1
minute for the STATUS indicator to go out. If you want to turn on the projector again, wait until the indicator
goes out, and then press the POWER button.
The air outlet fans rotate faster as the temperature around the projector rises.
Do not unplug the power cord while the STATUS indicator is blinking. Unplugging the power cord immediately
after use may cause a lamp breakdown.
Though the fan makes loud sound during cooling, such symptom is not a malfunction.
Unplug the power cord from the outlet.
The POWER indicator will go out.
If the power cord should be unplugged accidentally while either the air inlet fan or the air outlet fans are
operating or the lamp is on, allow the projector to cool down for 10 minutes with the power off. To light the
lamp again, press the POWER button. If the lamp doesn’t light up immediately, repeat pressing the POWER
button two or three times. If it should still fail to light up, replace the lamp.
Cover the lens with the lens cap to protect it from dust.
12.
•
•
13.
•
14.
•
•
•
•
•
15.
•
•
•
Viewing video images (continued)
Adjust with the W or X button to get an approximate size.
When the ENTER button is pressed while “ZOOM” is displayed, the adjustment mode is switched between
FAST and STEP. When FAST is selected, the speed of zoom controlled by the W or X button becomes fast,
and it becomes slow when STEP is selected.
Press the LENS SHIFT button. The LENS SHIFT menu appears at the center of the screen.
Press the S or T button to adjust the vertical position and W or X button to adjust the horizontal position of the
displayed image.
When the projector cannot be positioned perpendicularly to the screen, adjust the projection angle. (See page 10.)
Repeat steps 3 to 4 and 8 to 11, if necessary.
To stop projecting:
9.
•
10.
11.
•
OFF ( ) button
POWER button
STATUS indicator
POWER indicator

 Loading...