29
Rev. 1.0
20/07/2020
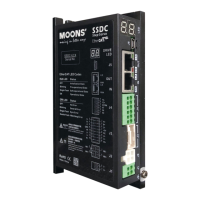
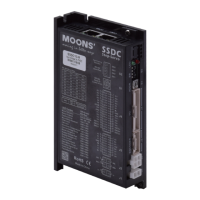
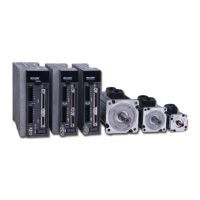
SSDC-ECX-H/J Hardware Manual
400-820-9661
4 Mounting the Drive
Use the M3 or M4 screw to mount the SSDC series drive .The drive should be securely fastened
to a smooth, flat metal surface will help conduct heat away from the chassis. If this is not possible,
forced airflow from a fan maybe required to prevent the drive from overheating.
• Never use the drive in a place where there is no air ow or the surrounding air is
more than 40℃.
• Never put the drive where it can get wet or where metal or other electrically
conductive particle particles can get on the circuitry.
• Always provide air ow around the drive. When mounting multiple SSDC drives near
each other, maintain at least 2cm of space between drives.
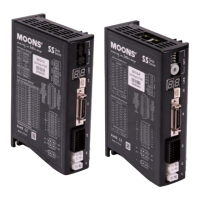
5 Warning and Fault Display
The SSDC - ECX-H/J series step-servo package have two sets of 7-segment digital LED to
display the EtherCAT address, alarm codes and status of the drive.
EtherCAT Address Display
The two LEDs will display the EtherCAT address (Physical address or EtherCAT ID) during the
drive working in normal status.
NOTE: Physical address is assigned by master controller according to the physical topology link.
EtherCAT ID is configured by the Stepper Suite software.
① When the EtherCAT ID is set to 0, the master controller assigns each drive physical address,
and the LED indicates the physical address. When the power was just turned on, the address
had not been assigned, the LED displayed “0 0”. After a few seconds, the master controller
assigned physical address to each drive, and the LED displayed the relevant value.
② When the EtherCAT ID is not set to 0, the master controller reads the EtheCAT ID from the
drive, and then assign it again, the LED indicates this EtherCAT ID. If the master controller
doesn’t assign the readed address, the LED indicates the actual assigned address.
NOTE: The LED diaplys the low two digitals address value in decimal.
 Loading...