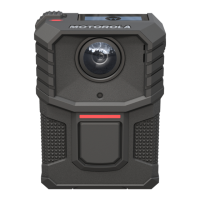
Figure 11: Battery Installation
2.7
Charging the Battery
During setup, the L6Q battery can be charged through any of the available camera power options.
When the battery is charging, the LED Indicator inside the Charging Port door will blink red. When the
battery is fully charged, the LED Indicator will turn solid green. The battery charge level can also be
viewed on the Camera Details screen in the Mobile Companion app after pairing and configuration.
NOTE: Cameras are shipped at 30% power - charge fully before going to the installation site.
2.7.1
Charging with the USB-C Cable
A USB-C charging cable with USB-A adapter is included with the L6Q Installation Kit.
Procedure:
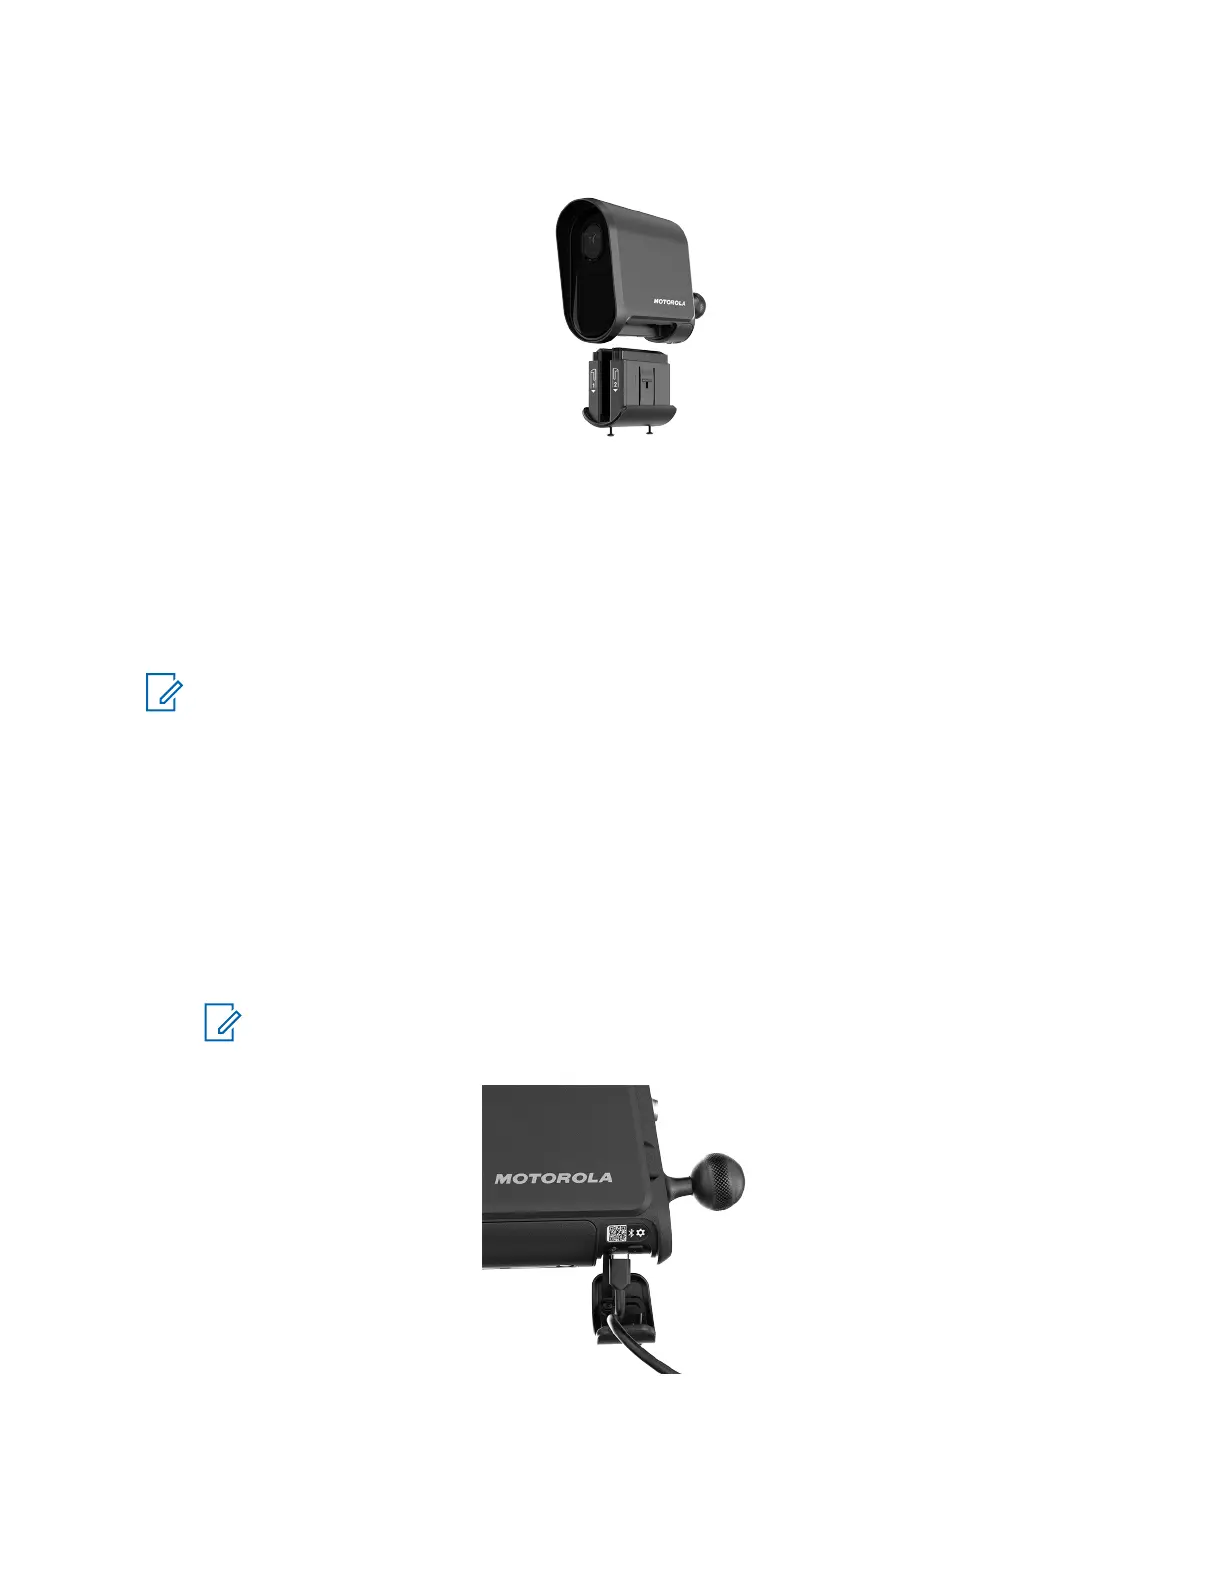
1 Use the Pin and Torx Tool to unscrew the security screw in the Charging Port door.
2 Plug the included USB-C Cable into the USB-C port on the camera.
3 Power the unit from a USB-C or USB-A power source.
NOTE: It is recommended to use a wall plug adapter capable of up to 4 Amps or 20
Watts. Lower amperage adapters or PC or Laptop USB ports may charge the battery
very slowly.
MN008660A01-AC
Chapter 2 : Pre-Installation
26

 Loading...