3.5
Camera Installation
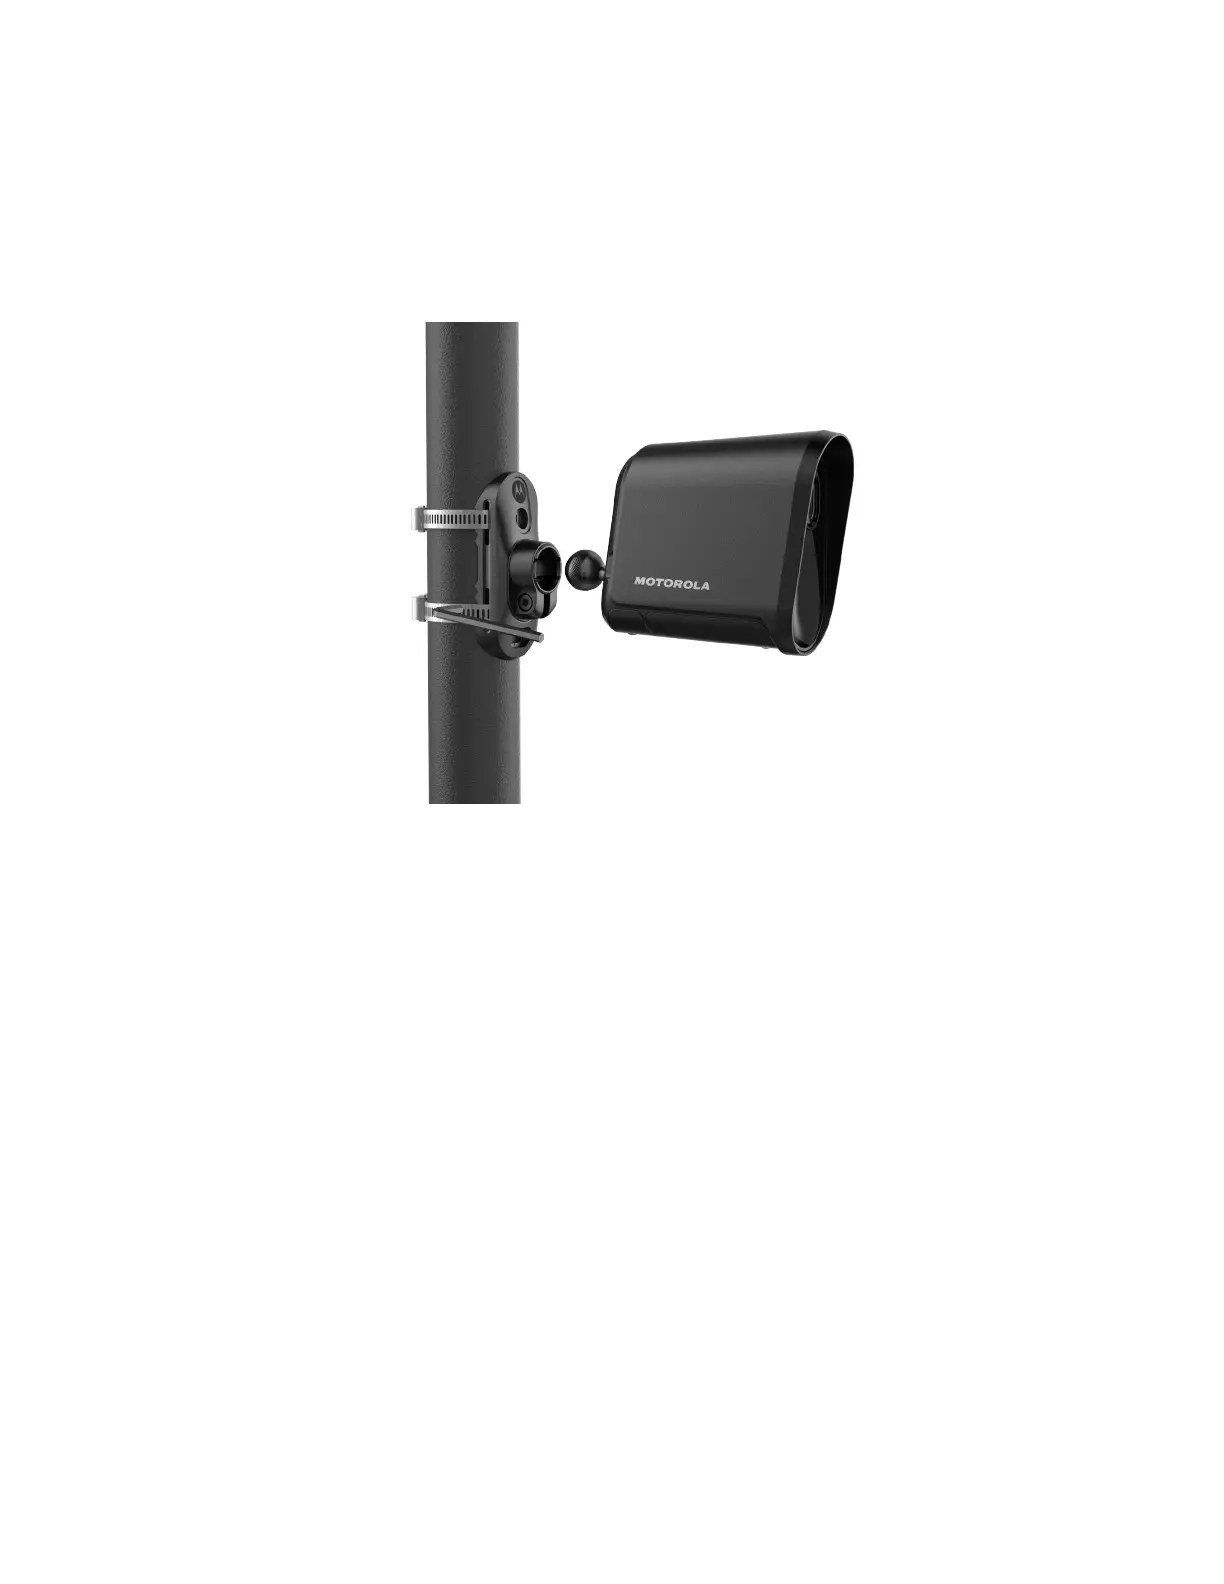
The camera can be mounted to a pole with two included metal band ties or to a flat surface with two
included lag bolts. The L6Q kit also includes two reusable zip ties to temporarily hold the mounting
bracket in place until the two metal band ties can be secured.
Figure 25: Camera Mounting
3.5.1
Installing the Camera Mount
Mount the camera no further than 25 feet from the power source to ensure that the power cable can
reach. Test the cable length before tightening the metal band straps.
Procedure:
1 Select from one of the following options:
• Skip to the next step to continue the installation process.
• In the Mobile Companion app, select the Internal Battery Only option on the Power Source
screen.
2 Thread a reusable zip tie through the top slot of the mounting bracket.
3 Place the mounting bracket against the pole and tighten the reusable zip tie to hold it in place.
4 Thread the two metal band ties through the slots on the top and bottom of the mounting bracket
with the buckles facing out.
5 Insert the ends of the pole straps into the buckles around the pole.
6 Slide the mounting bracket to its final position on the pole (facing the direction of traffic) and
tighten the metal band ties with the hex key tool.
7 Trim any excess material from the metal band ties with the wire snips.
8 Remove the reusable zip tie for later use.
MN008660A01-AC
Chapter 3 : Hardware Installation
45

 Loading...