3.2.1
Assembling the Solar Panel
It is recommended to travel with the packaged unit and perform assembly of the solar panel at the L6Q
installation site.
NOTE: Perform assembly on the ground before ascending a ladder with the unit.
Procedure:
1 In the Mobile Companion app, select the Solar Panel option on the Power Source screen.
2 Observe the Pre-Installation Checklist and Pre-Install Reminder.
3 Attach the shoulder strap clips to the Solar Panel frame to provide easy handling while carrying
the Solar Panel up a ladder, or to the installation point.
NOTE: The carrying strap can be removed after the Solar Panel is installed.
4 If using the optional second battery add-on kit, insert the battery into the back of the Solar Panel
Frame with the Battery Tie-In terminals facing the same direction.
NOTE: If not using the optional second battery kit, skip to step 6.
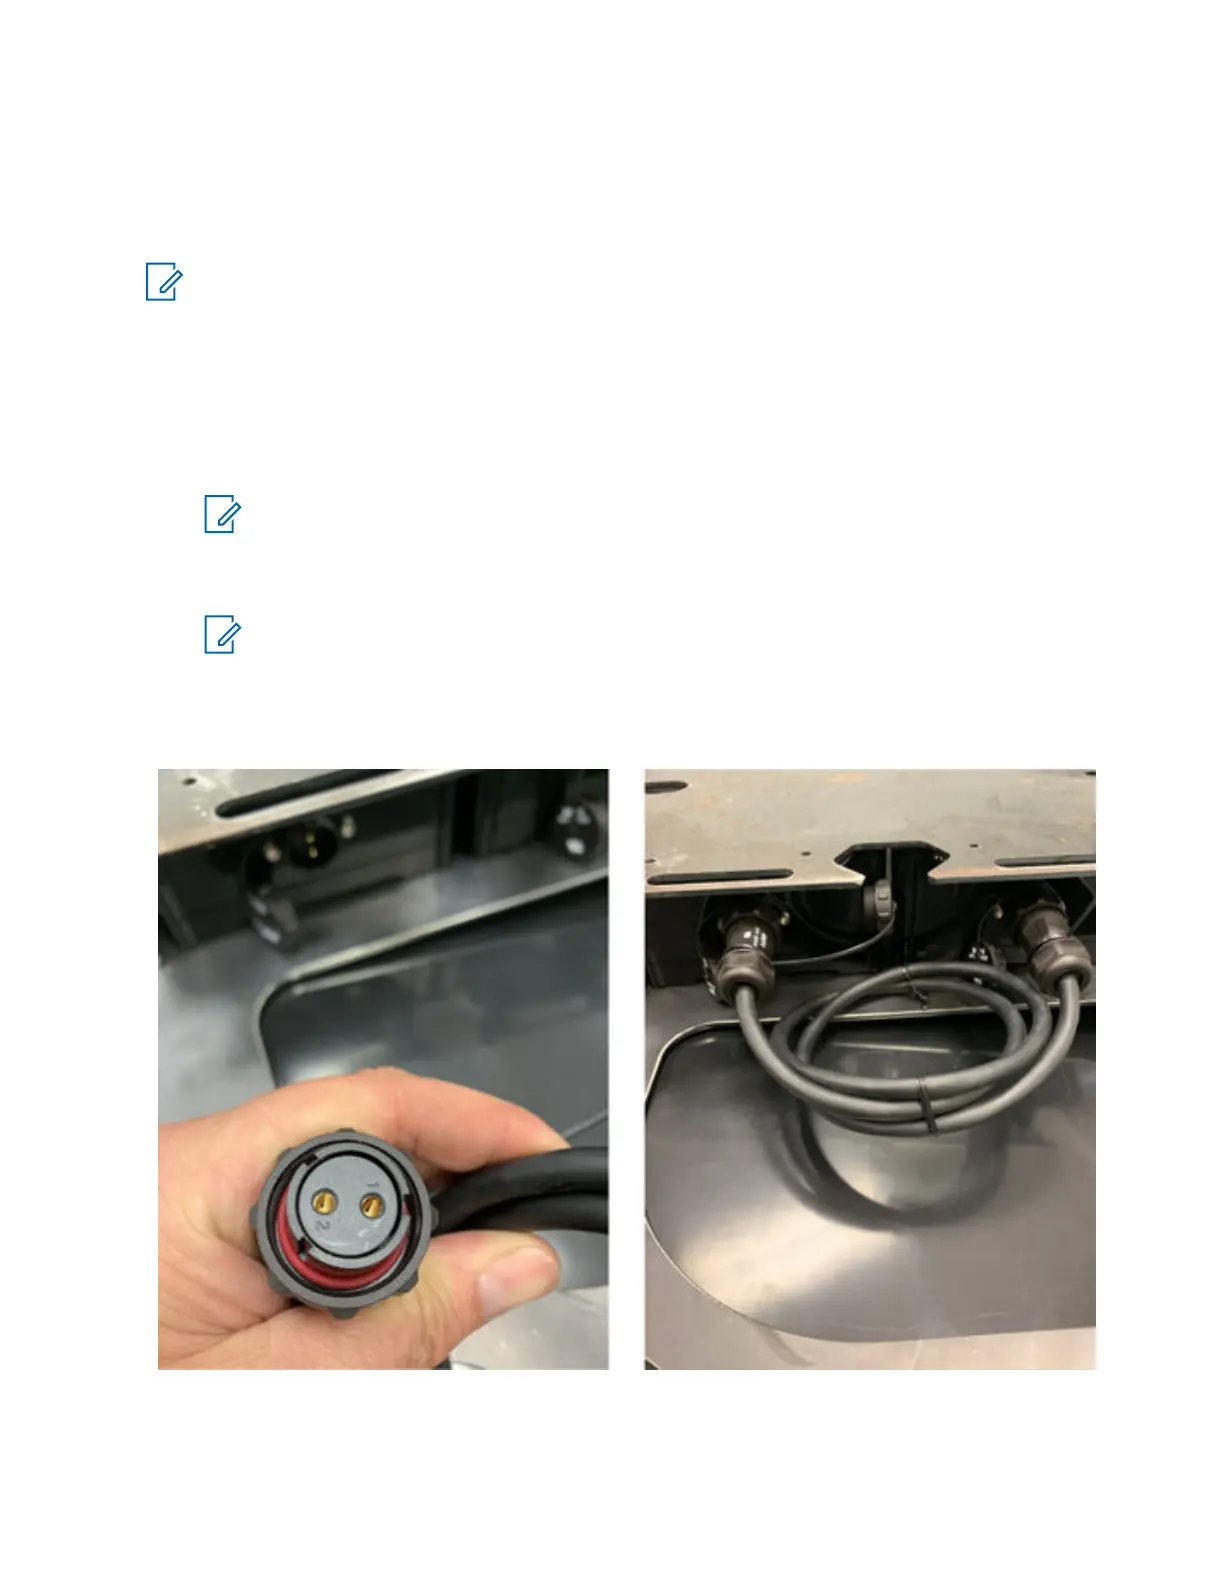
5 Connect the Battery Tie Cable to the tie-in terminals on each battery by aligning the numbered
'1' and '2' holes on the Tie Cable connector to the pins on the batter connector.
Figure 21: Battery Tie Cable Connector
6 Connect the batteries to the solar panel by plugging the connectors with a red line into the all
black connectors until they click into place.
MN008660A01-AC
Chapter 3 : Hardware Installation
40

 Loading...