Overview
Maintenance 3-1
1.0 Overview
This chapter explains, step by step, how to disassemble and assemble the radio, to transceiver
board level. The chapter also contains a list of test equipment required to service the radio. The
procedure for radio alignment and the test setup is also available in this chapter.
2.0 Disassemble the Radio
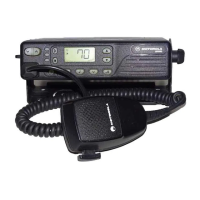
2.1 Remove the Control Head
Figure 3-1 Control Head Removal.
1. Insert a small ßat blade screw driver, or similar, in the recess between the control head and the
transceiver (to minimise cosmetic damage to the radio cover start from the bottom side).
2. Press until the side of the control head releases and then repeat the operation on the opposite
side of the radio.
3. Pull the control head away from the transceiver.
4. Remove the ßex from the socket on the control head board.
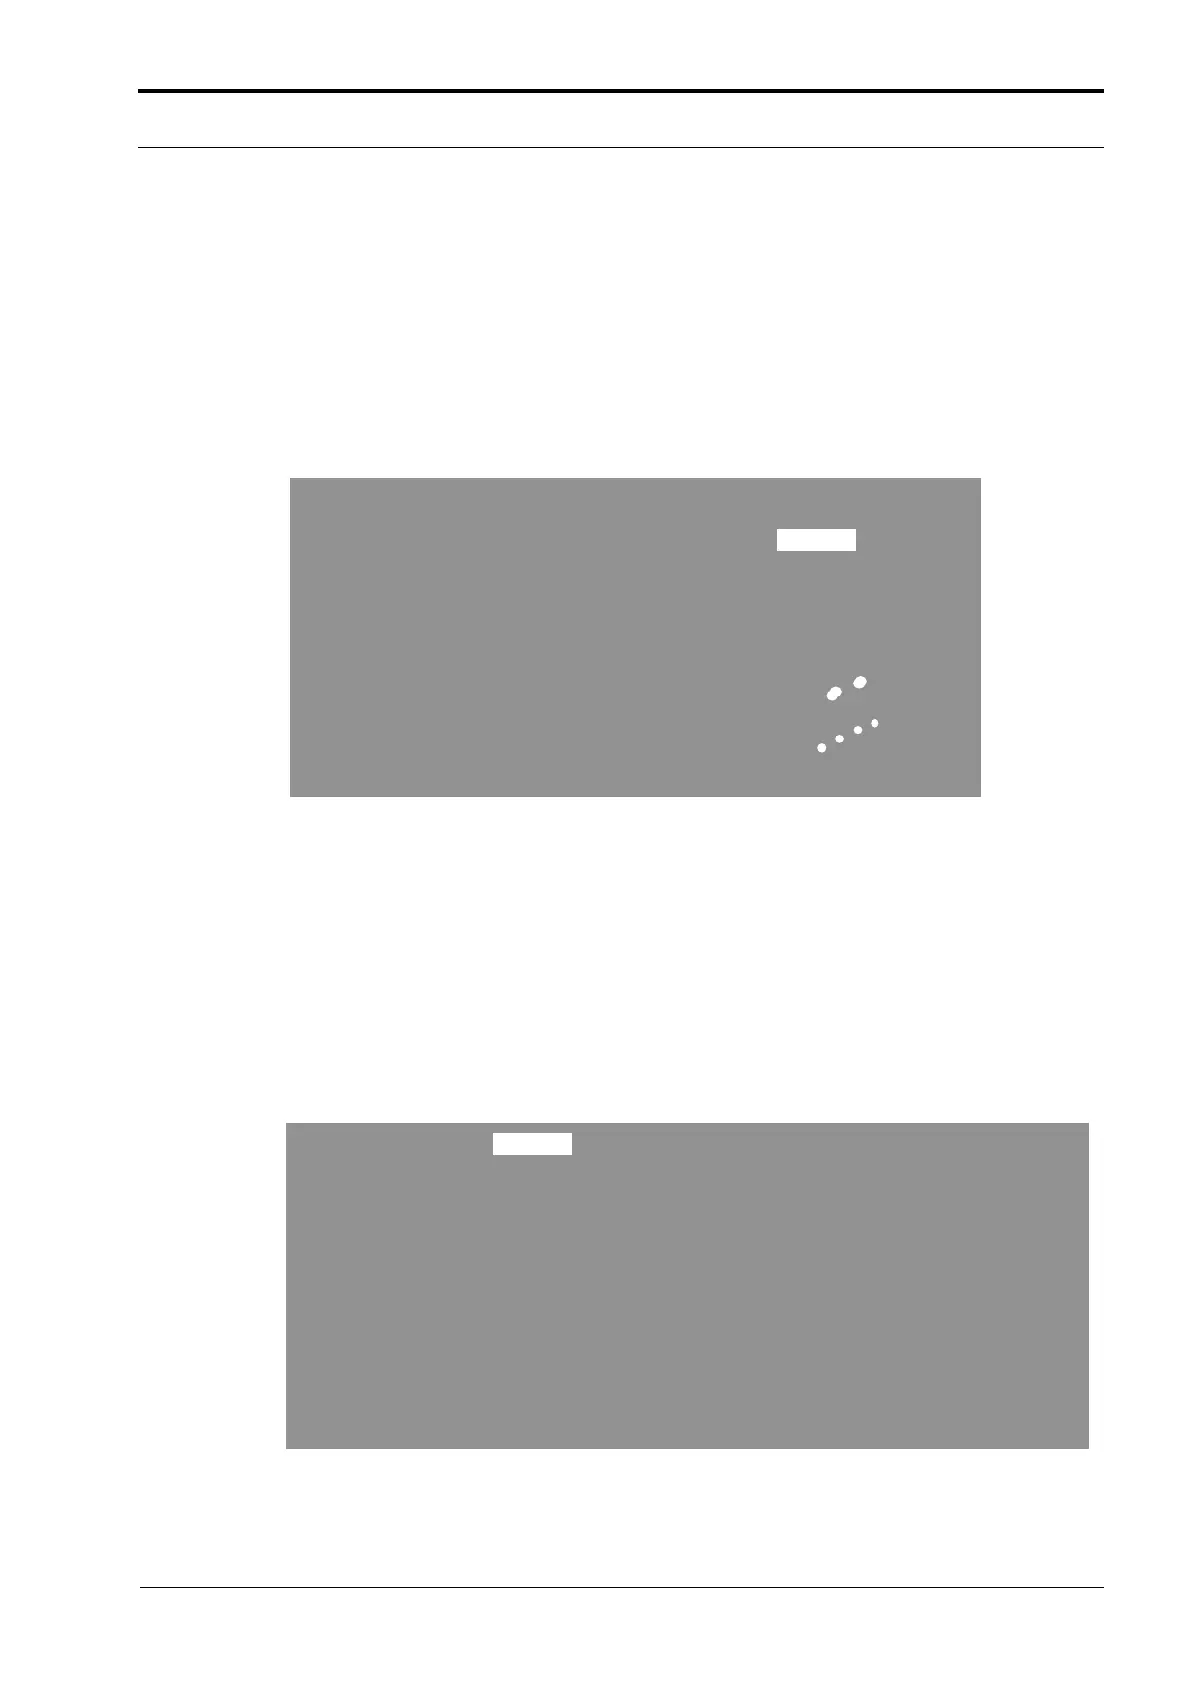
2.2 Remove the Top Cover
Figure 3-2 Top Cover Removal.
Recess
Recess
http://www.myradio168.net
 Loading...