Promise FastTrak 579 Parallel ATA / Serial ATA RAID Introduction
5-31
4. In the Array Creation Settings box:
• Type in a name for your array
• Select the RAID Mode (Level) from the dropdown menu
• Set the Stripe Block Size (see the figure in the previous page)
• Highlight the disk drives to add to the array
• Check to enable Gigabyte Boundary, as desired (see the figure in the previous page)
Stripe Block Size – For RAID 0 and RAID 0+1 arrays, you can manually
select the stripe block size. The size selected affects how FastTrak send
and receives data blocks to and from the drives. In general, a larger
block size is better when handling large data transfers (such as A/V
editing and graphics) while a smaller size is better when handling email
and other common server data. The default is 64KB. When in doubt,
use the default value.
Gigabyte Boundary – For RAID 1 and RAID 0+1 arrays. It rounds the
size of the array down to the nearest whole gigabyte. It allows you to install a
slightly smaller (within 1 GB) replacement drive, should the
need arise. To enable Gigabyte Boundary, check the box.
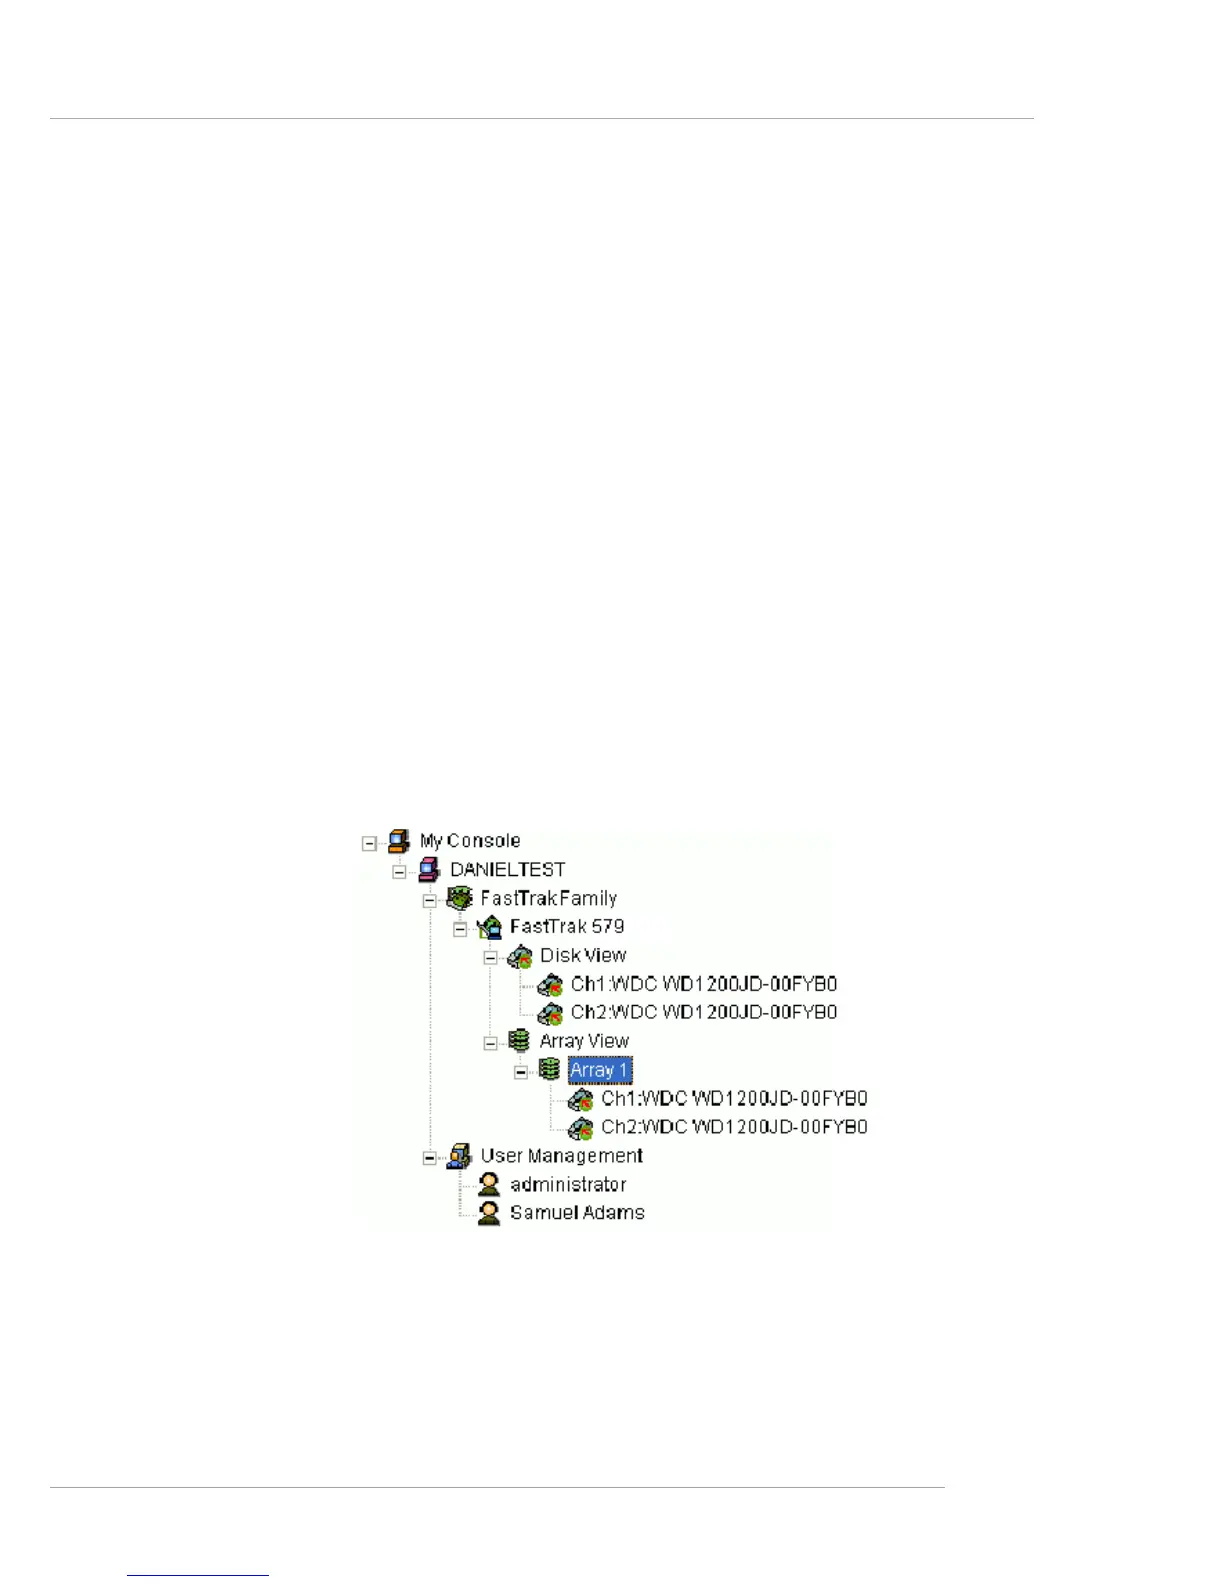
5. Click the Create button when you are done.
The new array appears in Tree View.
 Loading...