 Loading...
Do you have a question about the MSI Z87-G43 GAMING and is the answer not in the manual?
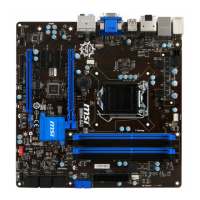
| Chipset | Intel Z87 |
|---|---|
| Form Factor | ATX |
| CPU Socket | LGA 1150 |
| Maximum Memory | 32GB |
| PCI Express x16 Slots | 2 |
| PCI Express 3.0 x16 | 1 |
| PCI Express 2.0 x16 | 1 |
| PCI Express x1 | 2 |
| PCI Slots | 3 |
| SATA Ports | 6 x SATA 6Gb/s |
| USB Ports | 6 x USB 3.0, 8 x USB 2.0 |
| Multi-GPU Support | AMD CrossFireX |
| Memory Slots | 4 |
| Memory Standard | DDR3 1066/1333/1600 |
| Audio | Realtek ALC1150 |
| LAN | Killer E2205 Gigabit LAN |
| RAID Support | RAID 0, 1, 5, 10 |
| Power Connectors | 24-pin ATX main power connector, 8-pin ATX 12V power connector |