9. Replace the computer cover.
10. Plug in the computer.
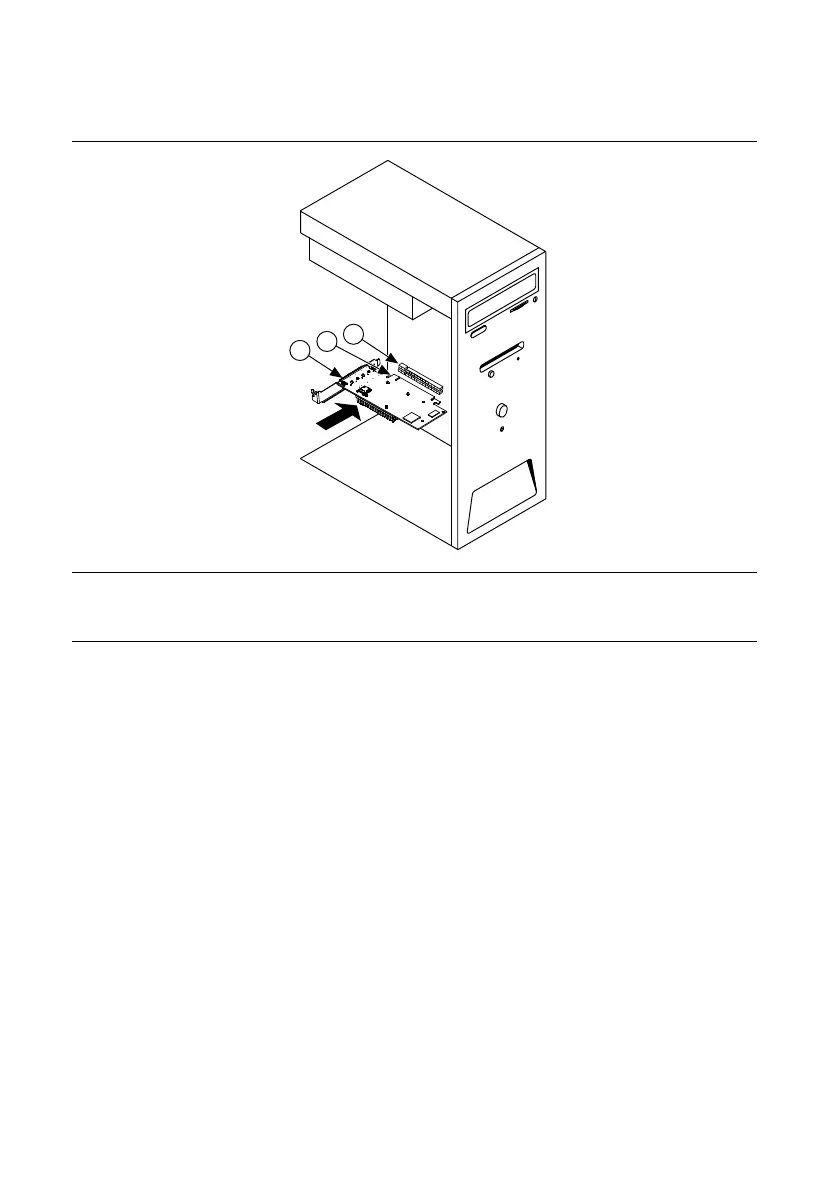
Figure 9. Installing the PCIe-8398
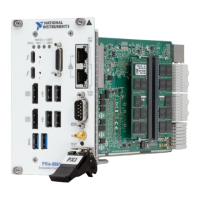
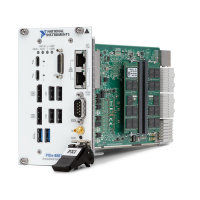
1. PCIe-8398
2. PCI Express x16 Card-Edge Connector
3. PCI Express Slot (x16)
Installing the Low-Profile Bracket on the PCIe-8398
(Optional)
To install the PCIe-8398 in a host computer that requires a low-profile height card, you must
replace the front bracket with the low-profile bracket included with your kit. Complete the
following steps to replace the bracket.
1. Remove the standard height front bracket already installed on your PCIe-8398 card by
removing the two 4-40 × 5/32 in. Phillips head screws that attach the bracket to the card.
Note that the two mounting tabs for the standard height bracket rest against the back side
of the card. Set the two screws aside to re-use when installing the low-profile bracket.
MXI-Express Gen-3 x16 User Manual | © National Instruments | 13
 Loading...