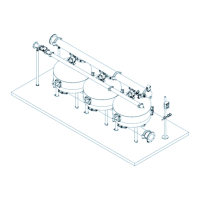
SCREENGUARD AUTOMATIC SCREEN FILTERS OPERATION, INSTALLATION AND MAINTENANCE GUIDE • 11
MAINTENANCE
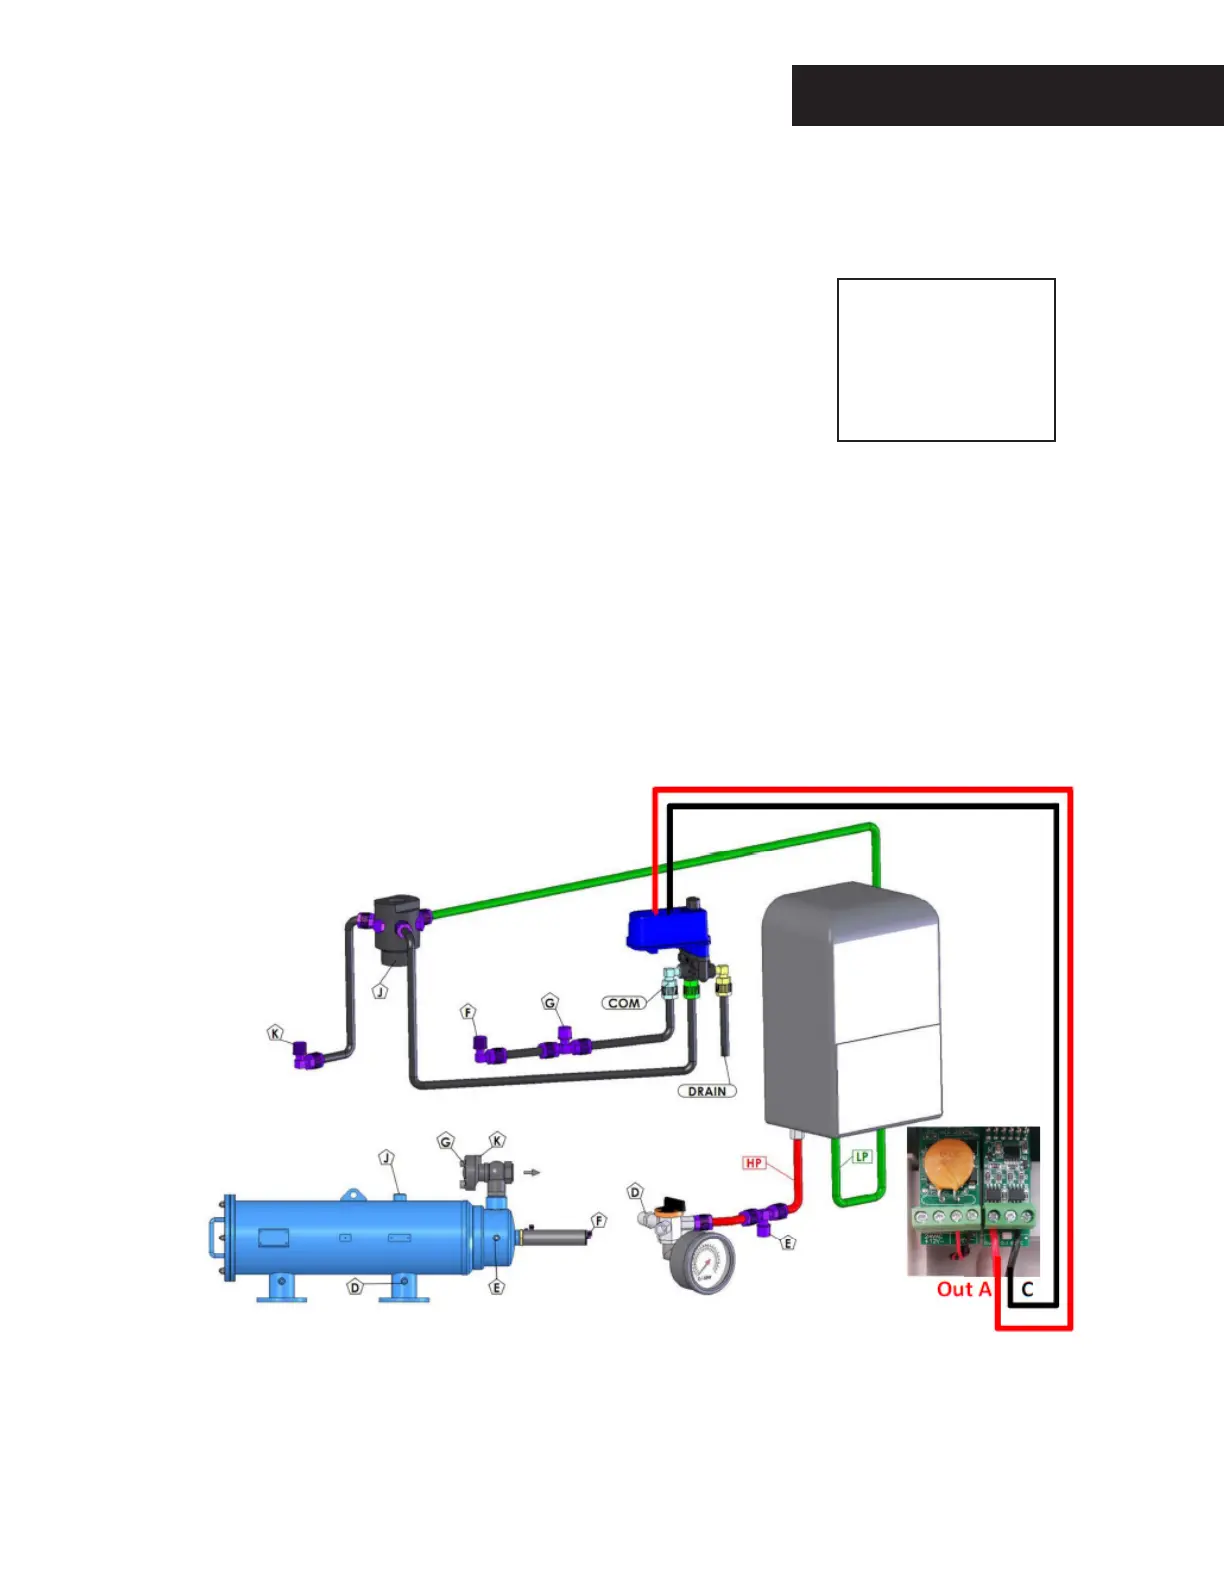
SOLENOID REMOVAL & REPLACEMENT (FIGURE 6)
The solenoid hydraulically controls the flushing valve’s operation.
1. Remove the upper cover, disconnect and remove the (4) 1.5V batteries.
2. Disconnect the solenoid control tubes.
3. Remove the fittings from the damaged solenoid.
4. Disconnect the electrical wiring from the control card terminals.
5. Remove the nut from the solenoid lower section.
6. Pull the solenoid out of the control assembly.
7. Insert a new solenoid into the control assembly.
8. Reinstall the nut on the solenoid lower section.
9. Install the fittings on the ports of the new solenoid.
10. Connect the 2 wires of the solenoid (black wire to ‘C’ port, red wire to ‘1’ port).
11. Connect the solenoid control tubes.
12. Connect the (4) 1.5V batteries according to the correct polarity and close the electronic control unit cover.
13. Perform a flushing cycle by disconnecting the low pressure tube from the differential pressure indicator
(closing of the electrical circuit) - reconnect it immediately as flushing starts.
14. Verify that the hydraulic flushing valve closes after 10 seconds.
15. Perform an additional flushing cycle manually by pushing the manual button (M on the screen display). (See Figure 4).
FIGURE 6
WARNING
Take precautions while
operating the filter as the
filter may enter a flushing
mode automatically,
without prior warning.

 Loading...