Check the contents of the boxes to make sure that all items are present before installing
the switch.
To check the package contents:
1.
Place the container on a clean flat surface, and cut all straps securing the container.
2.
Unpack the hardware from the boxes by carefully removing the hardware and placing
it on a secure and clean surface.
3. Remove all packing material.
4.
Verify that the package contains the following items:
a.
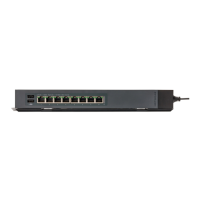
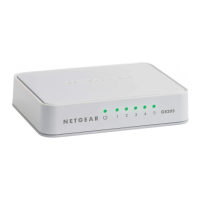
Switch of the correct model.
The previous figure shows model GSS108E.
b.
Straps (2) either for mounting to a table leg or pole or for cable retention.
In the package, the straps are connected. You must separate them before use.
c. Power cord (varies by region).
d. Bracket.
e. Wall mount screw kit, which you can also you use to mount the switch under a
table.
f.
Drywall mount screw kit.
The package also contains the installation guide, which is not shown in the previous
figure.
5.
If any item is missing or damaged, contact your local NETGEAR reseller for
replacement.
Step 4: Install the switch
Use the 1-2-3-4 Click Mounting System to place the switch. You can place the click switch
directly on a wall, strapped to a pole, under a table, or in a server closet. The innovative
mounting system allows you to put it virtually anywhere.
Mount the switch to a wall stud or to a solid surface
You can mount the switch to a wall stud or to a solid surface, which does not need to
be a wall but also could be the bottom of a table. The switch comes with a bracket to
which you can click-attach the back or bottom of the switch. For the following procedure,
use the wall mount screw kit (not the drywall mount screw kit).
Hardware Installation Guide29Installation
8-Port and 16-Port Gigabit Ethernet (PoE+) Smart Managed Plus Click Switch
 Loading...