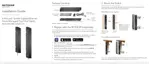
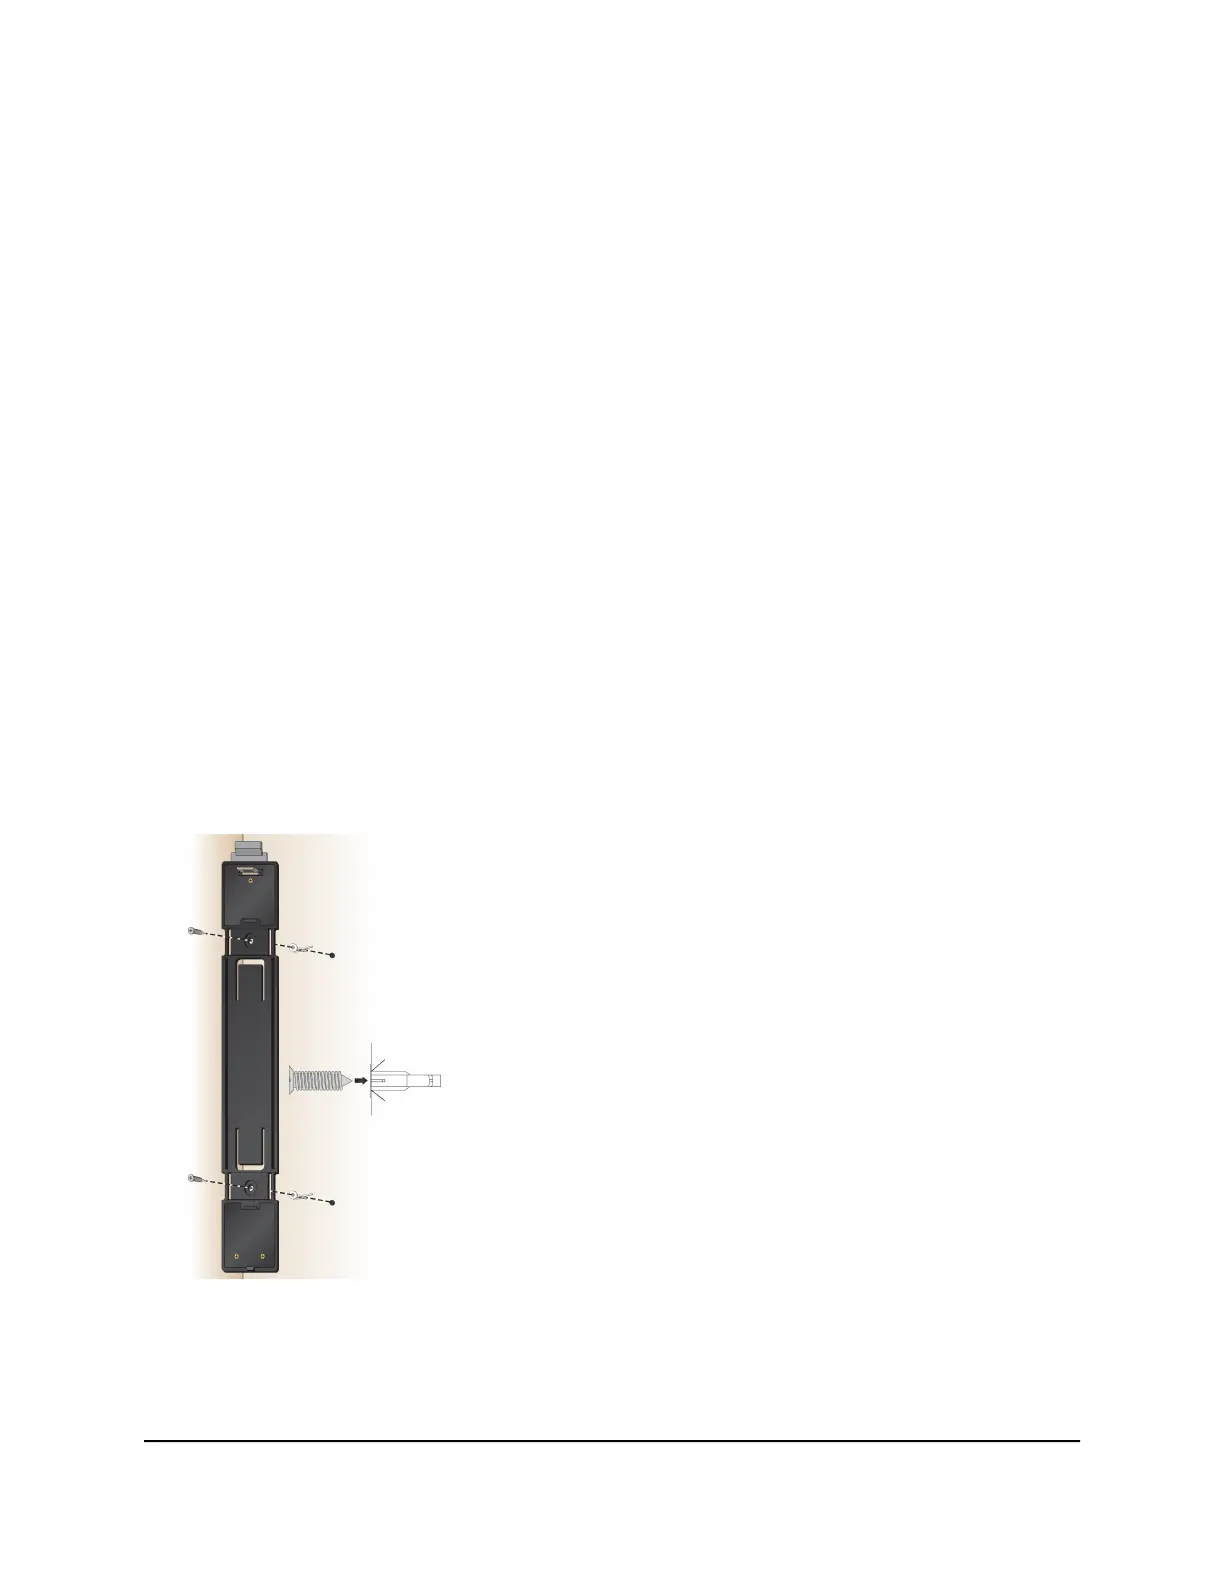
7. Insert the bracket’s lower locking tab and hook into the lower notch on the back or
bottom of the switch.
8. Insert the bracket’s upper locking tab and hook into the upper notch on the back or
bottom of the switch.
9. Click-attach the switch to the bracket.
Mount the switch to a drywall
You can mount the switch to a drywall. The switch comes with a bracket to which you
can click-attach the back or bottom of the switch. For the following procedure, use the
drywall mount screw kit.
To mount the switch to a drywall:
1.
Peel the plastic cover off the adhesive squares on the rear of the bracket.
2. Place the bracket on the wall where you want to mount the switch.
3. Mark the wall where the two mounting holes are and drill the holes.
4.
Fold in the wings of the plastic anchors provided in the drywall mount screw kit and
insert the anchors into the holes.
5.
Attach the bracket to the wall or surface using the screws provided in the drywall
mount screw kit.
6. Tighten the screws to secure the bracket.
Hardware Installation Guide31Installation
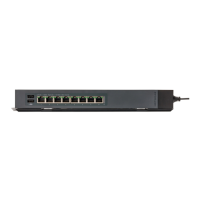
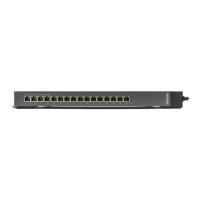
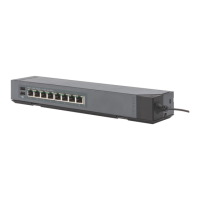
8-Port and 16-Port Gigabit Ethernet (PoE+) Smart Managed Plus Click Switch
 Loading...