To apply power:
1.
Connect the plug of the AC power cable to the AC power receptacle on the front
of the switch.
2. Plug the AC power cable into a power source such as a wall socket or power strip.
3. Check to see that the LEDs on the switch light correctly.
When you apply power, the Power LED on the switch front panel lights and the port
LEDs for attached devices light.
If the Power LED does not light, check to see that the AC power cable is plugged in
correctly and that the power source is good.
For more information about the LEDs, see the following sections:
•
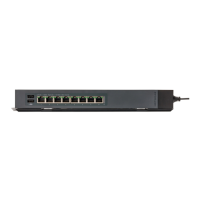
Status LEDs model GSS108E on page 13
•
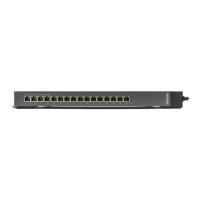
Status LEDs model GSS116E on page 15
•
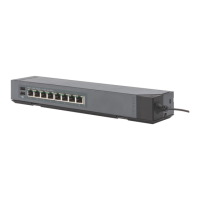
Status LEDs model GSS108EPP on page 16
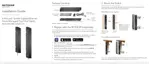
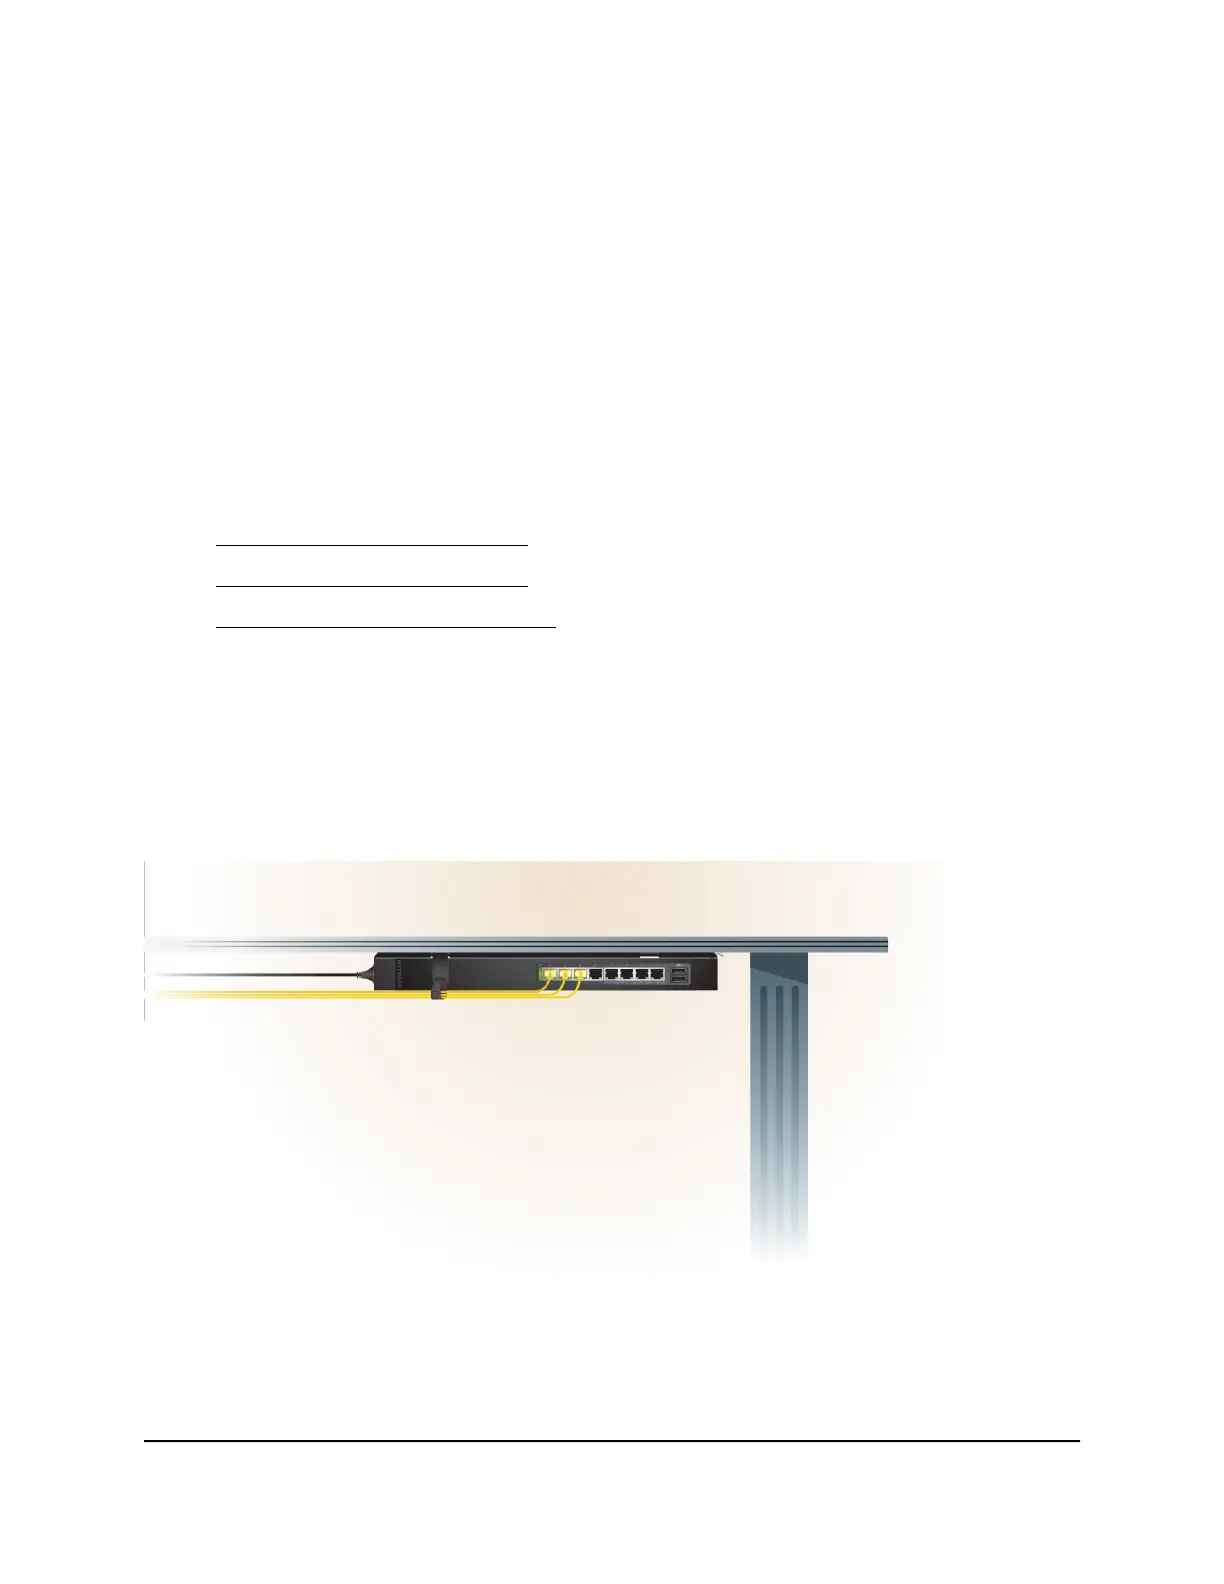
Step 8: Use the straps for cable retention
If you do not use the straps to mount the switch on a table leg or pole, you can use them
for cable management by strapping the cables to the bracket or to the wall.
Figure 13. Cables strapped to the bracket
Hardware Installation Guide35Installation
8-Port and 16-Port Gigabit Ethernet (PoE+) Smart Managed Plus Click Switch
 Loading...