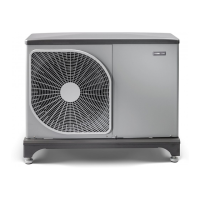
Transport
The outdoor unit should be transported and moved
vertically.
Take care when lifting and moving the indoor and out-
door units. We recommend that you ask for assistance
and bend your knees when you lift to avoid injuring your
back.
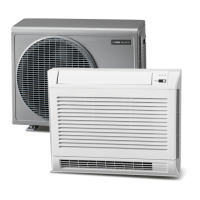
Assembly
We recommend that this climate unit be installed by an
authorised technician in accordance with the supplied
installation instructions.
NOTE
■
Do not install this climate unit where there
are flue gases, flammable gases or a lot of
moisture, e.g. in a greenhouse.
■
Do not install this climate unit where there is
equipment that generates too much heat.
■
Do not install the unit in premises where it
may be subjected to water splashes (e.g.
laundry rooms).
■
To protect the climate unit from corrosion,
the unit must not be installed where it can be
directly exposed to seawater splashes or sul-
phur fumes.
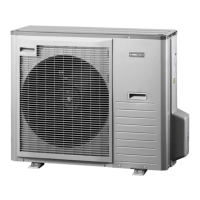
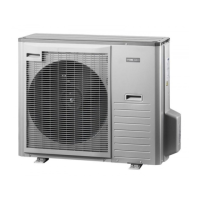
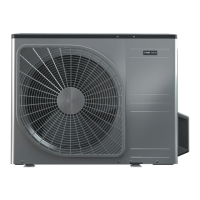
Selection of installation location for outdoor
unit
During installation...
■
...in damp or uneven locations:
Use a base that is stable and raised above the ground
to prevent damage and abnormal vibrations.
■
...in locations exposed to strong winds:
Secure the unit with bolts and metal frame. Ensure
that there is suitable wind protection.
■
...in locations susceptible to snowfall (for climate units
with heat pump):
The concrete foundation or slabs must be positioned
so that the lower edge of the evaporator is at the level
of the average local snow depth, however a minimum
of 300 mm.
Prevent the following:
■
proximity to heat sources or to areas where hot air is
blown out.
■
Installation on wooden wall, because there is a risk of
resonance.
■
damp areas or easily flooded areas and uneven sur-
faces.
■
to drill holes in the areas where there are electrical
parts or units.
The following is recommended:
■
If possible, select well-ventilated, shaded areas.
■
Secure the unit securely at the base to prevent vibra-
tions.
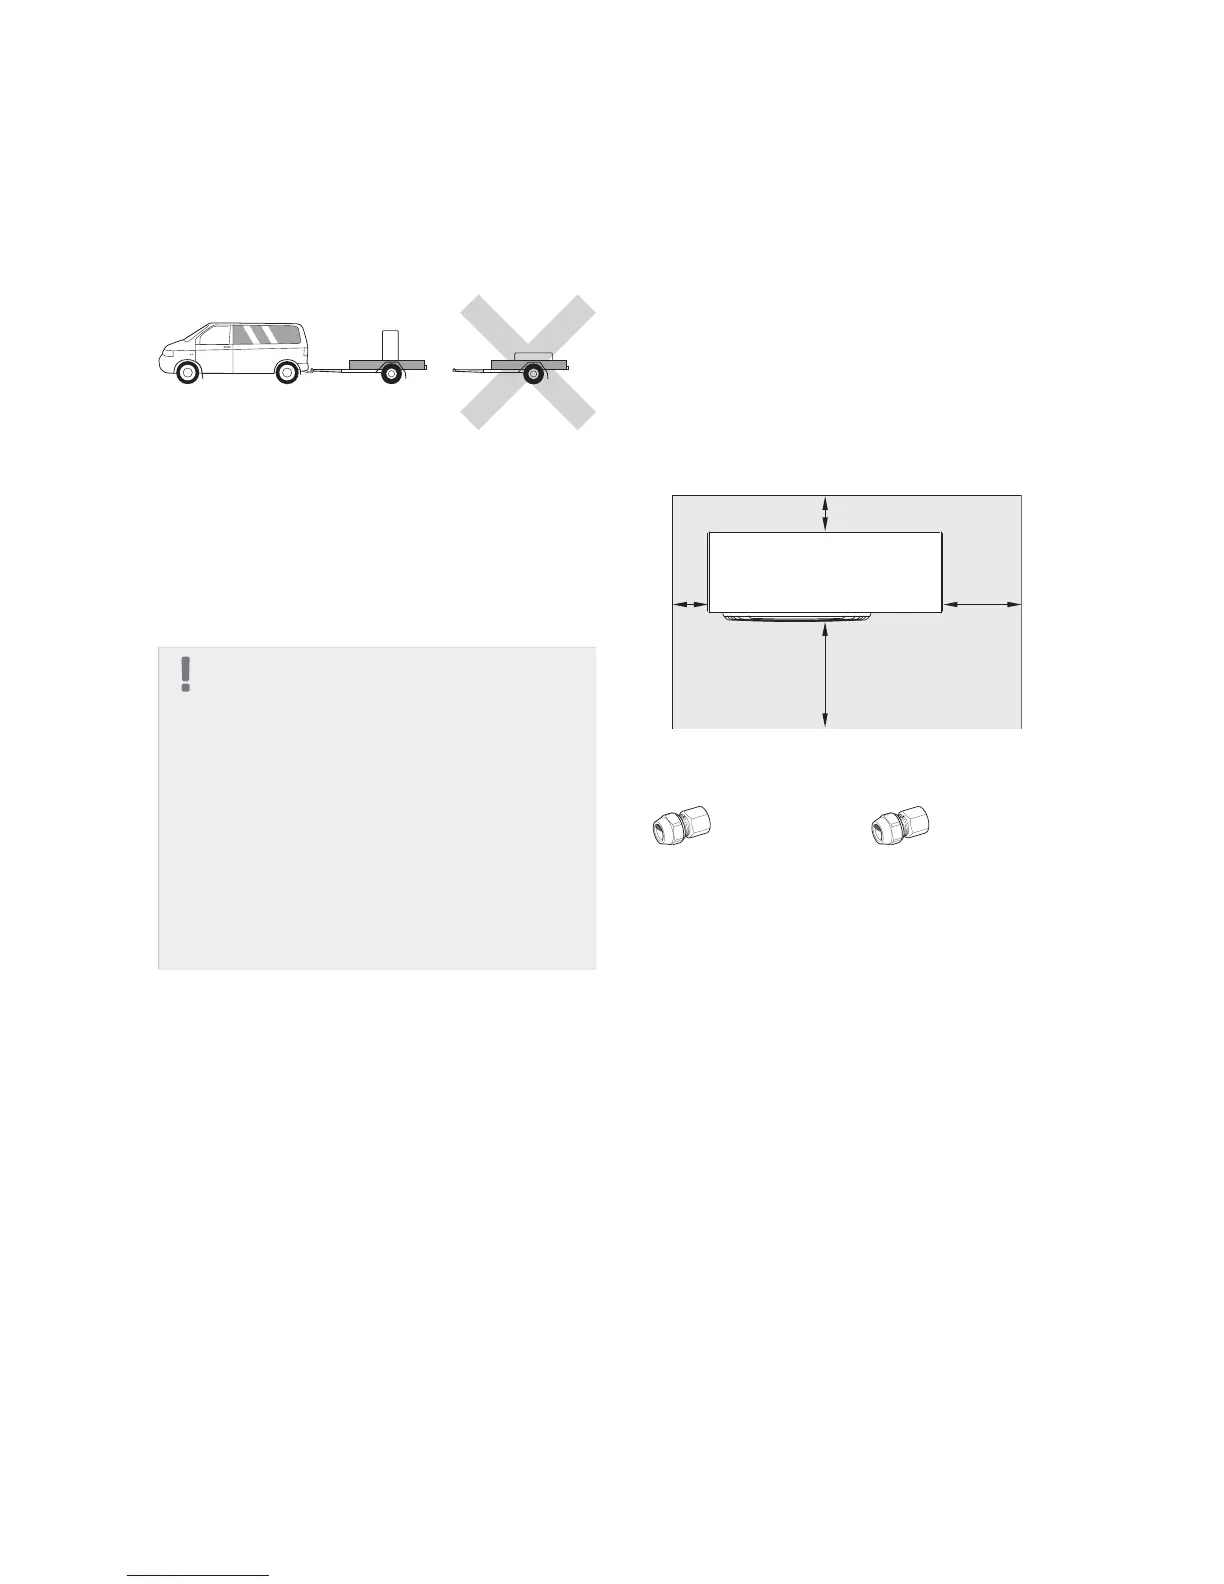
Installation area
Leave a free space of 2,000 mm above and 300 mm be-
low the outdoor unit for work and maintenance.
 Loading...