4
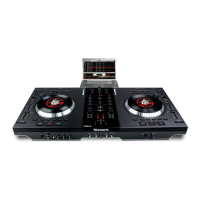
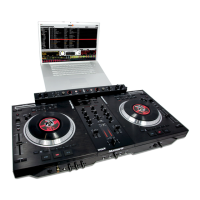
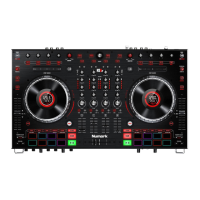
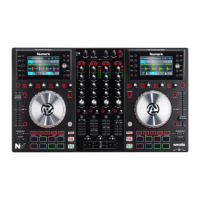
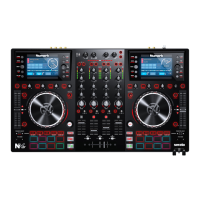
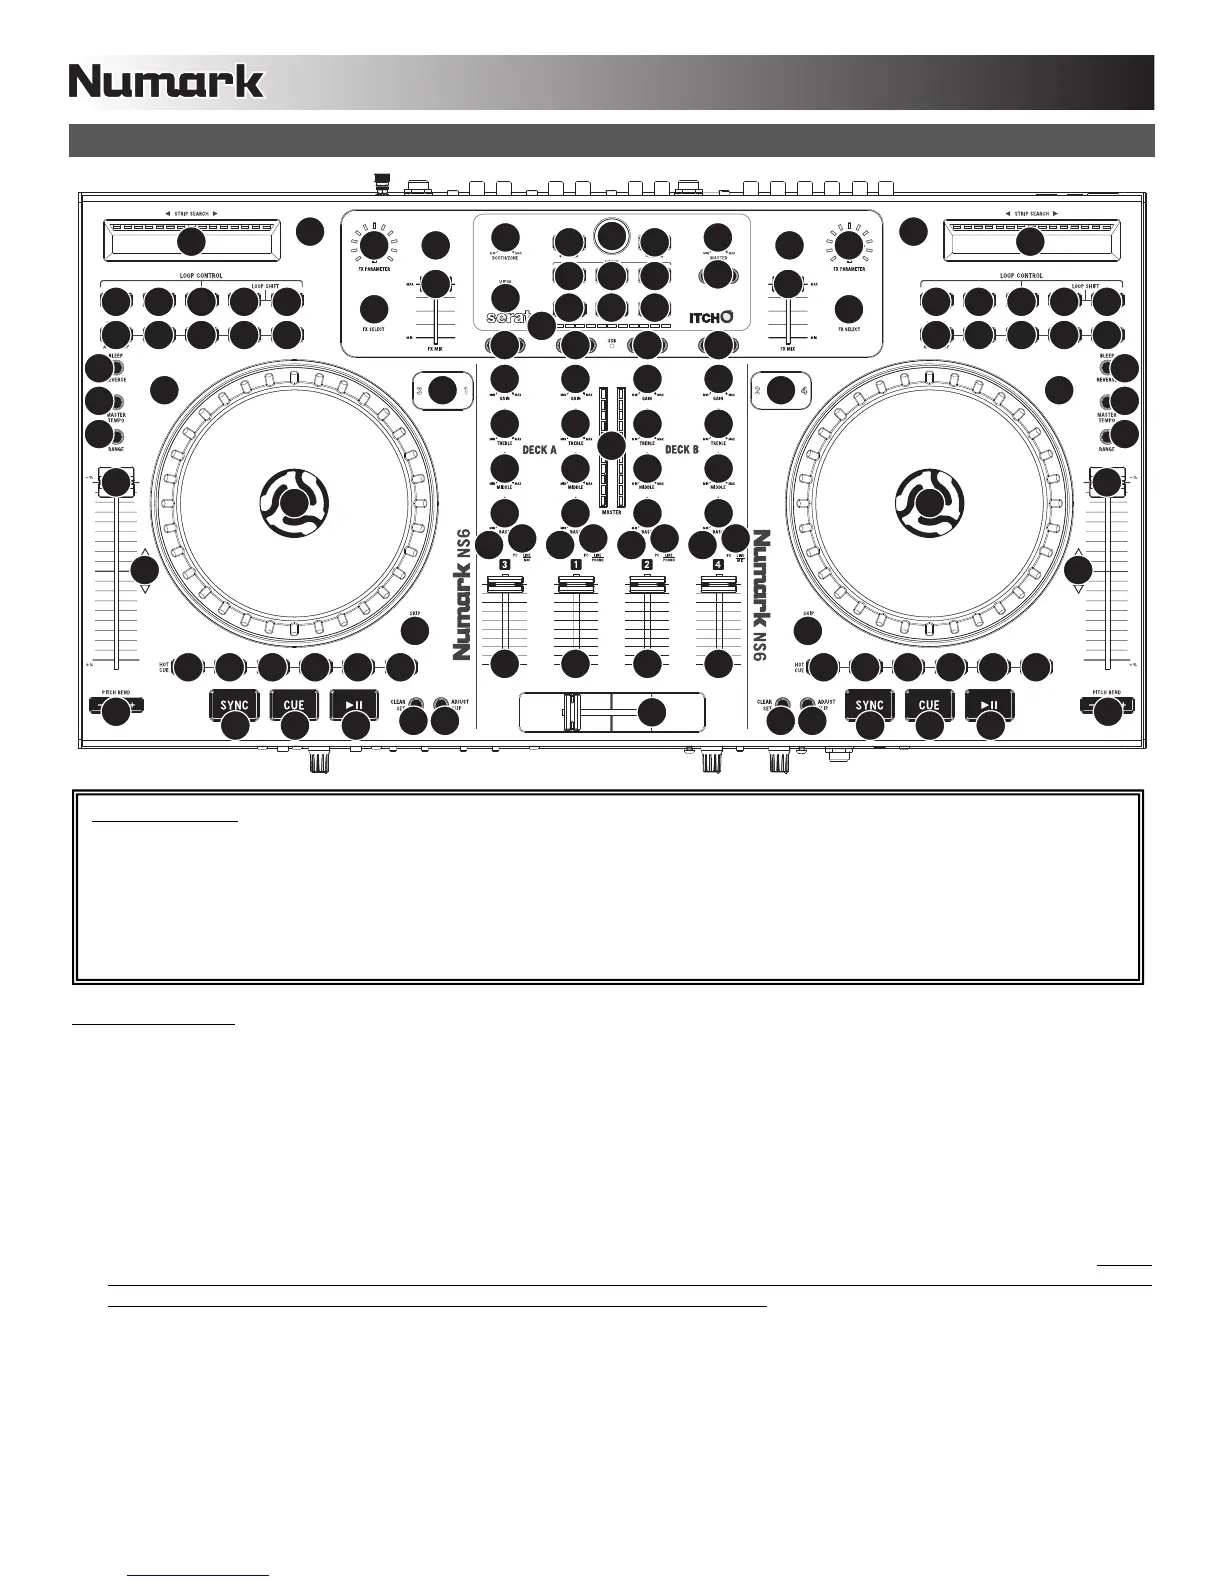
TOP PANEL FEATURES
1
2
3
4
5
6
7
1
2
3
4
5
6
7
1
2
3
4
5
8
910
11
12
13 13
141516 141516
17
36
37
17
36
37
39 39
38 38
40
41 41
42
43 43
44 46
47 47
45
48
49
50 50
51 51
52 5253
54
54 54 54 54
53
18 18
19 19
20
22
24 25 2627 23
30 31
32 32
33 34 33 34
35 35
28 29
22
24 25 2627 23
30 3128 29
21 21 21 21 21 20 21 21 21 21 21
12
6
7
1
2
3
4
5
6
7
MIXER CONTROLS
1. GAIN TRIM – Adjusts the pre-fader, pre-EQ audio level of the corresponding channel in the software.
2. CHANNEL TREBLE – Adjusts the high (treble) frequencies.
3. CHANNEL MID – Adjusts the mid-range frequencies.
4. CHANNEL BASS – Adjusts the low (bass) frequencies.
5. CHANNEL FADER – Adjusts the audio level on the corresponding channel in the software.
6. PFL – Press this button to send this channel's pre-fader signal to the Cue Channel for monitoring. When engaged, the button will
be lit. By pressing one PFL button at a time, you will cue that channel alone (and deactivate PFL monitoring for the other
channels). To cue to multiple channels simultaneously, press the PFL buttons for those channels at the same time.
7. INPUT SELECTOR – Set this switch to the desired audio source from this channel – "PC" (a track playing on that layer in the
software) or "LINE/MIC" or "LINE/PHONO" (a device connected to the LINE/PHONO or MIC input on NS6's rear panel). Please
note that the LINE/MIC and LINE/PHONO selector switches on NS6's rear panel must also be set properly. Also, a channel's
controls will only send MIDI information when its INPUT SELECTOR is set to "PC."
8. CROSSFADER – Blends audio between the channels assigned to the left and right side of the crossfader.
Note: The crossfader is user-replaceable if it should ever wear out. Simply remove the facepanel, then remove the screws holding
it in position. Replace the fader with a quality authorized replacement from your local Numark retailer only.
9. MASTER VOLUME – Adjusts the output volume of the Program Mix.
10. BOOTH/ZONE VOLUME – Adjusts the output volume of the BOOTH/ZONE OUTPUT mix.
11. LED METERS – Monitors the audio levels of the Program Mix.
USEFUL TERMS:
Audio Pointer: The current position in a track from where audio will play. When you select a track and begin playing, the
Audio Pointer will usually start from the beginning and stop at the end.
Cue Point: A marked position in a track, which will be permanently stored by the software. You can set, return to, or delete
Cue Points with the CUE CONTROLS.
Temporary Cue Point: A marked position in a track, which will only remain while that track is still loaded in the Deck. You
can set and return to the Temporary Cue Point with the CUE button.
 Loading...