12
ADDING A SECOND V7
To complete a dual-V7 setup, set up one V7 (as described above) then follow these steps:
AC IN 100V
-240V
50-60Hz 50W
POWER
USB
LINK
HIGH
LOW
RIGHT
LEFT
REMOTE
DECK B
OUTPUT
DECK A
DECK
LOCA
TION
MOTOR
TORQUE
AC IN 100V-240V
50-60Hz 50W
POWER
USB LINK
HIGH LOWRIGHT LEFT
REMOTE
DECK B
L
R
L
R
OUTPUT
DECK A
DECK
LOCATION
MOTOR
TORQUE
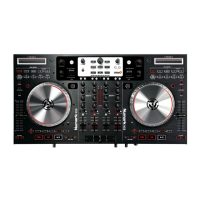
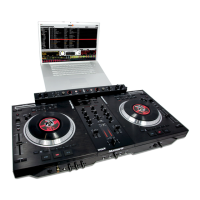
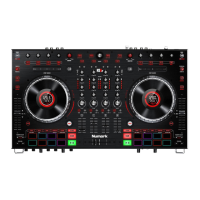
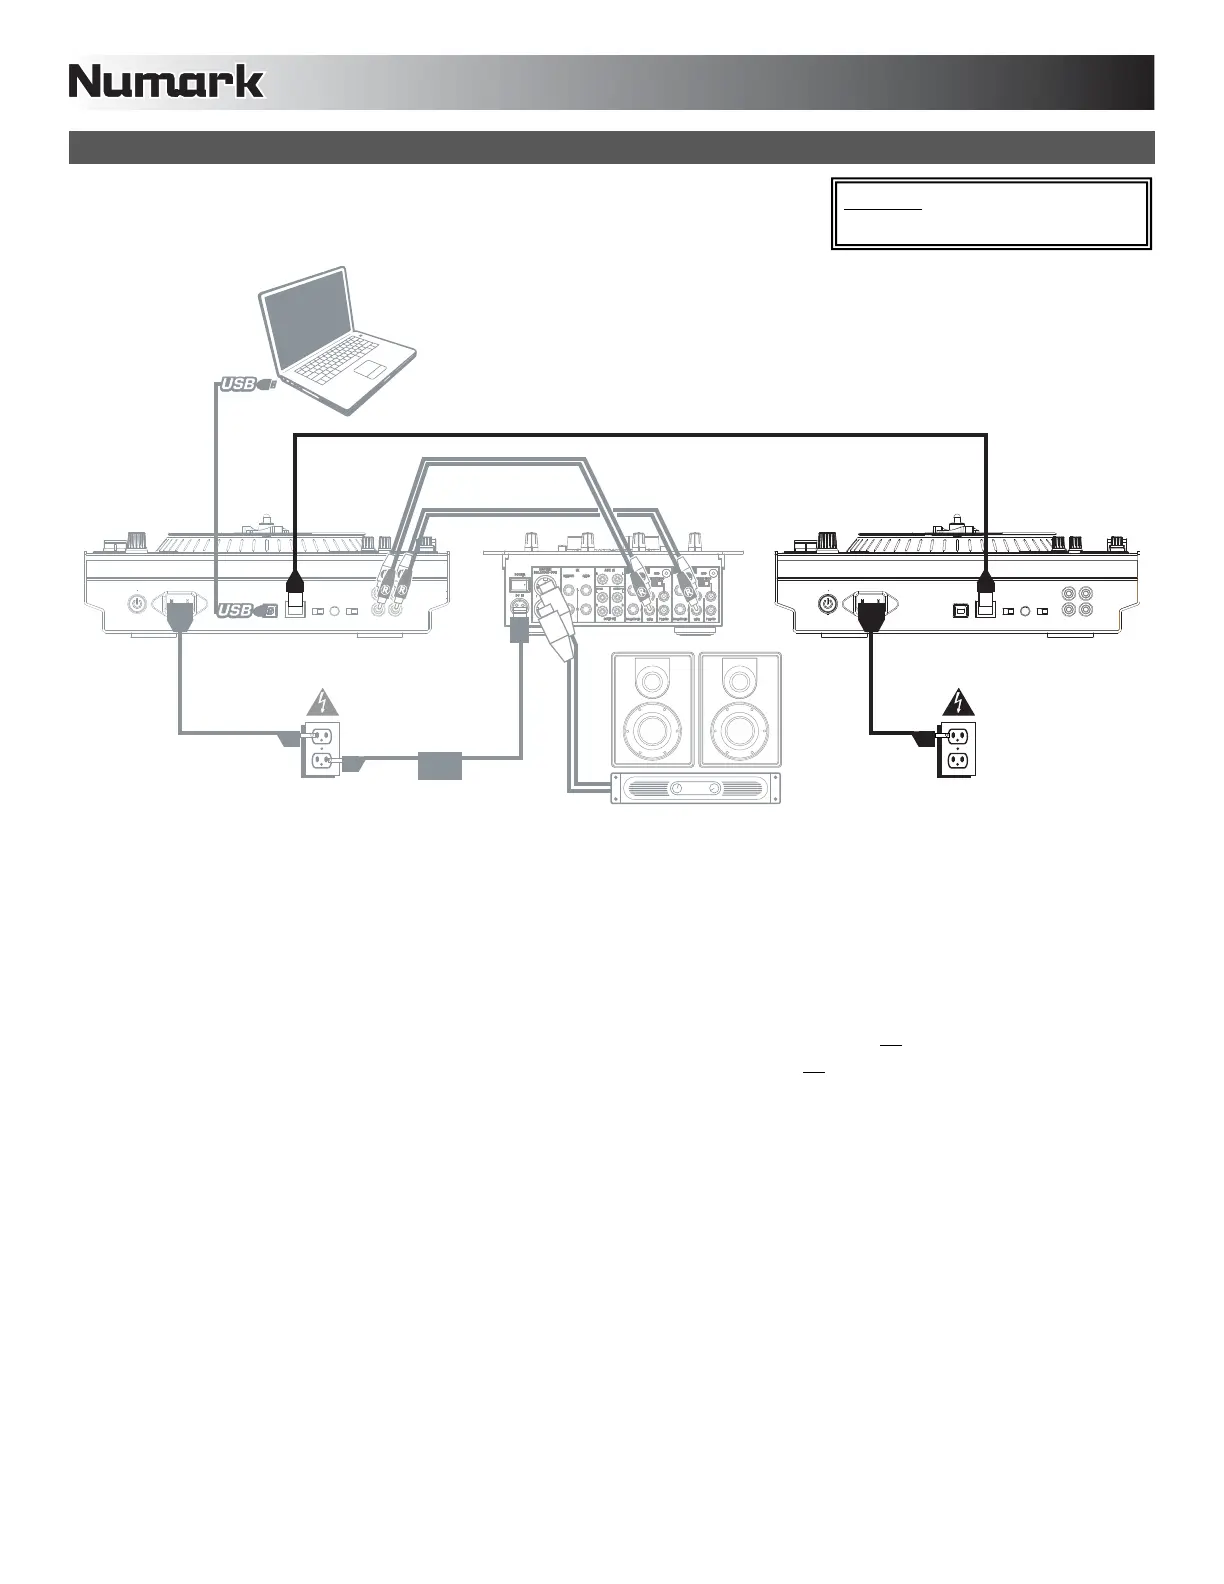
1. Connect the V7s' LINK CONNECTIONS to each other with the included link cable.
2. Use the DECK SELECT switches to set the left V7 as "Deck A" and the right as "Deck B."
Note: Do not change the switches during your session.
3. Make sure your first V7 is connected a USB port on your computer then open Serato ITCH. It will automatically detect the V7s.
4. Check for the following:
a. On the V7 connected to your computer, the MASTER BUTTON should be lit. (If not, then press it.)
b. On the V7 connected to your computer, the USB LED should be lit.
c. On the V7 that is not directly connected to your computer, the MASTER BUTTON should be un
lit. (If not, then press it.)
d. On the V7 that is not directly connected to your computer, the USB LED should be unlit.
e. Both V7s' LINK LEDs should be lit. (If not, then reconnect them securely with the link cable.)
Warning: Do NOT connect two V7s
to the same computer via USB!
 Loading...