Your Xda
O
2
user guide 6
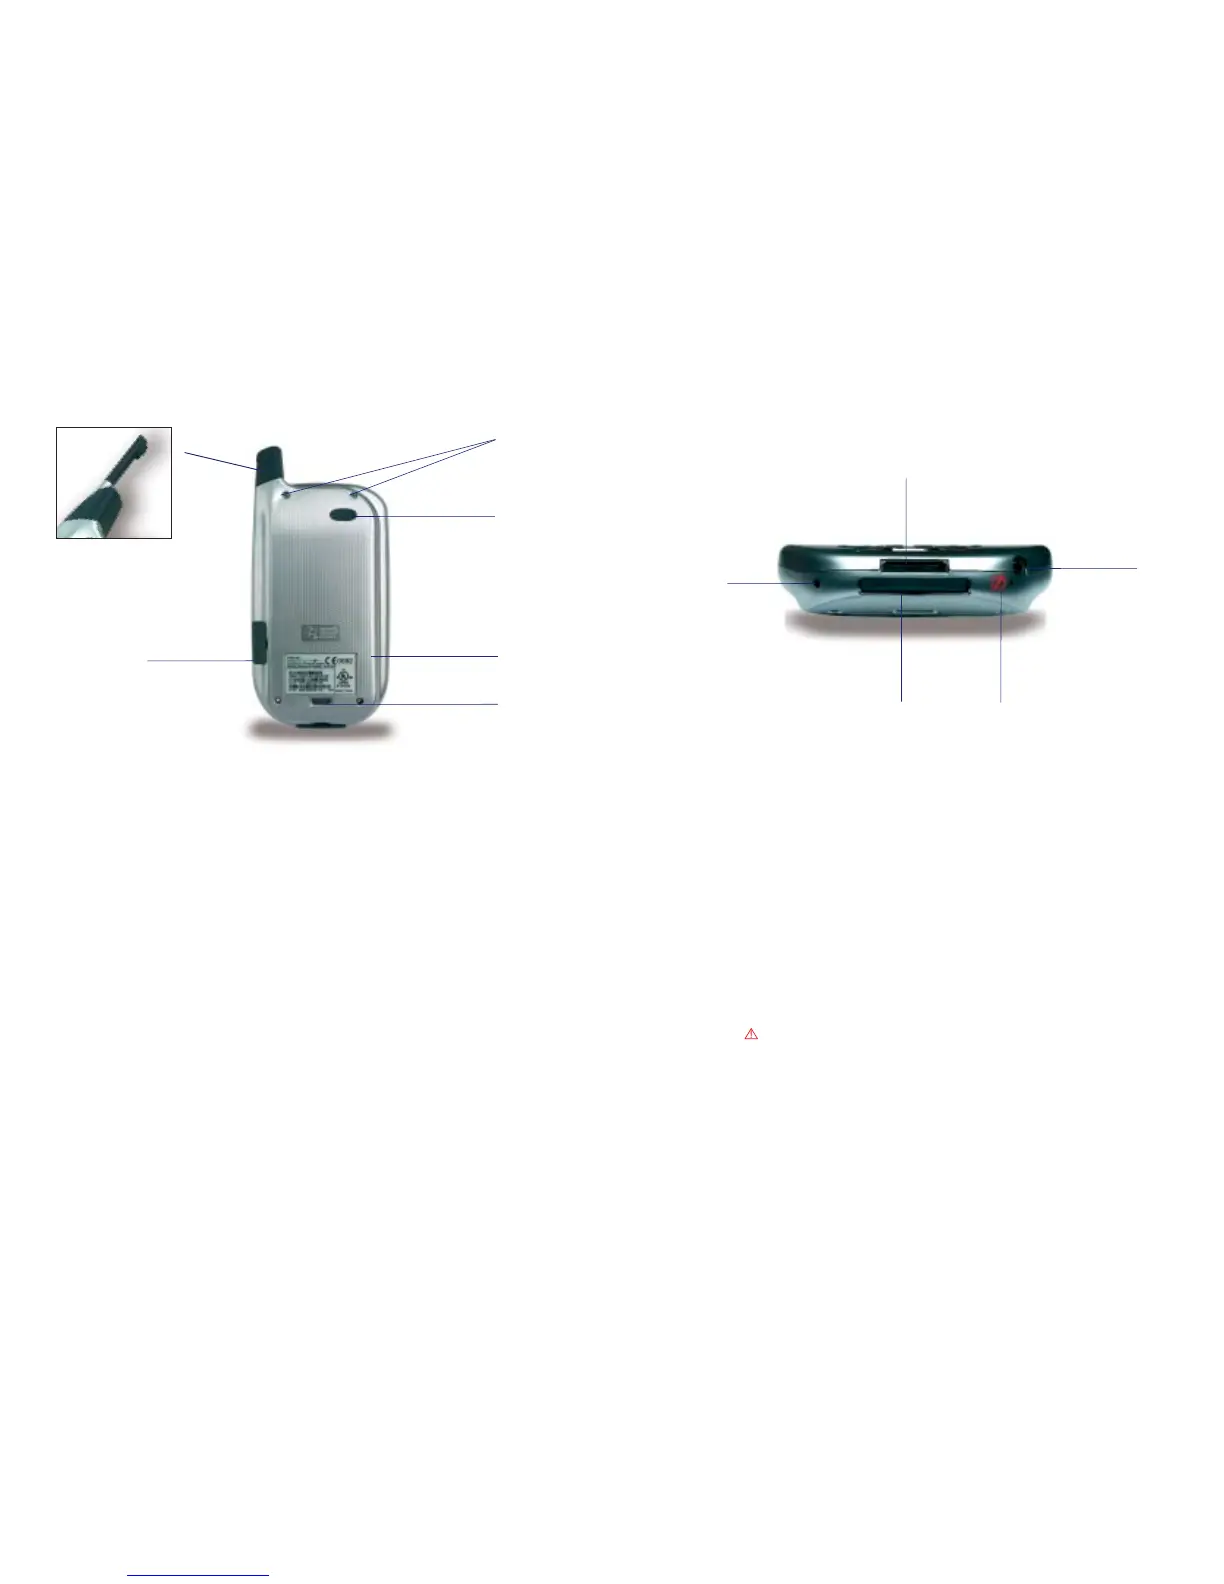
Back panel components
1 SIM card door
Open the rubber door to insert the SIM card. For further information on inserting your
SIM, please refer to page 8.
2 Stylus slot and stylus
The antenna has a neatly hidden slot for housing the stylus.
3 To secure external battery
The optional extended battery should be fastened here.
4 External battery connector cover
Remove this to uncover the connection between your device and the optional
extended battery.
5 Main battery unit
The main battery is housed permanently inside the device – it should only be changed
through an authorised sales centre. Please contact your service provider for more
information.
6 External battery clip
Before screwing the extended battery into position please secure the clip on the bottom
into this hole.
5
6
1
2
4
3
Bottom edge components
1 Soft reset
Press into the hole with the end of your stylus to reset your device.
2 Sync connector
Use this connector when synchronising/transmitting data or recharging.
3 Earphone jack
Allows you to listen to audio media with the phone’s hands-free kit supplied with
your Xda.
4 Battery on/off switch
Press into the hole with the end of the top-half of your stylus to return the device to
factory settings.
Please note
Turning the battery off will wipe all the data from your device unless Permanent Save is
activated. Please refer to your Pocket PC Phone User Manual for further information.
5 MMC and SD card slot
Insert either MMC or SD cards in this slot. These cards, sold as accessories, are used to
back up important data and extend memory. Please refer to your Pocket PC Phone User
Manual for further information.
4
5
1
2
3
5O
2
user guide
 Loading...