Connect The Interface And Power Cables
22
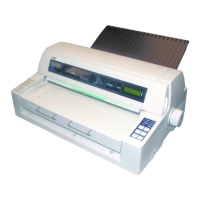
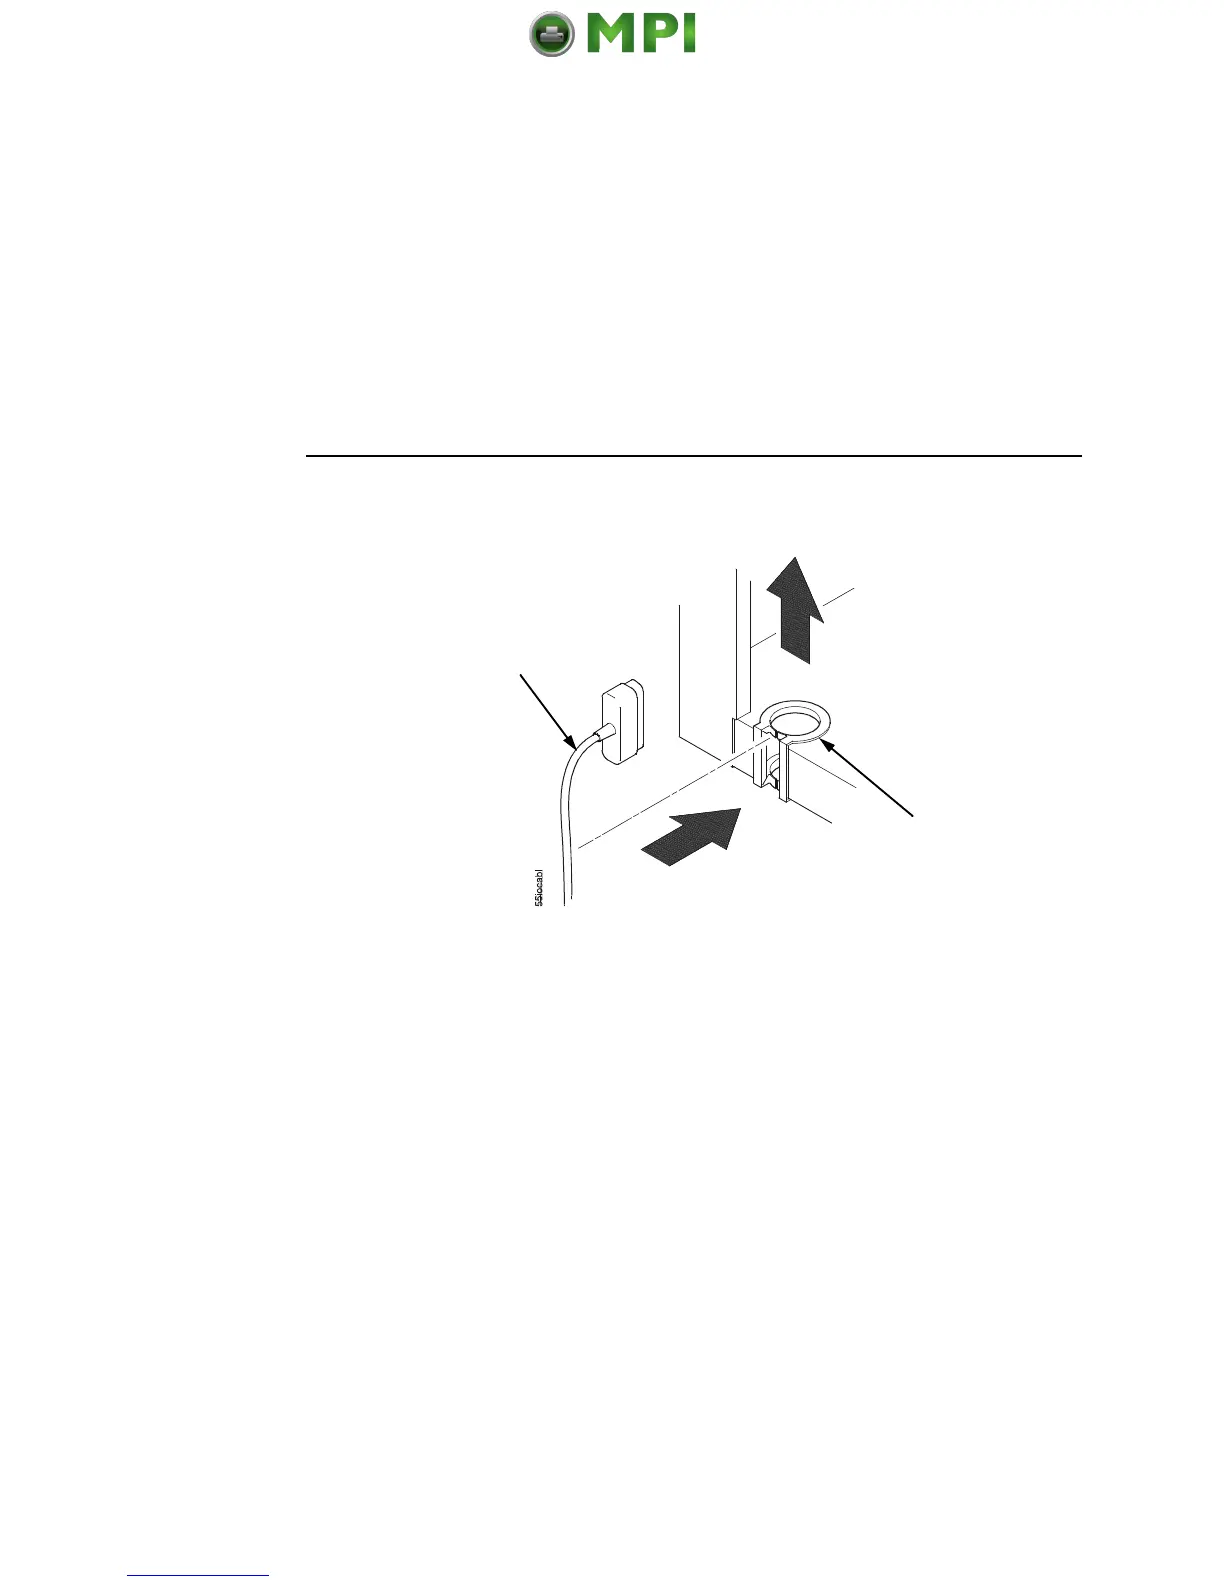
Figure 14. Routing the I/O Cable
3. Hold the I/O cable below its connector and gently push the
cable through the opening in the grommet seated in the notch.
4. Pull the cable up through the notch until it reaches the I/O plate.
Attach the cable connector to the desired printer interface
connector as shown on page 23. (Interface connections are
shown on page 23.)
5. Secure the cable to the printer using the upper and lower
standoffs.
6. Guide the power cable up through the hole in the lower right
back corner of the cabinet (see Figure 13). Thread the power
cable inside the bracket where the gas spring is attached.
7. Plug the power cord into the printer AC power connector, then
into the AC power outlet.
IMPORTANT
Printer power should be supplied from a separate AC circuit
protected at 10 amperes for 100 - 120 volts or 5 amperes for
200 - 240 volts at 50 or 60 Hertz.
8. Turn the printer on.
9. Continue on page 25.
I/O Cable
Grommet
 Loading...