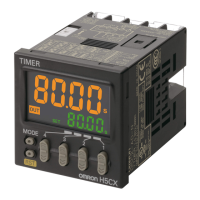
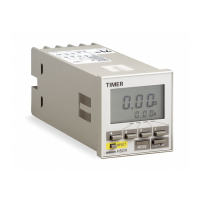
18 Multifunction Digital Timer H5CX-A/-L (Timer Function)
■ Operating Procedures (Timer Function)
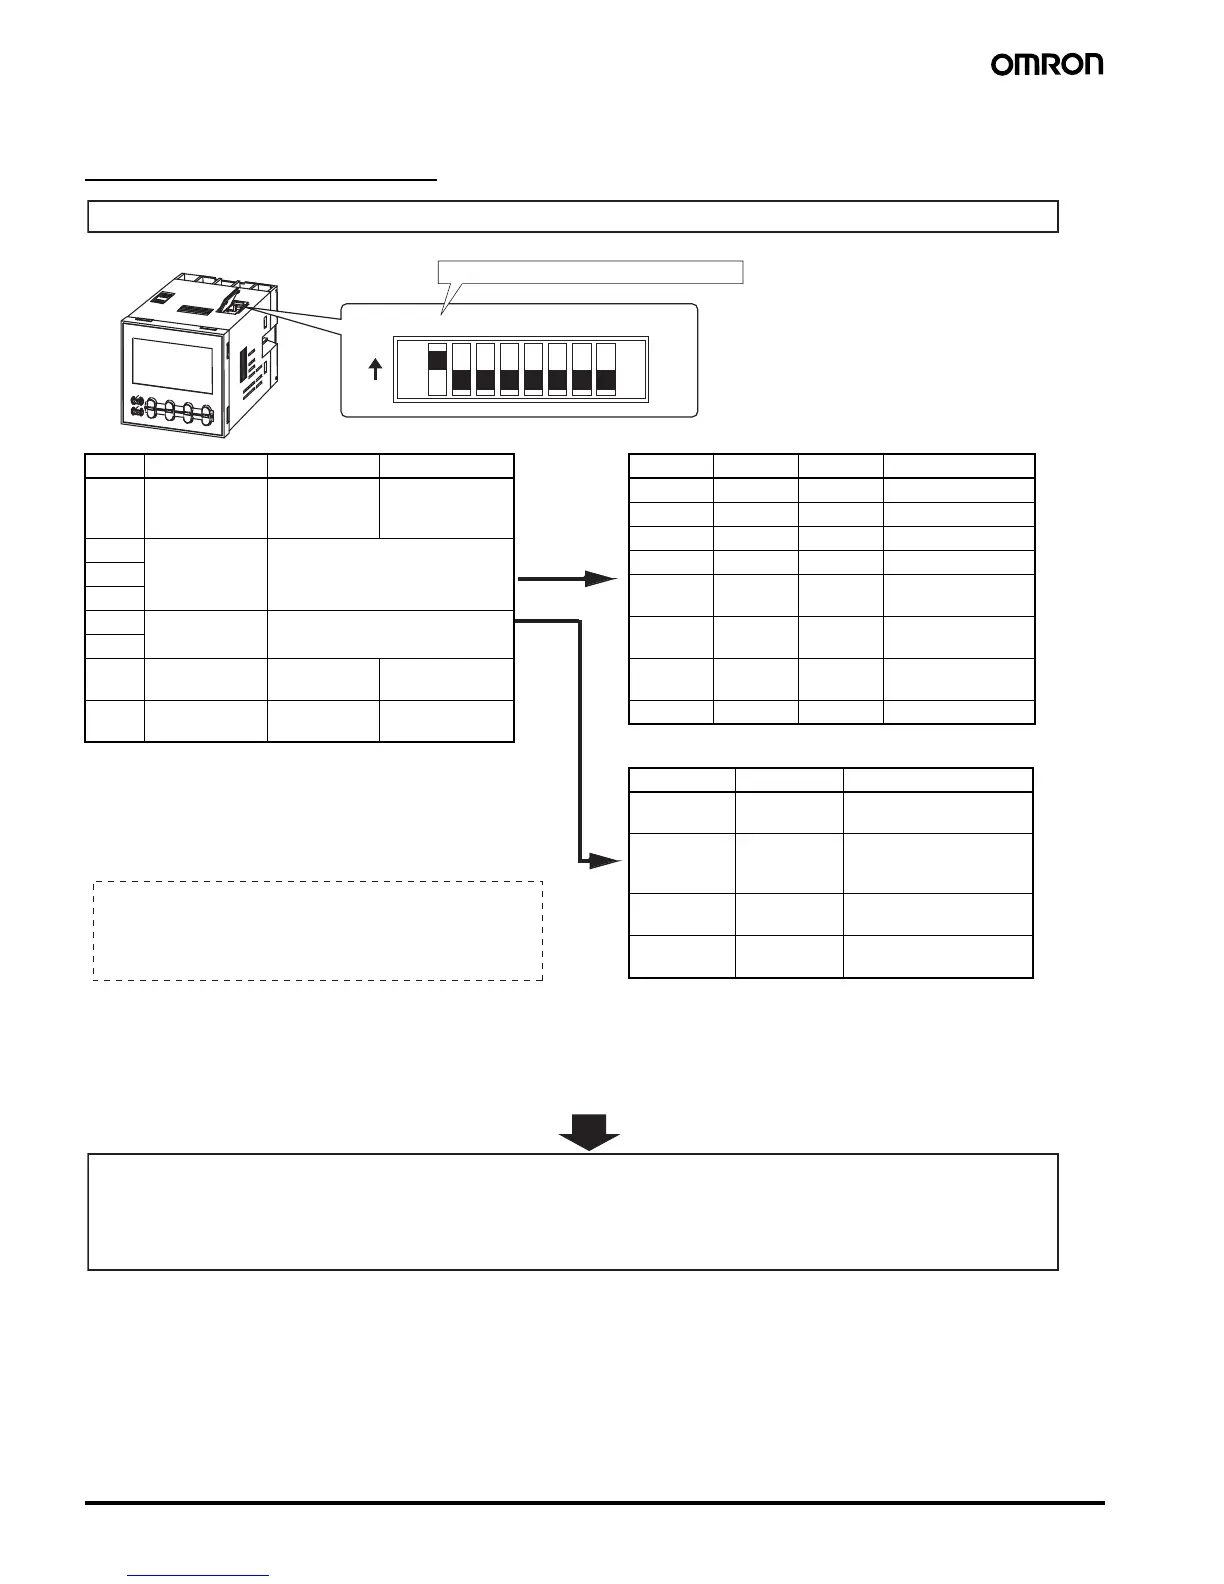
Settings for Basic Functions
Note: All the pins are factory-set to OFF.
Note 1. Be sure to set pin 1 of the DIP switch to ON. If it is set to OFF, the DIP switch settings will not be enabled.
2. Changes to DIP switch settings are enabled when the power is turned ON. (Perform DIP switch settings while the power is OFF.)
3. There is no DIP switch on the H5CX-L8@. For details on the setting methods, refer to page 19.
4. When using time ranges or output modes that cannot be set with the DIP switch, all of the settings have to be made using the operation
keys. For details on the setting methods, refer to page 19.
12345678
OFF
ON
Settings for basic functions can be performed with just the DIP switch.
Be sure to set pin 1 to ON when using the DIP switch.
Item OFF ON
1 DIP switch set-
tings enable/
disable
Disabled Enabled
2 Time range Refer to the table on the right.
3
4
5 Output mode Refer to the table on the right.
6
7 Timer mode Elapsed time
(UP)
Remaining time
(DOWN)
8 Input signal
width
20 ms 1 ms
Easy Confirmation of Switch Settings Using Indicators
The ON/OFF status of the DIP switch pins can be
confirmed using the front display. For details, refer to page 31.
Pin 2 Pin 3 Pin 4 Time range
ON ON ON 0.001 s to 9.999 s
OFF OFF OFF 0.01 s to 99.99 s
ON OFF OFF 0.1 s to 999.9 s
OFF ON OFF 1 s to 9999 s
ON ON OFF 0 min 01 s to 99 min
59 s
OFF OFF ON 0.1 min to
999.9 min
ON OFF ON 0 h 01 min to
99 h 59 min
OFF ON ON 0.1 h to 999.9 h
Pin 5 Pin 6 Output mode
OFF OFF A mode (signal ON delay
(I): power reset operation)
ON OFF A-2 mode: (power ON de-
lay (I): power reset opera-
tion)
OFF ON E mode (interval: power
reset operation)
ON ON F mode (accumulative:
power hold operation)
Detailed Settings
After making DIP switch settings for basic functions, detailed settings (see note) can be added using the operation keys.
For details, refer to page 19.
Note: Output time, NPN/PNP input mode, display color, key protect level.
 Loading...