54
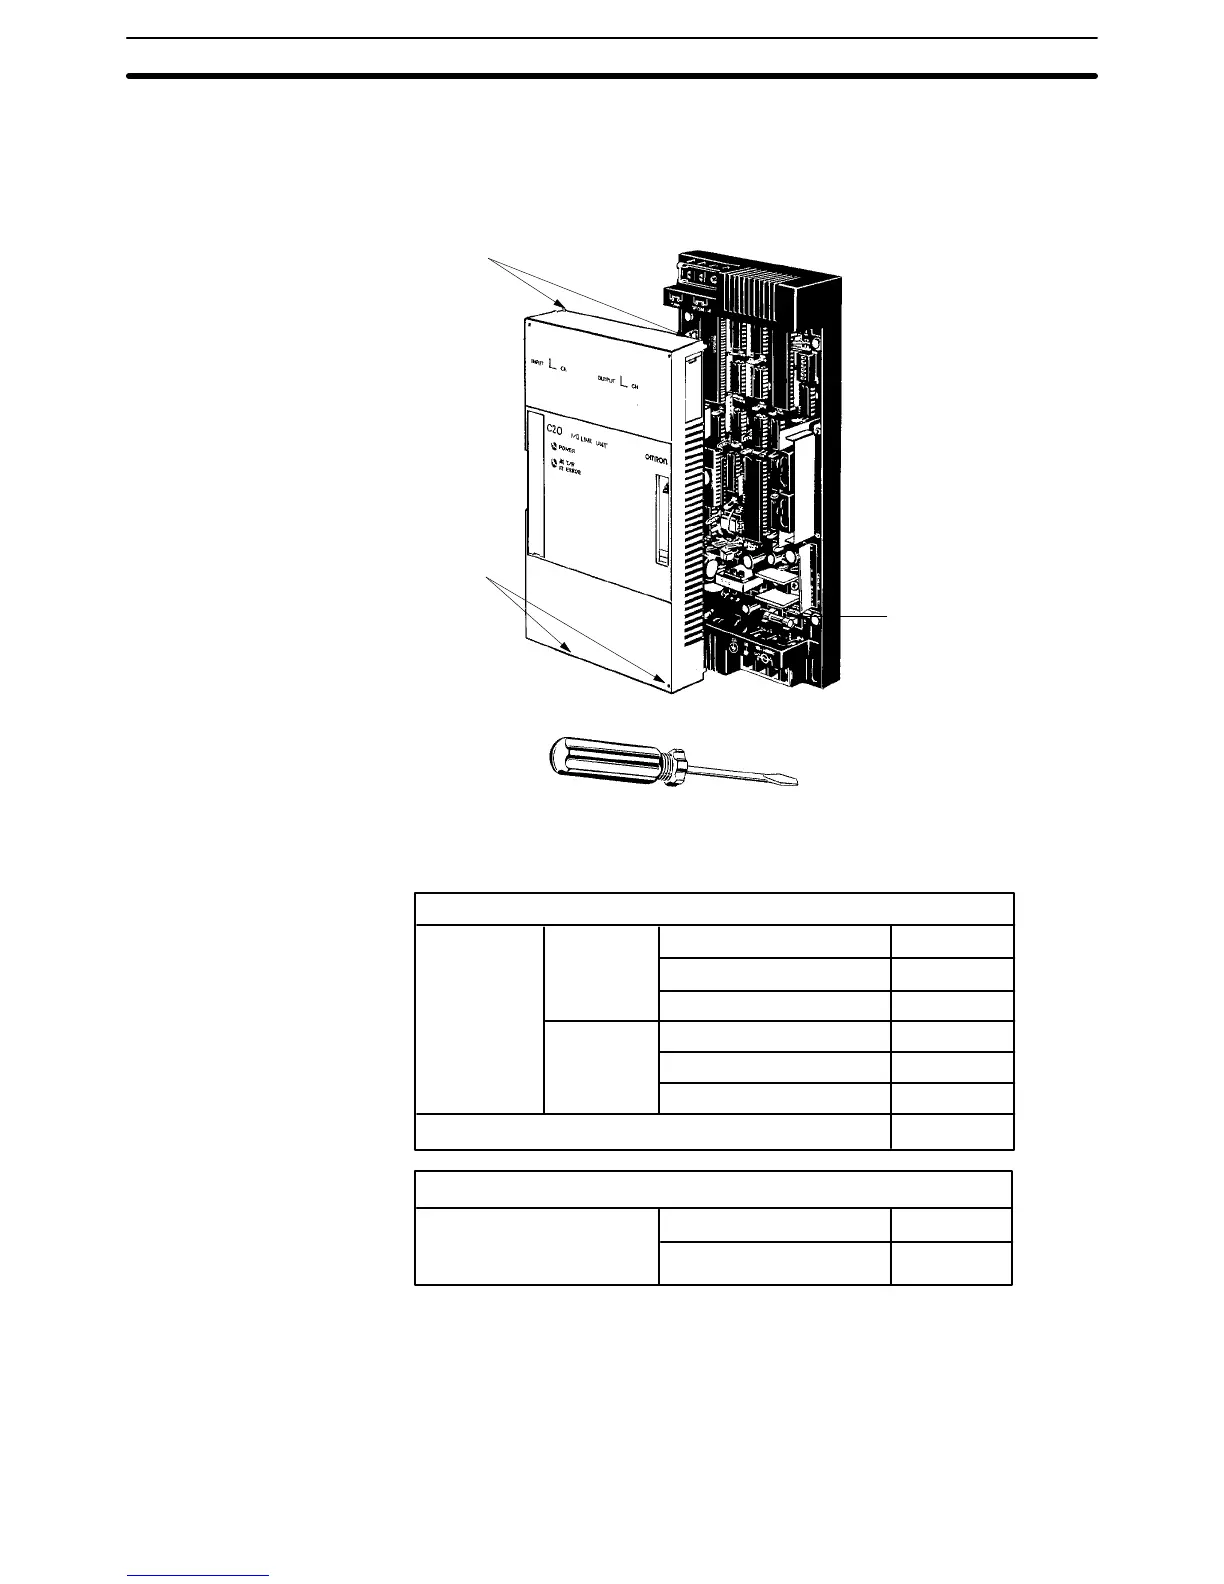
The above procedure applies to CPUs and Expansion I/O Units. The proce-
dure is similar for I/O Link Units except that the cover is secured by 4 catches
instead of 4 screws. Use a standard screwdriver to pop the cover off and in-
sert the fuses as shown below.
Catches
Catches
Standard screwdriver
Power fuse
1 A, 250 V
Refer to the chart below in selecting the proper fuses.
Power Supply Fuses Dia. 5.2 x 20 (MF1NR)
CPU’s,
Expansion
I/O Units
A-suffix
D-suffix
C16P
C20P, C28P, C40P
C60P
C16P
C20P, C28P, C40P
C60P
250 V, 1 A
250 V, 3 A
250 V, 3 A
125 V. 1 A
125 V, 5 A
125 V, 5 A
250 V, 1 A
I/O Link Units
24-VDC Output Fuses Dia. 5.2 x 20 (MF51NR)
CPUs, Expansion I/O Units
(A-suffix only)
C16P
C20P, C28P, C40P, C60P
125 V, 0.2 A
125 V, 0.5 A
3-3-2 Relays
Replace relays as follows:
1, 2, 3... 1. Turn off power to the Unit.
2. Using a Phillips screwdriver to loosen the 4 screws, remove the cover
from the Unit, lifting it from the left.
Replacing Parts Section 3-3
 Loading...