> Before Start >Part Names > Install > Initial Setup > Playback
Advanced Setup | Firmware Update | Others
9
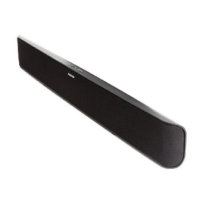
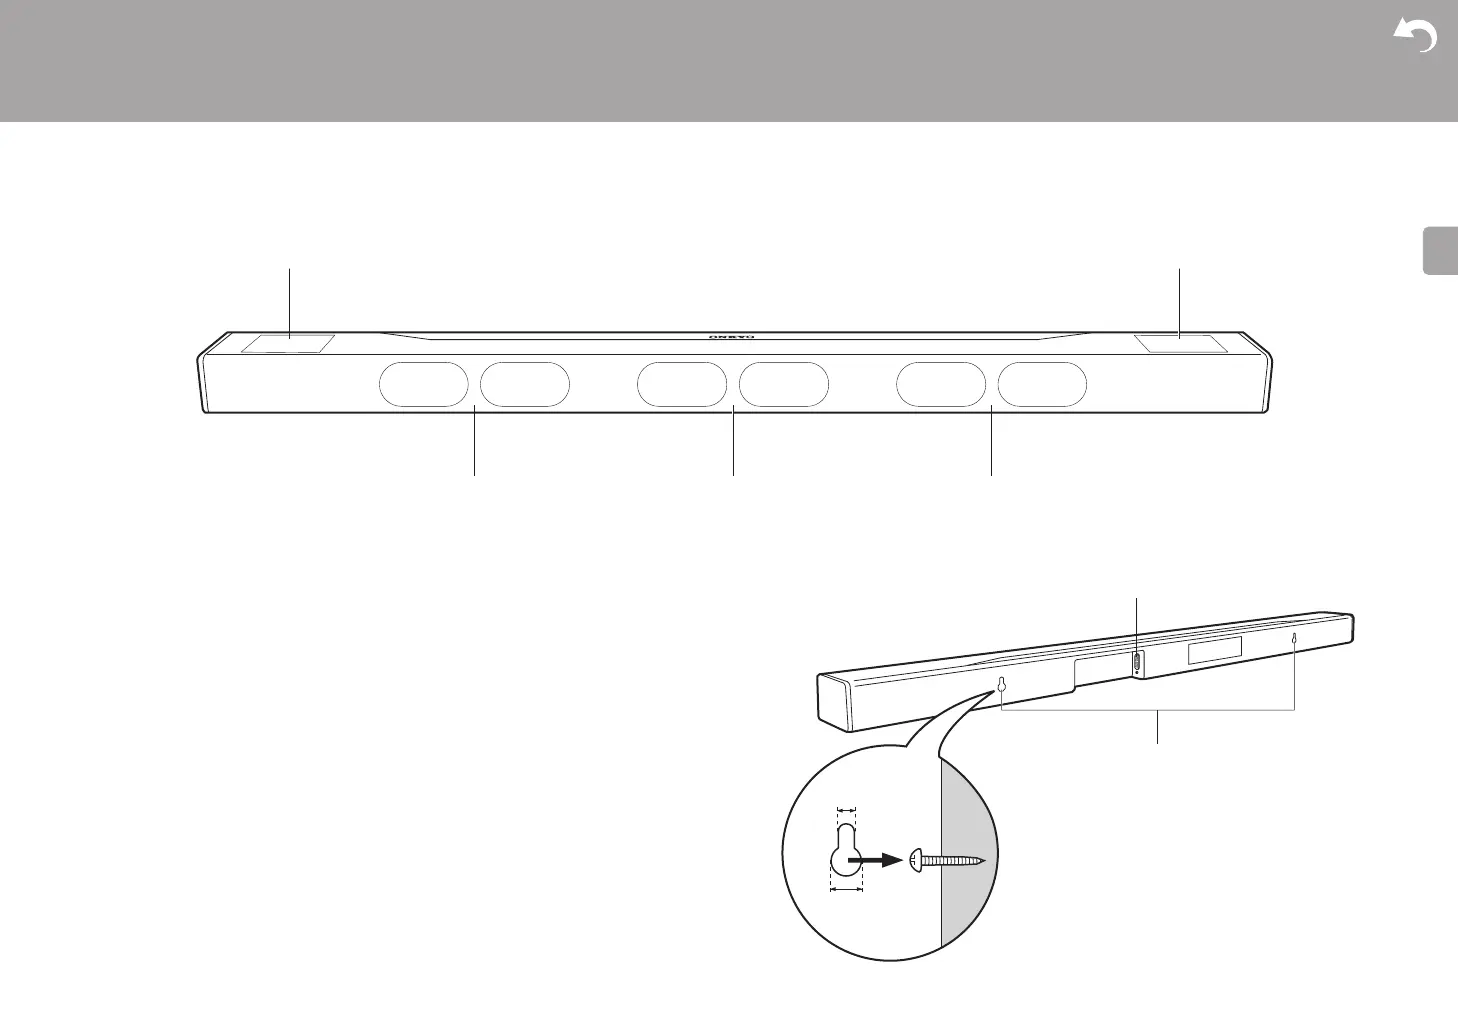
Sound Bar
1. Height left speaker
2. Height right speaker
3. Front left speaker
4. Center speaker
5. Front right speaker
6. Speaker jacks: Connect to the main unit using the included sound bar connection cable.
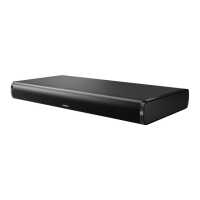
7. Holes for attaching to the wall: The sound bar can be attached to the wall by putting these
holes on wood screws, etc., that are fixed to the wall. The holes for attaching to the wall
are on the rear of the sound bar, in two places 580 mm (22-7/8") apart.
0 The wood screws, etc., to fit the brackets to the wall are not included. Consult with a
professional to make sure you select the type, material, length, etc., that will provide
sufficient support. Add a reinforcing plate or anchor if reinforcement is necessary.
0 We accept no responsibility for damage or injury that arises due to incorrect fitting,
incomplete fitting, incorrect use, or acts of nature.
10 mm (3/8")
5 mm (3/16")

 Loading...