45
First Time Setup
—Continued
• When an HDMI IN is assigned to an input selector in
“HDMI Input Setup” on page 43, this input assign-
ment is automatically set to the same HDMI IN. And
in addition to the usual inputs (e.g., COAX1, COAX2,
etc.), you can also select HDMI inputs. If you change
the input assignment from an HDMI IN to one of the
other inputs (e.g., COAX1 or COAX2), be sure to set
the“Automatic Audio Input Selection Setup” on
page 46 to the same input (e.g., COAX1 (Auto) or
COAX2 (Auto)).
• This procedure can also be performed on the AV
receiver by using its [SETUP], [ENTER], and arrow
buttons.
If you connect an -capable Onkyo MiniDisc
recorder, CD recorder, or RI Dock to the TAPE IN/OUT
jacks, or connect an RI Dock to the GAME/TV IN jacks,
for to work properly, you must change this setting.
This setting can only be changed on the AV receiver.
iPod photo:
If you’re using an iPod photo with the
DS-A1 Remote Interactive Dock, connect the DS-A1 to
the GAME/TV IN jacks.
Notes:
• DOCK can be selected for the TAPE input selector or
GAME/TV input selector, but not both at the same
time.
2
Use the Up and Down [ ]/[ ]
buttons to select “1. Input
Assign,” and then press
[ENTER].
3
Use the Up and Down [ ]/[ ]
buttons to select “3. Digital
Audio Input,” and then press
[ENTER].
4
Use the Up and Down [ ]/[ ]
buttons to select an input selec-
tor, and then use the Left and
Right [ ]/[ ] buttons to select:
COAX1
: Select if the component is
connected to DIGITAL IN
COAXIAL 1.
COAX2
: Select if the component is
connected to DIGITAL IN
COAXIAL 2.
OPT1
: Select if the component is
connected to DIGITAL IN
OPTICAL 1.
OPT2
: Select if the component is
connected to DIGITAL IN
OPTICAL 2.
- - - - -:
Select if the component is
connected to an analog
input.
5
Press the [SETUP] button.
Setup closes.
Changing the Input Display
1
Press the [TAPE] or [GAME/TV]
input selector button so that
“TAPE” or “GAME/TV” appears
on the display.
2
Press and hold down the [TAPE]
or [GAME/TV] input selector but-
ton (about 3 seconds) to change
the setting.
Repeat this step to select MD, CDR, or
DOCK.
For the TAPE input selector, the setting
changes in this order:
For the GAME/TV input selector, the
setting changes in this order:
GAME/TV
↔
DOCK
1, 2 1, 2
ON/STANDBY
ZONE 2
ZONE 2 LEVEL
TONE
MOVIE/TV MUSIC GAME DISPLAY RT/PTY/TP MEMORY
CLEAR
DIGITAL INPUT TUNING MODE
OFF
PHONES
MULTI CH DVD VCR/DVR CBL/SAT GAME/TV AUX TAPE TUNER CD
SETUP
SETUP MIC VIDEO
L AUDIO R
AUX INPUT
ENTER RETURN
TUNING PRESET
MASTER VOLUME
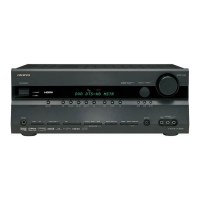
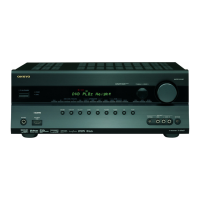
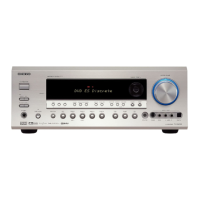
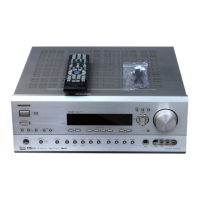
AV RECEIVER
TX-SR606
STANDBY
ZONE 2
PURE AUDIO
TAPE
GAME/TV
or
TAPE
GAME/TV
or
TAPE → MD → CDR
DOCK
→
→
TX-SR606En.book Page 45 Friday, May 9, 2008 1:28 PM
 Loading...