75
Advanced Setup
—Continued
Notes:
• The Center and Subwoofer distances can be set up to
5 ft. (1.5 m) more or less than the Left distance. For
example, if the Left distance is set to 20 ft. (6 m), the
Center and Subwoofer distances can be set between 15
and 25 ft. (4.5 and 7.5 m).
• The Surround and Surround Back distances can be set
up to 5 ft. (1.5 m) more or 15 ft. (4.5 m) less than the
Left distance. For example, if the Left distance is set
to 20 ft. (6 m), the SurrRight, Surr Left, Surr Back R,
and Surr Back L distances can be set between 5 and 25
ft. (1.5 and 7.5 m).
• The speaker distance cannot be adjusted while a pair
of headphones is connected or the multichannel DVD
input is being used.
Speaker Levels
You can set the volume level of each speaker so that all
speakers can be heard equally at the listening position.
Note:
• The speaker levels cannot be adjusted while a pair of
headphones is connected or the AV receiver is muted.
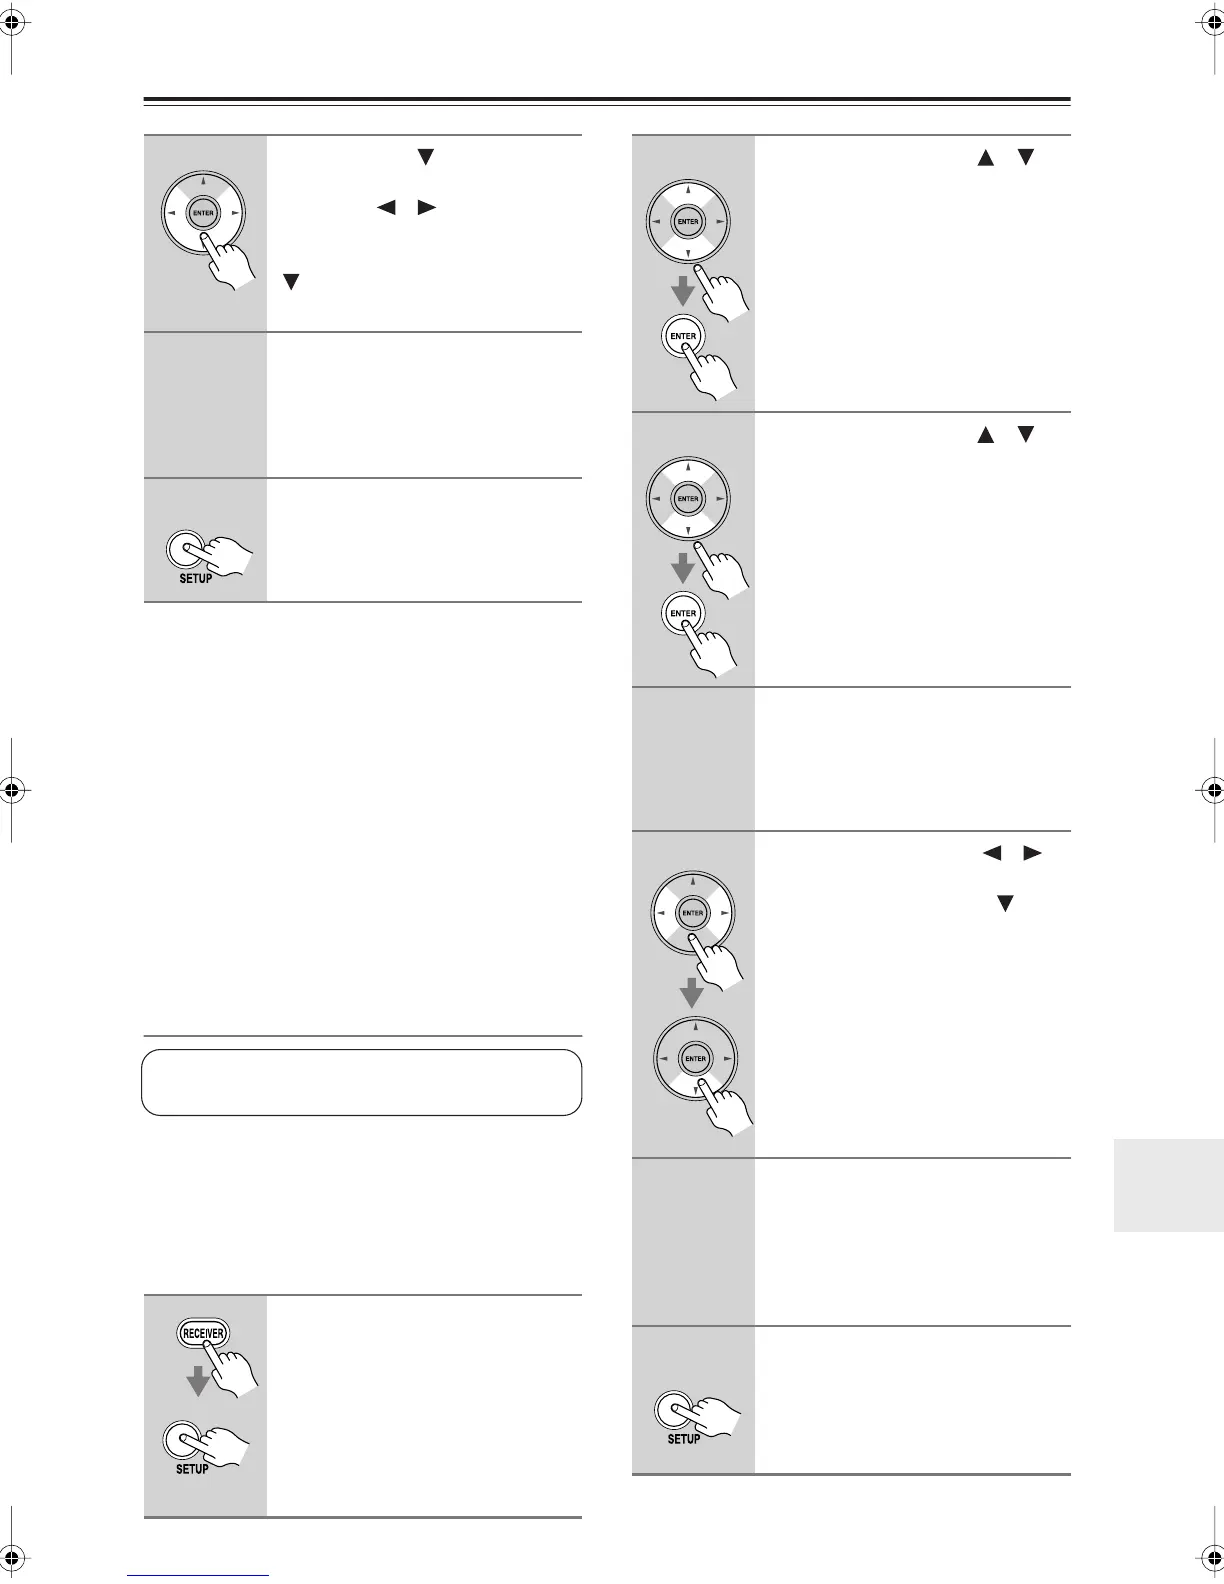
6
Use the Down [ ] button to
select “Left”, and use the Left
and Right [ ]/[ ] buttons to
specify the distance for the front
speakers, then press the Down
[] button to select the next
speaker.
7
Repeat step 6 for all speakers.
Note:
Speakers that you set to No or None in
the Speaker Configuration (page 72)
cannot be selected.
8
Press the [SETUP] button.
Setup closes.
1
Press the [RECEIVER] REMOTE
MODE button, followed by the
[SETUP] button.
The main menu appears onscreen.
If the main menu doesn’t appear, make
sure the appropriate external input is
selected on your TV.
These settings are set automatically by the Automatic
Speaker Setup function (see page 38).
2
Use the Up and Down [ ]/[ ]
buttons to select “2. Speaker
Setup,” and then press the
[ENTER] button.
3
Use the Up and Down [ ]/[ ]
buttons to select “4. Level Cali-
bration,” and then press
[ENTER].
A pink noise test tone is output by the
front left speaker.
4
Turn up the volume so that you
can hear the test tone suffi-
ciently.
As each speaker outputs the test tone,
its name appears on the display.
5
Use the Left and Right [ ]/[ ]
buttons to adjust the speaker
level, and use the Down [ ] but-
ton to select the next speaker.
The levels can be adjusted from –12 to
+12 dB in 1 dB steps (–15 to +12 dB
for the subwoofer).
6
Repeat step 5 so that the level of
the test tone coming from each
speaker is the same.
Speakers that you set to No or None in
the Speaker Configuration (page 72) do
not output the test tone.
7
Press the [SETUP] button.
Setup closes.
Don’t forget to turn down the volume if
you turned it up while setting the levels.
TX-SR606En.book Page 75 Friday, May 9, 2008 1:28 PM
 Loading...