FIGURE 8: LCD Display with Watering Interval
Press and hold the + or - keys to select the number of days between water-
ing. Example: If you want to water once every 10 days, set the interval at 10.
To activate the watering interval, press
ENTER.
Note: If an interval of “3” is entered today, the Timer will water for the first time
today, and then again every “3” days.
To select odd or even day watering, press
NEXT. The cursor will move to
either the odd or even setting, then press
ENTER.
To erase a schedule, press
CLEAR. To enter a new schedule, press NEXT.
Reviewing and Changing Your Program
The Orbit Timer lets you easily review a complete watering plan.
For example, to review Program-A watering start times, simply turn the
rotary dial to the
CYCLE START TIMES position in Program-A and check the times
that have been entered. Using the
NEXT key, you can advance through the
schedule without fear of disturbing any programming. If you want to change
the start times, watering days, or interval, simply follow the directions for
that program. After reviewing or changing a watering schedule, remember to
turn the rotary dial back to
AUTO.
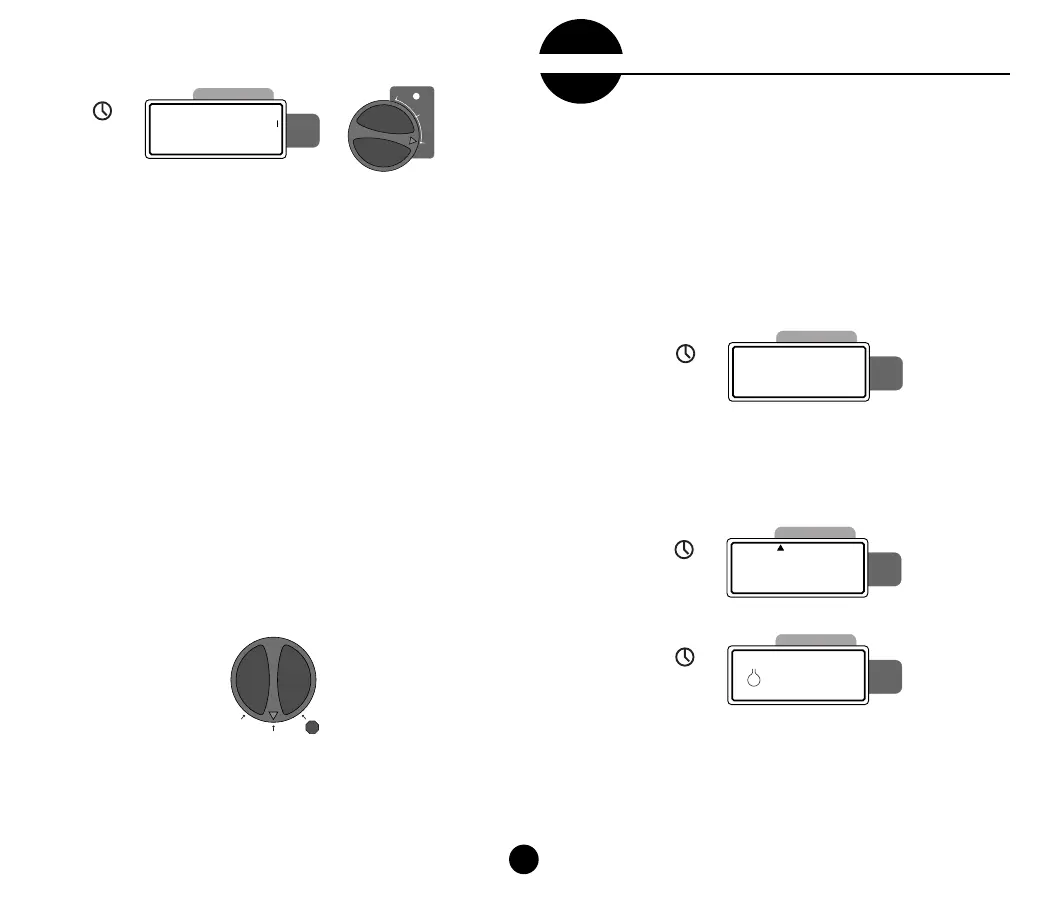
Ready for Automatic Operation
After programming is complete, turn the rotary dial to AUTO [See Figure 9].
The Timer is now fully programmed and ready to use in the automatic mode.
In automatic mode, each program will operate sequentially, starting with
Program-A.
FIGURE 9: Ready for Automatic Operation
The Orbit Timer has the ability to override the automatic program without
disturbing the preset program.
Using the Semi-Automatic Mode
(All stations cycle once both A & B programs)
Tu rn the rotary dial to
AUTO, then press the MANUAL key. The display will
show “AB”, “MANUAL”, and “ALL” will be blinking [See Figure 10].
This indicates all stations will semi-automatically water for their assigned
durations in sequence.
To activate the assigned water durations in the A and B programs for each
station, press
ENTER.
FIGURE 10: Semi-Automatic Watering for Stations Assigned to A and B Programs
Note: Water durations assigned to station 1 in program A will water first, then
move to station 1 in program B before advancing to the second station and will con-
tinue alternating. Only those stations assigned a watering duration will water when
using the manual or semi-automatic mode [See Figure 11].
FIGURE 11: Semi-Automatic Watering Entered for A and B Programs, All Stations
(All stations cycle once, A program only)
To activate each stations assigned watering durations for the A program
only, press the
MANUAL key, followed by the NEXT key. This will activate sta-
tions with assigned watering durations in the A program only. To initiate this
INTERVAL
ODD
EVEN
MTWT F SS 2nd
1
2
3
4
123456789101112
ZONE
PROGRAM
CYCLE
START TIMES
DAY
MONTH
YEAR
10
A
MINS
B
MANUAL
A
ON
INTERVAL
ODD
EVEN
MTWT F SS 2nd
1
2
3
4
123456789101112
ZONE
PROGRAM
CYCLE
START TIMES
DAY
MONTH
YEAR
8
:
00
AB
PM
MANUAL
A
INTERVAL
ODD
EVEN
MTWT F SS 2nd
1
2
3
4
123456789101112
ZONE
PROGRAM
CYCLE
START TIMES
DAY
MONTH
YEAR
ALL
AB
MANUAL
A
TIME/DATE
AUTO
OFF
B
INTERVAL
ODD
EVEN
MTWT F SS 2nd
1
2
3
4
123456789101112
ZONE
PROGRAM
CYCLE
START TIMES
DAY
MONTH
YEAR
B
- -
CYCLE
START
TIMES
ZONE
DURATION
WATERING
INTERVAL
DAYS
4
Semi-Automatic &
Manual Operation
4
section
WTM210729 57962-24 rE.qx 6/11/01 1:43 PM Page 4
 Loading...