53
10 Measurements and Adjustments
10.1. Introduction
When servicing this unit, make sure to perform the adjustments necessary based on the part(s) replaced.
Before disassembling the unit, it is recommended to back up the camera data stored in Flash-ROM as a data file.
NOTE: (When replacing the Lens unit and MOS unit)
• When the MOS unit is unavoidably removed for Lens unit and MOS unit replaced, an optical tilt adjustment is necessary after
parts are exchanged.
• The adjustment software (DSC_Tilt) is necessary to execute an optical tilt adjustment.
• The adjustment software “DSC_Tilt” is available at “TSN Website”.
NOTE: (When replacing the Main P.C.B.)
• Number of necessary adjustment items decreases by copying the backup data to new Main P.C.B. when adjustment data in old
Main P.C.B. can be read by ROM_BACKUP “DSC→SD” in “10.2.2. Flash-ROM Data Backup”.
For more details, please refer an item “Main P.C.B. (to which the backup data was copied)” in the table of “10.3.2. Adjustment
Specifications”.
10.2. Before Disassembling the unit
10.2.1. Initial Setting Release
The cameras specification are initially set in accordance with model suffix (such as EB/EG/GK and so on.).
Unless the initial setting is not released, an automatic alignment software in the camera is not able to be executed when the align-
ment is carried out.
Note:
The initial setting should be again done after completing the alignment. Otherwise, the camera may not work properly.
Therefore as a warning, the camera display a warning symbol “ ! ” on the LCD monitor every time the camera is turned off.
Refer to the procedure described in “3.5.2. Initial Settings” for details.
[ How to Release the camera initial setting ]
Preparation:
• Attach the fully charged Battery, and insert the memory card (32MB or more).
Remove the lens cap.
Step 1. The temporary cancellation of “Initial Settings”:
While pressing “[ RIGHT ] of Cursor button”, [ AF/AE LOCK ] button and [ DISP. ] button simultaneously, turn the power on.
Step 2. Cancellation of “Initial Settings”:
Press the [ Playback ] button in order to enter the [ Playback ] mode.
Press the [ AF/AE LOCK ] button and “[ UP ] or Cursor buttons” simultaneously, then turn the power off.
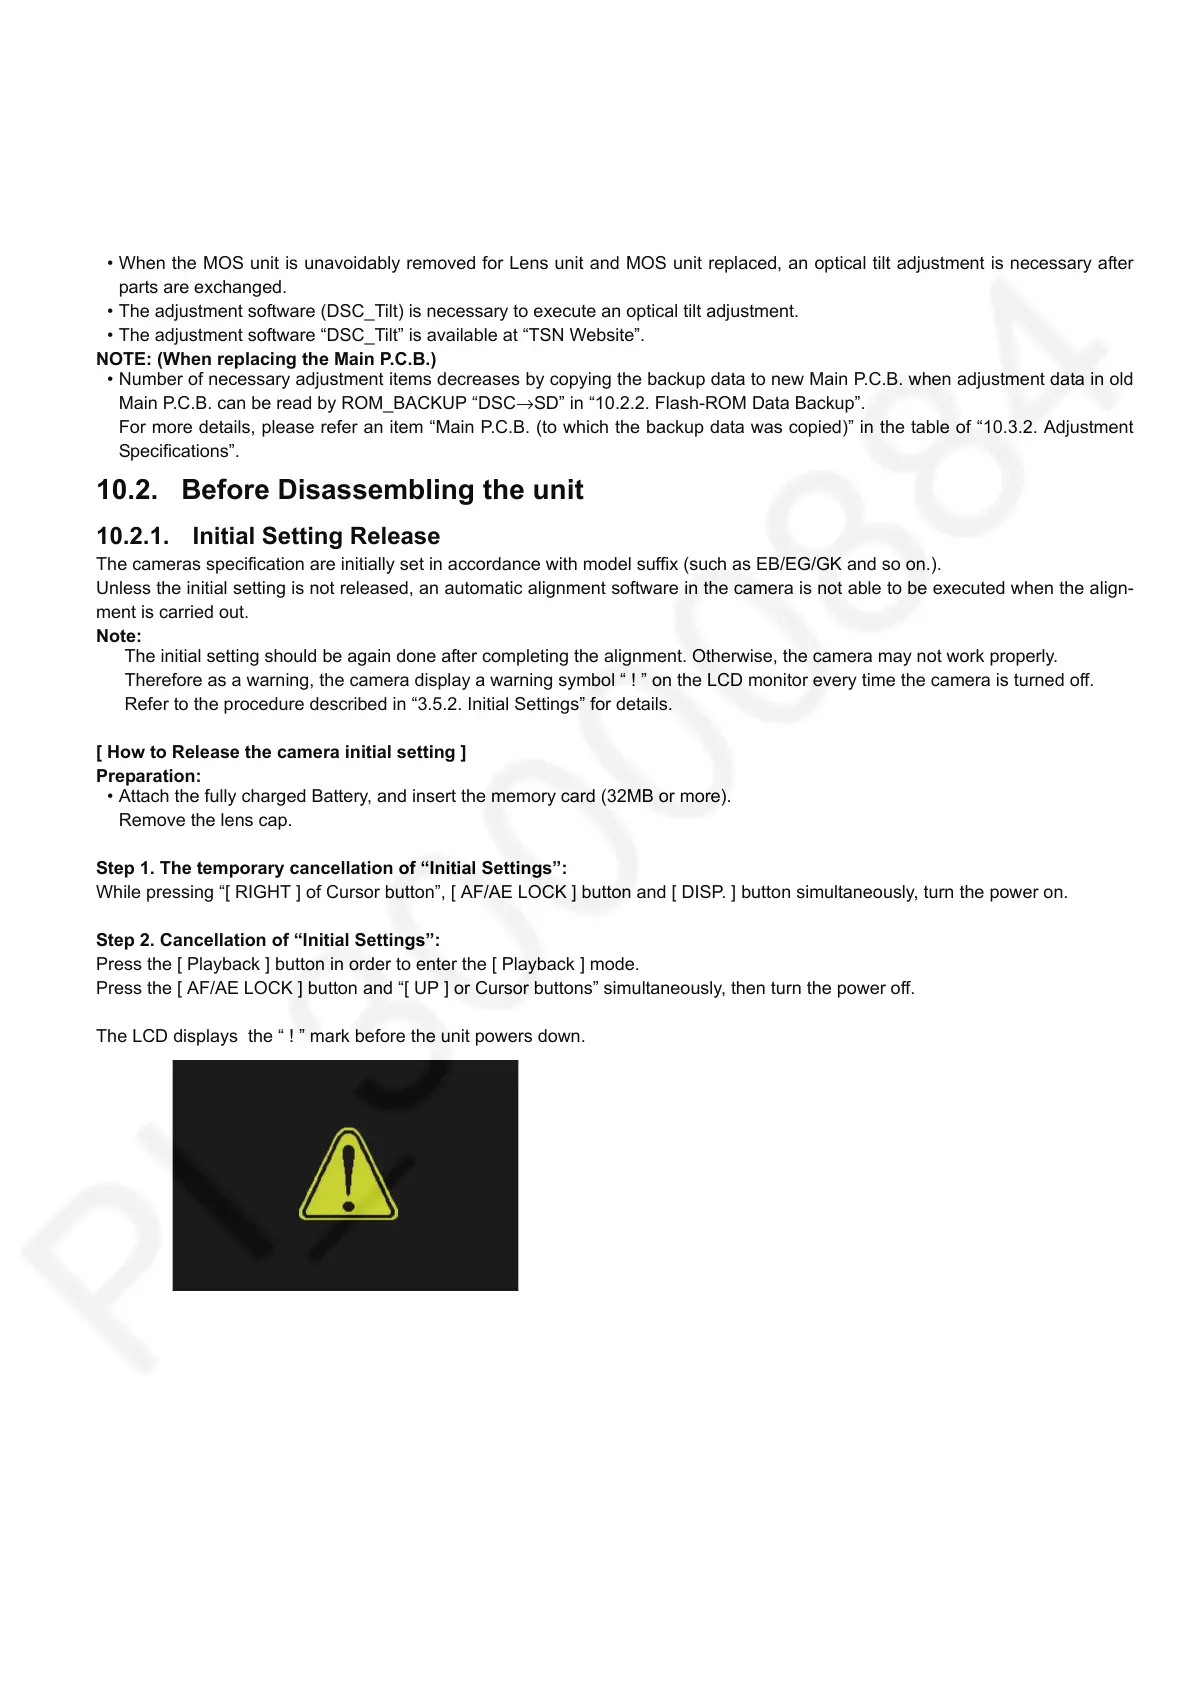
The LCD displays the “ ! ” mark before the unit powers down.

 Loading...