Advanced
43
VQT0Y44
Taking Pictures using the Built-in Flash
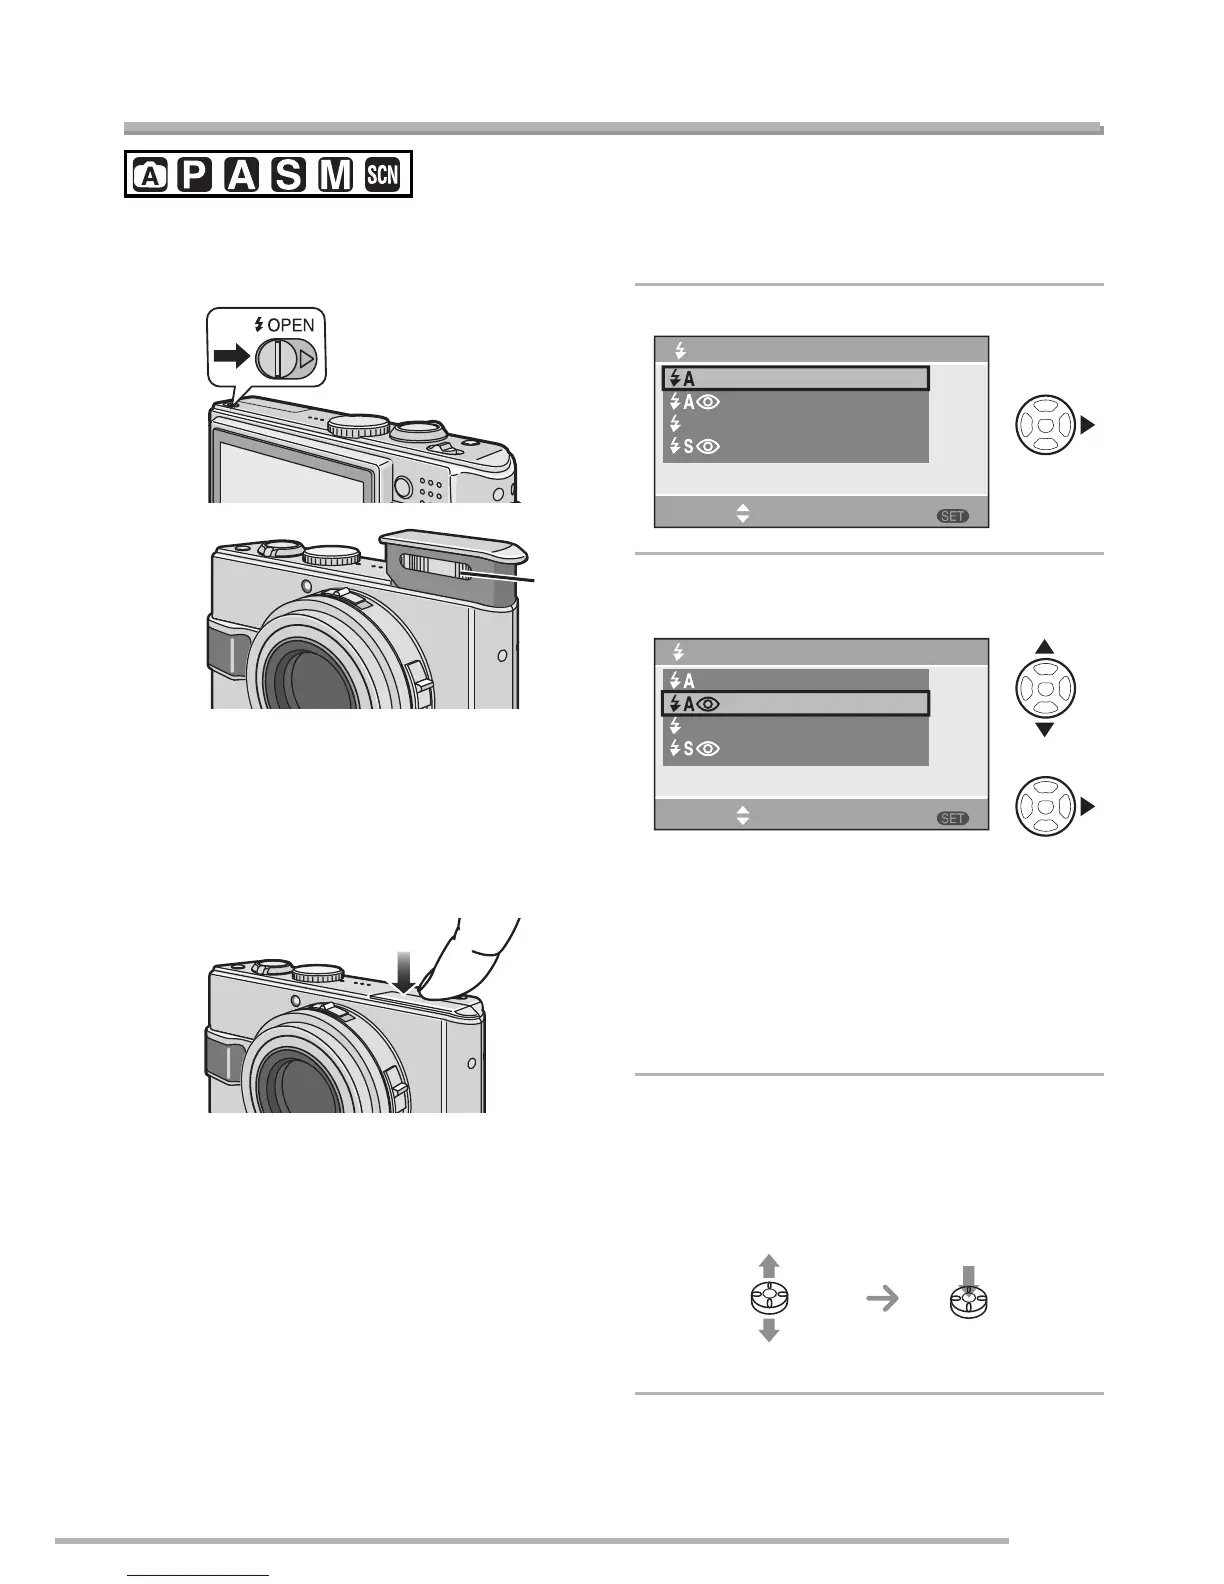
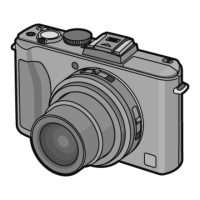
n To open the flash
Slide the [< OPEN] switch
A.
B: Photo flash
• Do not cover the photo flash with your
fingers or any other items.
n To close the flash
Press the flash until it clicks.
• To close the flash securely, press the
center of the flash until it clicks. When you
press on the edge, locking the flash may
become difficult.
• Be sure to close the flash when not in use.
• The flash setting is fixed to Forced OFF
[v] while the flash closes.
n Switching to the appropriate flash
setting
Set the flash setting of the built-in flash
according to the scene to be recorded.
1
Press q [<].
2
Press e/r or q [<] to switch the
flash setting.
• When 5 seconds pass without any
operation, the setting selected at the time
is automatically adopted.
• For the flash setting contents, refer to
“Flash setting” (P44). For the selectable
flash setting, refer to “Available flash
settings by recording mode” (P44).
3
Press [MENU/SET].
• You can also press the shutter button
halfway to finish.
• You can also use the joystick for
performing steps 2 and 3.
A
B
MENU
FLASH
SELECT SET
AUTO
AUTO/RED-EYE
FORCED FLASH ON
SLOW SYNC./RED-EYE
MENU
FLASH
SELECT SET
AUTO
AUTO/RED-EYE
FORCED FLASH ON
SLOW SYNC./RED-EYE
or
To select To set