15
NI CYIEGB
b) Hearing damage if suitable
ear protection is not worn.
c) Damage to health due to
- touching the area of the
grinding tool which is not
covered;
- ejection of parts of work-
pieces or damaged grind-
ing discs.
d) Health injuries which result
from swinging hand and arm,
in the eve
nt that the device is
used over a longer period of
time or is not used and main-
tained properly.
Warning! During opera-
tion, this electric tool gen-
erates an electromagnetic
eld which, under certain
circumstances, may impair
the functionality of active or
passive medical implants.
To reduce the risk of serious
or lethal injuries, we rec-
ommend that persons with
medical implants consult
their doctor and the manu-
facturer of their medical
implant before operating
the machine.
Assembly
Caution! Risk of injury!
- Ensure that you have sufcient
space in which to work, and that
you do not endanger other people.
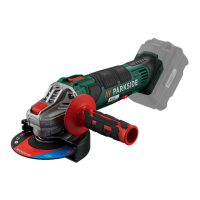
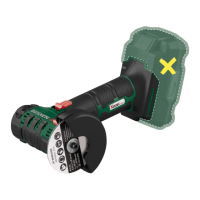
Set protective hood
Adjust the protective hood such that any
sparks or detached parts cannot hit either
the user or any bystanders.
The protective hood must also be posi-
tioned such that the sparks cannot ignite
combustible parts, including those in the
surroundings.
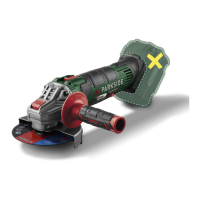
The device must only be op-
erated with the protective
hood mounted.
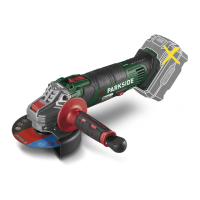
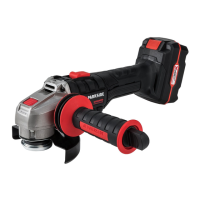
1. Remove the battery (9). Press the
battery release buttons (8) and
pull the battery (9) out of the
tool.
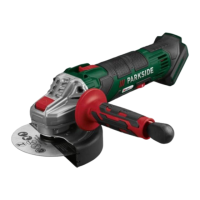
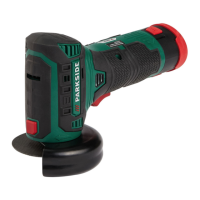
2. Turn the protective hood (1) into
the working position. The closed
side of the protective hood must
always face the operator.
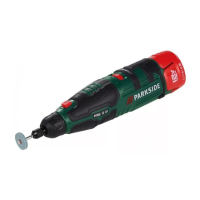
Installing/changing the
cutting/grinding disc
Before initial operation,
check the tightness of the
clamping screw (3).
1. Press the spindle retaining tab (4) and
keep it pressed.
2. Loosen the clamping screw (3) with the
Allen key (11). You can now release the
spindle retaining tab (4).
3. Position the desired cutting/grinding
disc (2) on the mounting ange ( 13).
The label on the cutting/grinding disc
should always face the tool.
4. Reposition the clamping ange (14).
The side of the clamping ange ( 14).
The side of the clamping ange ( 14)
with recess generally points to the attach-
ment tool and thus to the cutting/grinding
disc (2).
5. Press the spindle retaining tab (4) and
tighten the clamping screw (3) using the
Allen key (11). You can now release the
spindle retaining tab (4).
 Loading...