EasyManuals Logo

Philips DreamStation 2 User Manual

Philips DreamStation 2
68 pages
To Next Page IconTo Next Page
To Previous Page IconTo Previous Page
Page #25 background imageLoading...
Page #25 background image
- 21 -
2. To remove an existing lter, pull the white tab on the end of the lter and pull the lter
out of the device
3. If applicable, place a dry, grey reusable pollen lter on top of a new, optional blue
disposable ultra-ne lter, align the arrows on both lters, and rmly snap them
together.
4. Place the lter into the therapy device.
5. Reinstall the humidier water tank.

Table of Contents

Other manuals for Philips DreamStation 2

Questions and Answers:

Question and Answer IconNeed help?

Do you have a question about the Philips DreamStation 2 and is the answer not in the manual?
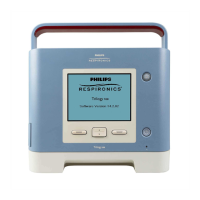
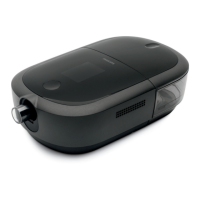
Philips DreamStation 2 Specifications

General IconGeneral
Pressure Range4-20 cm H2O
HumidificationIntegrated heated humidifier
Heated TubeOptional
DisplayColor Touchscreen
Altitude CompensationAutomatic
Device TypeCPAP
Ramp Time0 to 45 min (5-minute increments)
Flex Pressure ReliefA-Flex
Power Supply100-240V, 50/60Hz
ConnectivityBluetooth
Data StorageSD card, Cloud
Weight2.5 lbs (without humidifier)
Sound LevelLess than 27 dBA

Related product manuals