EasyManuals Logo

Philips DreamStation 2 User Manual

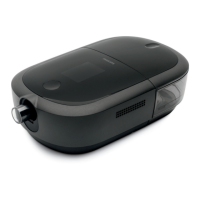
Philips DreamStation 2
68 pages
To Next Page IconTo Next Page
To Previous Page IconTo Previous Page
Page #27 background imageLoading...
Page #27 background image
- 23 -
1. To connect heated tubing (shown), line up
the pin connectors on the heated tube with
the bottom of the air outlet port on the
device. The clips at the end of the tubing
should be aligned to the sides of the port
and will click into place.
If you are using standard tubing (not
shown), simply slide the tubing over the air
outlet port on the device.
2. If you are using the optional 12 mm heated
tubing or 12 mm performance tubing,
connect the provided mask adapter to the
mask connection end of the tubing. The
12mm performance tubing also requires
a device adapter. When connecting the
adapter to the CPAP, the clips should be
aligned to the sides with the slight bump
facing straight down.
3. Connect the tubing to the mask. For proper placement and positioning, refer to the
instructions that came with your mask.
4. Attach the headgear to the mask if necessary. Refer to the instructions that came
with your headgear.

Table of Contents

Other manuals for Philips DreamStation 2

Questions and Answers:

Question and Answer IconNeed help?

Do you have a question about the Philips DreamStation 2 and is the answer not in the manual?

Philips DreamStation 2 Specifications

General IconGeneral
Pressure Range4-20 cm H2O
HumidificationIntegrated heated humidifier
Heated TubeOptional
DisplayColor Touchscreen
Altitude CompensationAutomatic
Device TypeCPAP
Ramp Time0 to 45 min (5-minute increments)
Flex Pressure ReliefA-Flex
Power Supply100-240V, 50/60Hz
ConnectivityBluetooth
Data StorageSD card, Cloud
Weight2.5 lbs (without humidifier)
Sound LevelLess than 27 dBA

Related product manuals