8 9
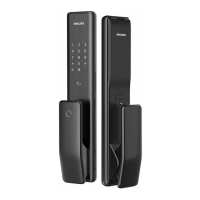
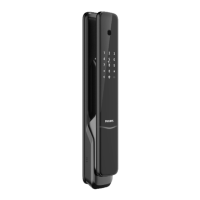
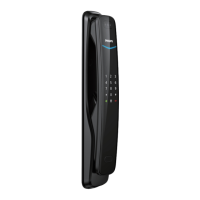
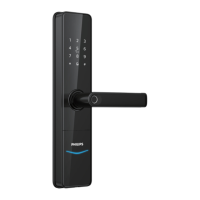
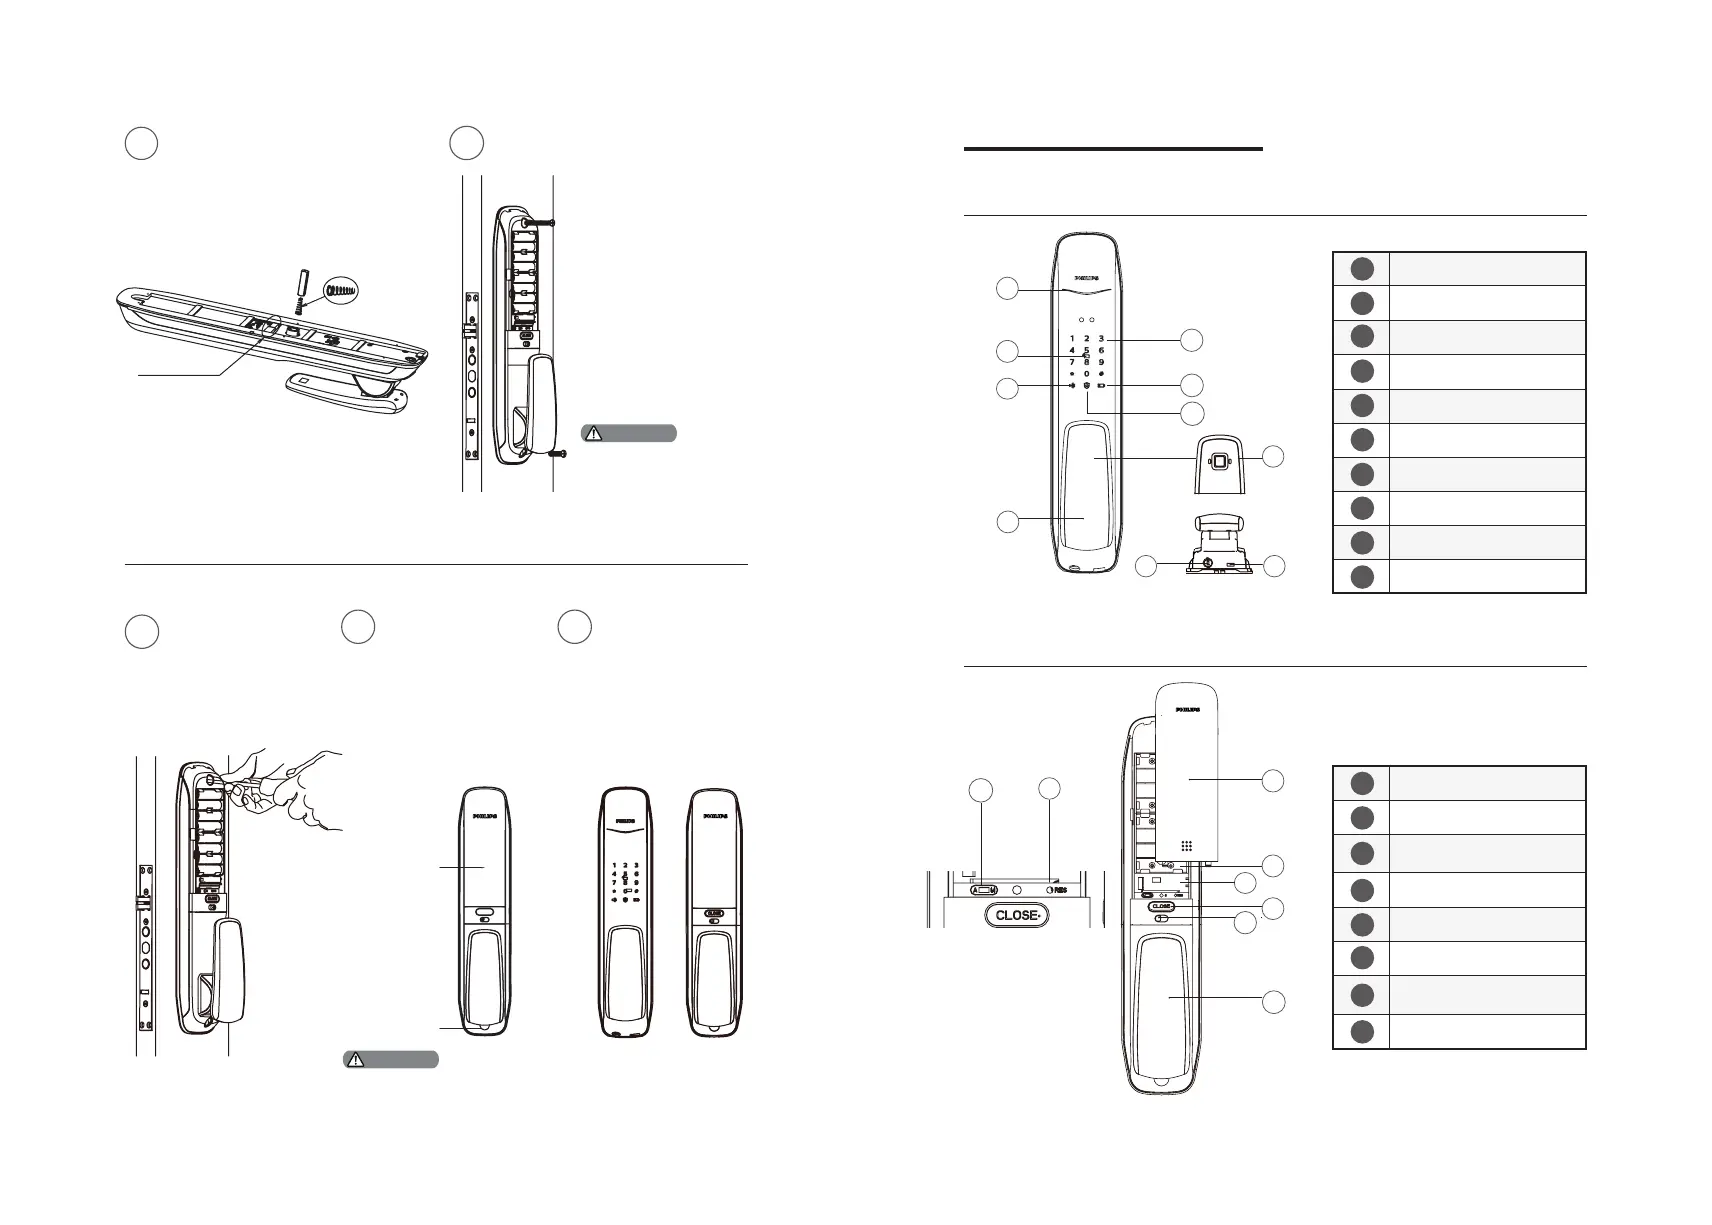
Door status indicator
Card reader
Mute button
Push-pull handle
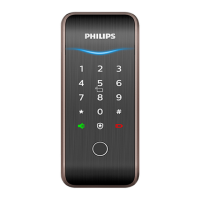
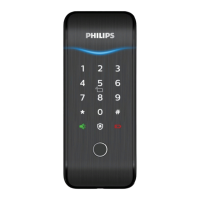
Keypad
Low battery indicator
Outside forced lock button
Fingerprint sensor
Mechanical key hole
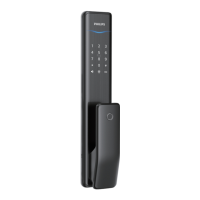
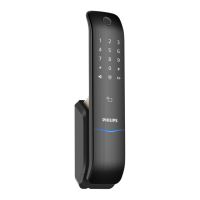
Emergency power interface
Battery cover
Battery cabinet
Extended module
interface
Close button
Safe handle switch
Push-pull handle
Auto/Manual
mode switch
Reset button
3 Get to know your EasyKey
Outside escutcheon
Inside escutcheon
1
2
3
3
4
5
8
9
10
6
7
1
1
2
2
3
3
4
4
5
5
6
6
7
7
8
8
9
10
5
6
8
7
1
2
4
Tighten the 2 M6
chamfer head
screws.
Put in the
batteries, close the
battery cover and
put in the rubber
plug. Then x the
striker to nish the
installation.
Please check if
all components
are connected
properly, such as
the inside and
outside push-pull
handle, the safe
handle switch and
the mechanical key.
After xing the striker, please test if the door can be
opened and closed smoothly.
8
9
10
Insert the connecting wire of the
outside escutcheon
and the motor
wire into the
corresponding holes
on the inside
escutcheon, then
align the square
shaft on the inside
escutcheon with the
rotary hole on the
mortise and insert
it to make sure the
inside escutcheon
is kept close to the
inside of the door.
Insert the compressed spring
and square shaft into the inside
escutcheon successively.
Socket for the
connecting wire
6
7
Please hide the extra
connecting wires into
the hole of the door.
Attention
Attention
Press the thicker
end of the
compressed
spring towards
the handle
Rubber
plug
Battery
cover
 Loading...