21EN
IR ou t
Mic i n
Mic in
Insert Mic
Audio settings
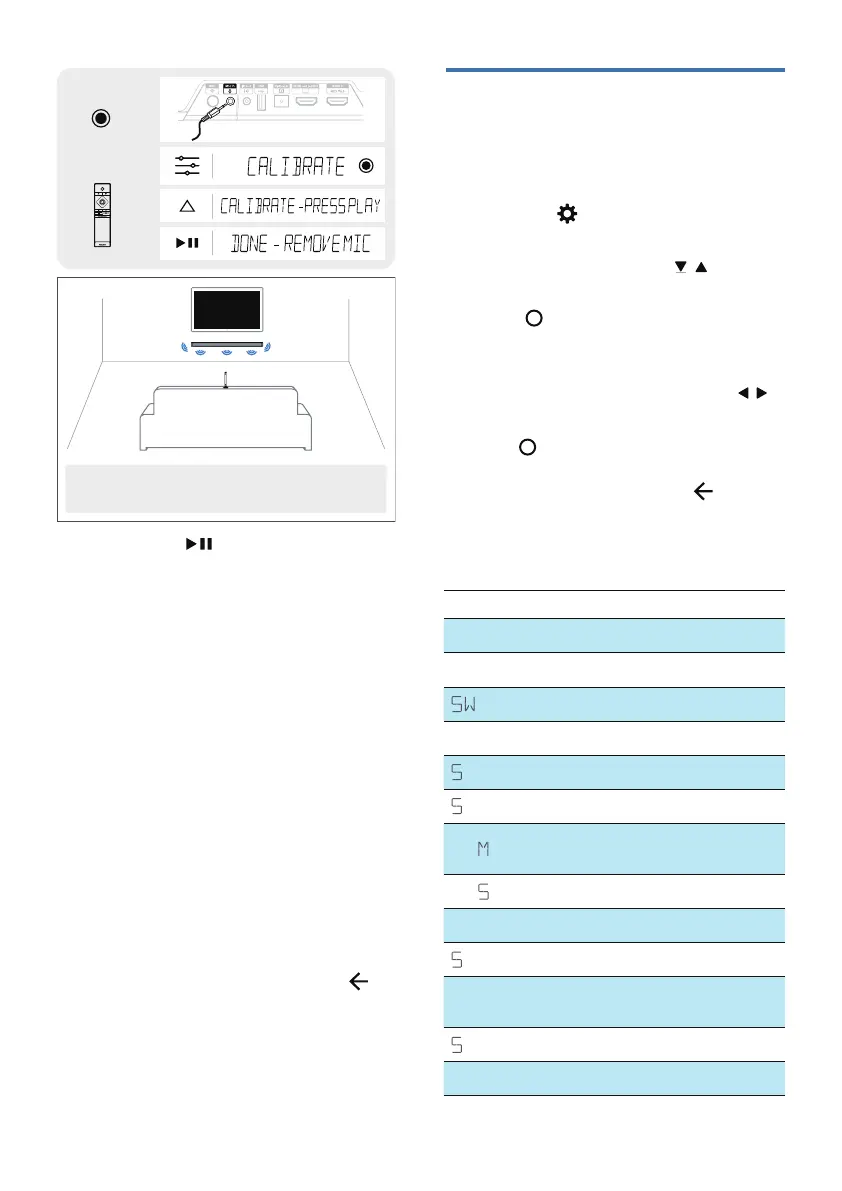
Set calibration
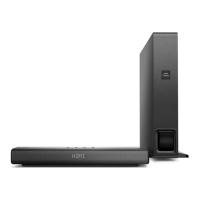
Point the microphone up and place it where the viewer's head is when seated
facing the screen. (Don't place it too low, or too close to the speakers, and it
shouldn't be placed upside down on the headrest of a sofa (the fabric absorbs
some sound waves and can distort the measurements).
3 Upon press to start calibration,
test tones will be played according to
ÞÿŻâľâĚŊØġĚžöŏľ½ŊÿġĚł֣
» Once calibration is done, display
“DONE – REMOVE MIC”.
4 When a full auto calibration
setup process has completed,
the calibrated parameters can be
enabled/disabled via menu.
• ON: üâē½łŊؽēÿ׾½ŊâÞ
parameters shall be applied
• OFF: All calibrated parameters
łü½ēē×âÞÿł½×ēâÞ֣üâē½łŊ
parameters shall be remembered.
Exit Auto Calibration Setup
Auto calibration setup can be cancelled
ŧÿ½ԜŨ½Ůł֥
• ĚĻēŏö]Eõľġę]EE^֣
• While MIC is still inserted, Press
(Exit) on the remote control. Stop
playing back test tones for each
channel.
Setup Menu
üâŏĚÿŊ½ēēġŨłŮġŏŊġØġĚžöŏľâ
advanced settings to provide you with an
even better experience.
1 Press the ַ])^ָ×ŏŊŊġĚġĚŊüâ
remote control to open the menu.
2 Select the content with / (Down /
Up) on the remote controller.
3 Press ַ)ĚŊâľָŊġØġĚžľęŮġŏľ
selection.
4 Change the initial values for each
of the settings with the cursors
/
(Left / Right).
5 Press (Enter) to confirm your selection.
• ġľâŊŏľĚŊġŊüâĻľâŧÿġŏłłØľââĚֳ
exit the settings, press
(Exit).
• If no button is pressed within
10 seconds, the system will
automatically exit the menu.
Display Description
FL XX
Front Left Speaker
FR XX
Front Right Speaker
XX
Subwoofer
CT XX
Center Speaker
L XX
Side Left Speaker
R XX
Side Right Speaker
DI
Set display and light ring
brightness
DI P XX
ŏŊġŊŏľĚġŻÞÿłĻē½Ů
LIGHT
]dWÿöüŊľÿĚöØġĚŊľġē
TNBY XX
ŏŊġֿłŊ½ĚÞ×Ůd^ֳd;;
BT PAIR
Start Bluetooth pairing
ַdĚēŮÿĚęġÞâָ
UB PAIR
Start Subwoofer pairing
UPGRADE
ĻÞ½ŊâžľęŨ½ľâŧÿ½
 Loading...