2) place the guide rubbers (8) and refit the fixed
plate (4);
3) assemble the reaction plate (3) tightening the
screws (2), insert the brake pad check spring (9)
and then the pads, fixing them with the corre-
sponding screws (1);
5) place the calliper on the disc and lock it to the
strut by tightening the fixing screws;
6) fix the pipe joint on the calliper at the prescribed
torque.
Functioning
This is a floating type calliper.
It takes advantage of the action and reaction prin-
ciple to obtain the thrust for both pads.
The body and the reaction plate body work inte-
grally and can move axially with respect of the
fixed plate that is integral to the strut.
The pistons, forced by pressure to push the pad to
the disk, cause the reaction plate to push in turn
the other pad towards the disc.
The brake pad lock spring
1. Pad fixing screws
2. Reaction plate fixing screws
3. Reaction plate
4. Fixed plate
5. Floating body
6. Piston
7. Piston sealing rings
8. Guide protection rubbers
9. Brake pad check spring
10. Pads
CAUTION
ALL THE SEALS AND GASKETS MUST BE REPLACED EV-
ERY TIME THE CALLIPER IS SERVICED.
Locking torques (N*m)
Calliper tightening screw 24 ÷ 27 Brake fluid
pipe-calliper fitting 19 ÷ 24
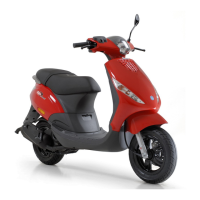
Braking system MSS ZIP 100 4T
BRAK SYS - 138
 Loading...