 Loading...
Do you have a question about the Pioneer SC-LX801 and is the answer not in the manual?
| Display | - |
|---|---|
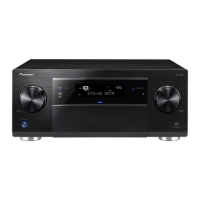
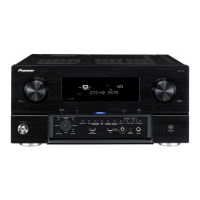
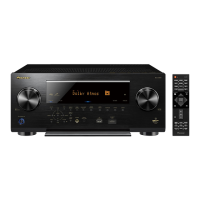
| Product color | Black |
| Audio decoders | DTS-HD Master Audio, Dolby Digital Plus, Dolby Surround, Dolby TrueHD |
| Audio amplifier | Yes |
| Surround modes quantity | 12 |
| Apple docking compatibility | Not supported |
| Receiver type | Surround |
| Audio output channels | 9.2 channels |
| Dynamic power per channel (4 Ohm) | 255 W |
| Power output per channel (1KHz@6 Ohm) | 200 W |
| Power output per channel (1KHz@8 Ohm) | 140 W |
| Power output per channel (20-20KHz@8 Ohm) | - W |
| Supported video modes | 1080p, 2160p |
| Supported radio bands | AM, FM |
| Preset stations quantity | 40 |
| Internet radio services supported | Pandora, Spotify, TuneIn |
| Audio formats supported | AAC, AIFF, DSD, FLAC, MP3, WAV, WMA |
| Headphone outputs | 1 |
| Headphone connectivity | 3.5 mm |
| Number of HDMI outputs | 2 |
| Multichannel audio output type | Terminals |
| HDMI in | 8 |
| Digital audio optical in | 3 |
| Bluetooth version | 4.1 |
| Bluetooth profiles | A2DP, AVRCP |
| Connectivity technology | Wired & Wireless |
| Speakers connectivity type | Binding post |
| Card reader integrated | No |
| Cables included | AC |
| Depth | 441 mm |
|---|---|
| Width | 435 mm |
| Height | 185 mm |
| Weight | 18100 g |
Guide to optimal speaker placement for various surround sound configurations.
Instructions for physically connecting speakers to the AV receiver's terminals.
Details on connecting the AV receiver to a TV, including ARC functionality.
Guide on connecting external audio/video sources like Blu-ray players via HDMI.
How to set up audio/video output to a second room (Zone 2/3).
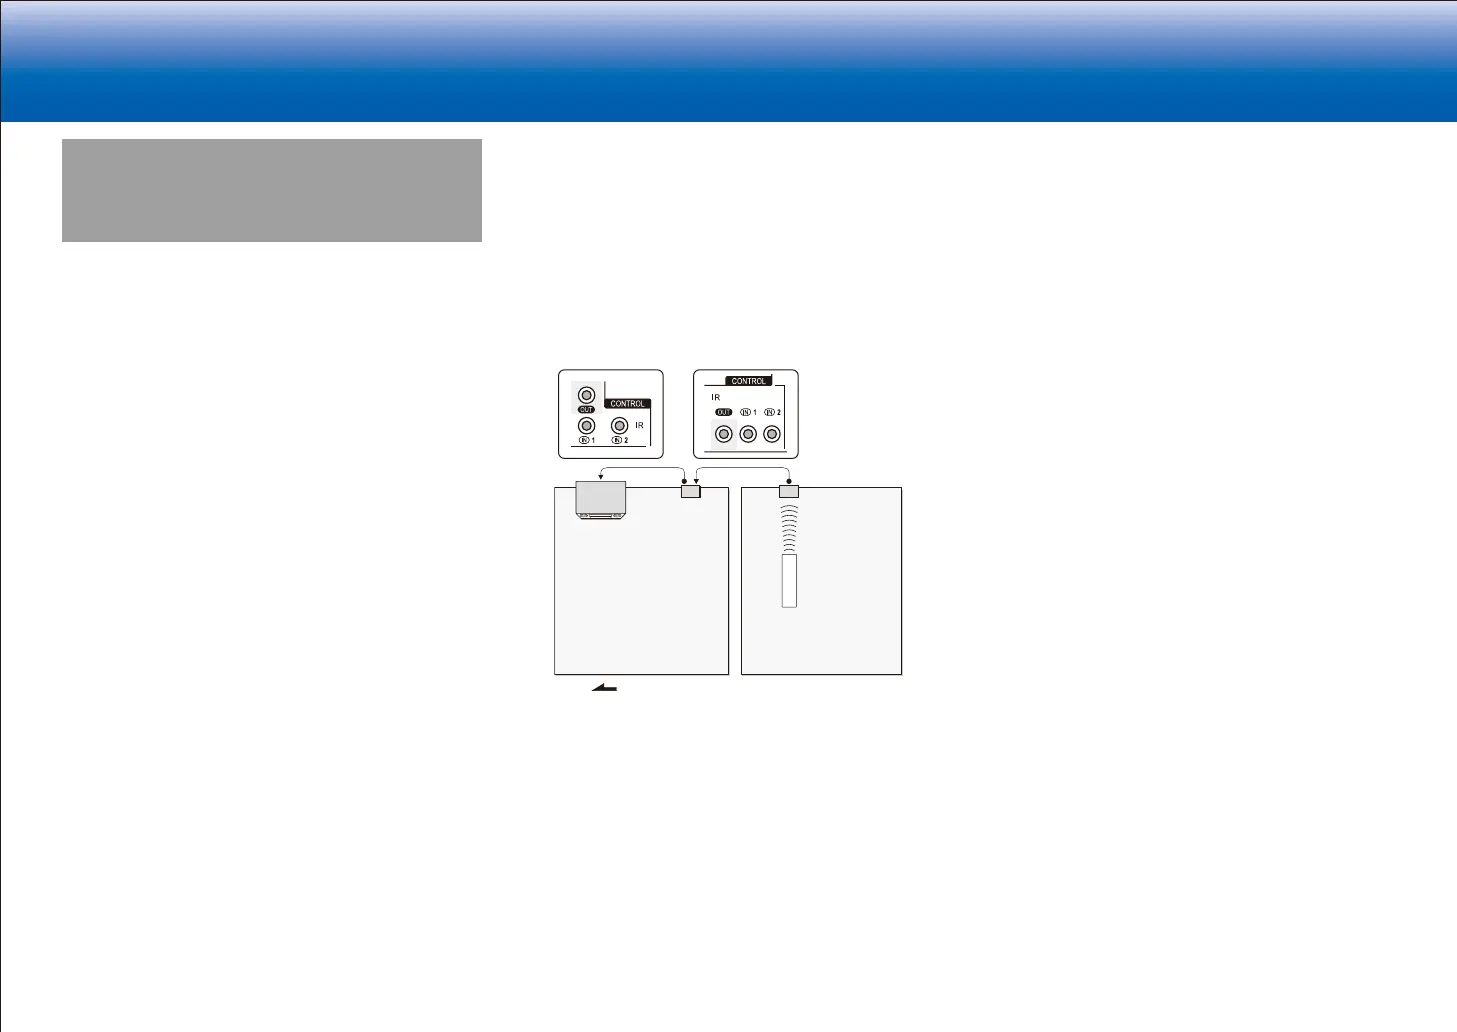
Instructions for connecting antennas, Ethernet, and power cords for network and radio.
Steps for initial power-on and guided setup using the on-screen display.
Configuring HDMI CEC, Standby Through, and other HDMI-related features for device control.
Instructions for playing audio and video from connected AV components and adjusting volume.
Using Internet Radio, Music Server, and USB devices for audio playback.
Details on listening to the radio and controlling multi-zone playback.
Identification of buttons, jacks, and indicators on the front of the AV receiver.
Identification of rear panel connections including input/output jacks and terminals.
Explanation of the functions of each button on the remote controller.
Explanation of the indicators and information shown on the unit's display.