Page 21
ENG
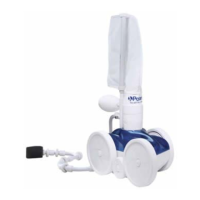
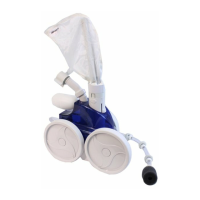
P91 SERIES
4.0 Test for 9100 / P91
Cleaner
4.1 Perform Cleaner Test
NOTE: You can only test the cleaner function
on the 9100 and P91 with the Diagnostic
Box. You cannot test the Control Box
functionality.
1. Set the cleaner head on a block of wood or
another solid object that allows the cleaner
wheels to rotate freely.
2. Plug the Diagnostic Box into a GFCI
protected outlet.
3. Connect the colored end of the RED test
cable into the Diagnostic Box.
NOTE: The RED cable does not come standard
with the Diagnostic Box but is available for
separate order (part number: R0704900).
4. Connect the other end of the RED test cable
to the Floating Cable from the cleaner.
5. On the Diagnostic Box, press [CLEANER]
button then Start/Stop button to begin the
test.
6. Drive motors should start within a few
seconds. Cleaner wheels will rotate for
several seconds and stop automatically when
the test is completed.
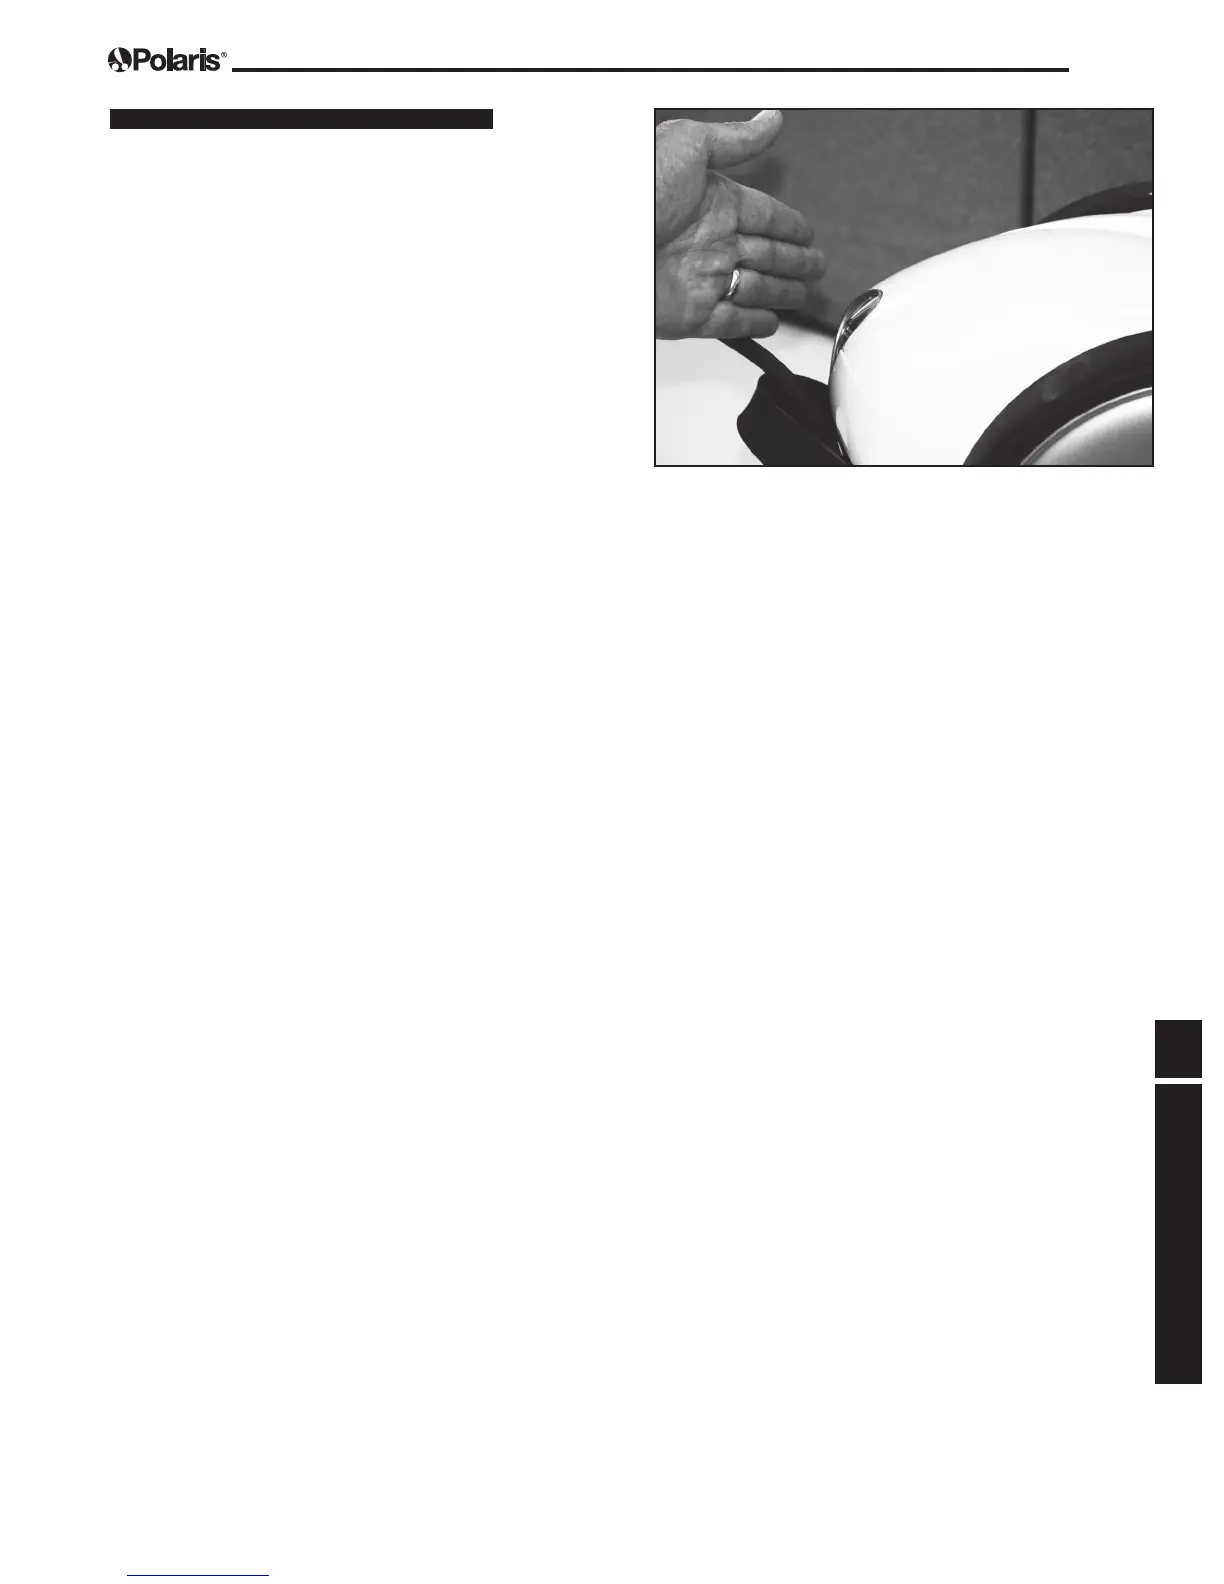
7. While wheels are moving, check for air
owing from the exhaust on the back of the
cleaner.
8. If the cycle completes and the Diagnostic Box
displays the message: End, the cleaner is
fully functional.
9. If the wheels do not rotate or there is an error
message on the Diagnostic Box display, see
Section 4.3 Cleaner Test for explanation and
action.
4.2 Perform Test for Defective
Motor Block or Floating Cable
NOTE: To test the motor block for 91 SERIES
cleaners, you will also need a spare
Floating Cable.
1. Determine if there is water damage to the
O-ring or the cable receptacle. Remove four
(4) screws from the handle on the cleaner.
Remove the handle piece.
 Loading...