10
2. Remove the four screws and washers (two on
each side) which connect the Drive to the Disk
Mounting Bracket. Remove the RFI shield which
covers the top drive.
3. Disconnect
the power supply connector from the bot-
tom of the top board in the Disk Drive and also
remove the ground wire from the rear of the
Drive.
4. To remove the Disk Drive in the bottom position,
you must first remove the Power Supply attached
to the LH Disk Mounting bracket to gain access
to the Disk Drive mounting screws.
5. After removing the Power Supply, remove the
FDC inter-connect cable from the rear of the
Drive.
6. Remove the four screws and washers (two on
each side) which connect the Drive to the Disk
Mounting Bracket.
7. Disconnect the power supply connector from the
bottom of the top board in the Disk Drive and also
remove the ground wire from the rear of the
Drive.
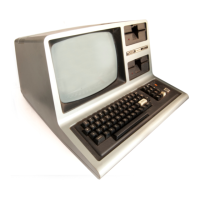
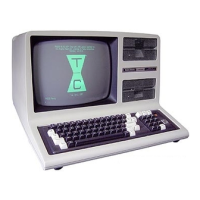
2.1.7 Video Monitor (CRT) and Video Board
1. Disconnect
the four color coded wires with spade
lugs
from the CRT yoke. (Be sure to note their
positions.)
2. Disconnect the connector on the rear of the CRT
neck.
WARNING
There may be a high voltage charge on the high
voltage anode. To discharge, connect one end of a
wire to a known good ground and connect the other
end of the wire to the blade of a common
screwdriver. Insert the screwdriver blade under the
suction cup and touch it to the clip holding the wire to
the CRT.
Insert a common screwdriver under the suction cup
on the high-voltage anode wire on the side of the
CRT. Use the screwdriver to compress the clip
holding the wire to the tube and pull the wire free.
3. Remove the ground wire fastened directly to the
Video Board.
4. Remove the upper right and lower left nuts and
washers which hold the CRT
in
place.
CAUTION
5. If dropped, the CRT may implode. To avoid this
kind of accident, support the CRT while
performing the next step.
6. Remove the remaining lower right and upper left
nuts, and washers and carefully remove the CRT.
7. Disconnect the CPU cable connector from the
Video Board.
8. Remove the two screws fastening the Video
Board to the Case Top and carefully lift out
Board.
 Loading...