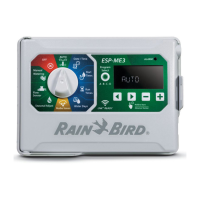
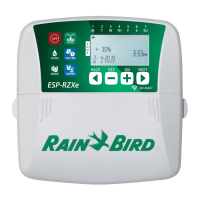
Programming the Controller, continued
14
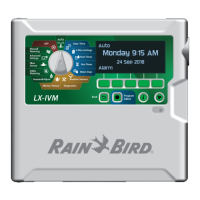
Setting the Time and Date
The first step in programming the controller is
setting the controller’s internal clock and calendar.
To do so,
1. Rotate the dial to TIME/CALENDAR.
The hour digits in the display flash, indicating
that they are ready to be set.
2. Use the arrow keys to set the hour.
If you have a 60 Hz model, as you pass 12:00 the
am/pm designation changes.
Note: The 60 Hz model displays time in the
12-hour am/pm mode. The 50 Hz model displays
time in the 24-hour mode.
3. Press MAN START/ADV.
The minute digits flash, indicating that they are
ready to be set.
4. Use the arrow keys to set the minutes to the
current time.
5. Press MAN START/ADV.
A new display appears with the day, month and
year. The month flashes, indicating that it is ready
to be set.
6. Use the arrow keys and the MAN START/ADV
key to set the month, day and year the same way
you set the hour and minutes.
7. Press MAN START/ADV twice to return to the
time of day display.
The hour continues to flash as long as the dial is
left at TIME/CALENDAR .
8. Return the dial to AUTO.
The display shows the day of the week and time
of day.
 Loading...