Connecting Using Mac
M 320FB/320F
• In Steps 5 to 11, configure each setting within two minutes.
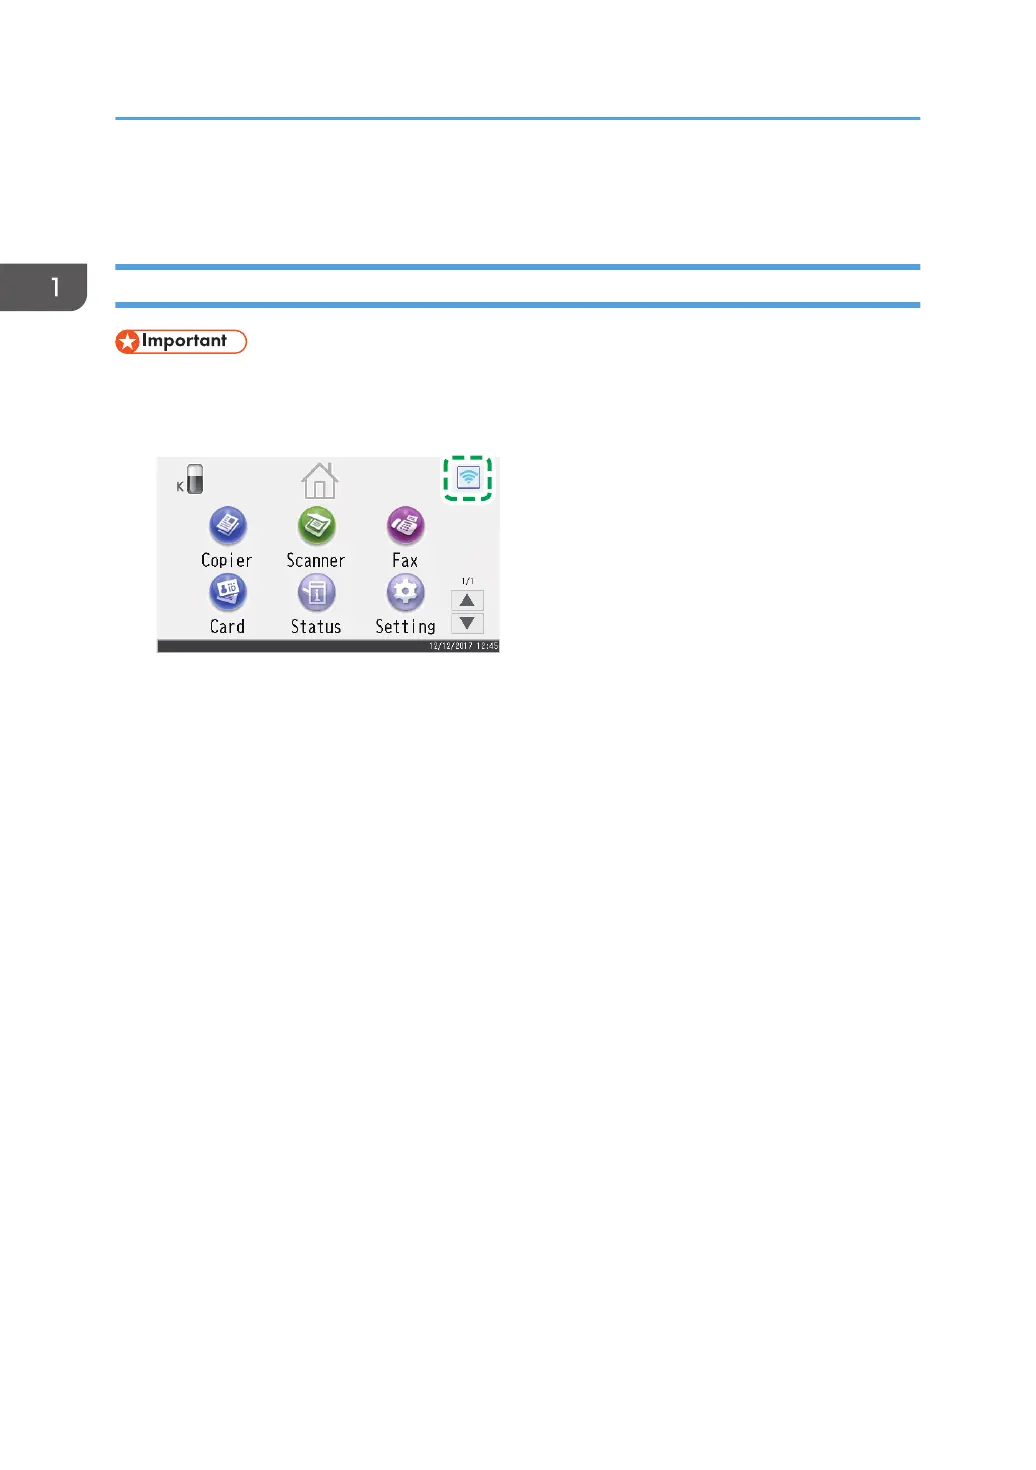
1. Press the wireless LAN icon.
2. Enter the password using the number keys, and then press [OK].
3. Press [Wireless (Wi-Fi) Sett.].
4. Press [Wi-Fi Direct].
5. Press [OK].
6. Start System Preferences in your computer.
7. Click [Network].
8. Click [Wi-Fi].
9. Select the SSID (DIRECT-XXXXXX) of the machine from the [Network Name:] pop-up
menu.
The window for entering an encryption key is displayed.
10. Enter the encryption key of Wi-Fi Direct.
The default encryption key is "admin123".
For details about changing the encryption key, see page 21 "How to Change the Encryption Key
of Wi-Fi Direct".
11. Confirm the status of the selected SSID changes to "Connected".
Configuring the Wi-Fi settings is complete.
1. Easy Setup Using Wi-Fi Direct
8
 Loading...