20 Value Series Manual
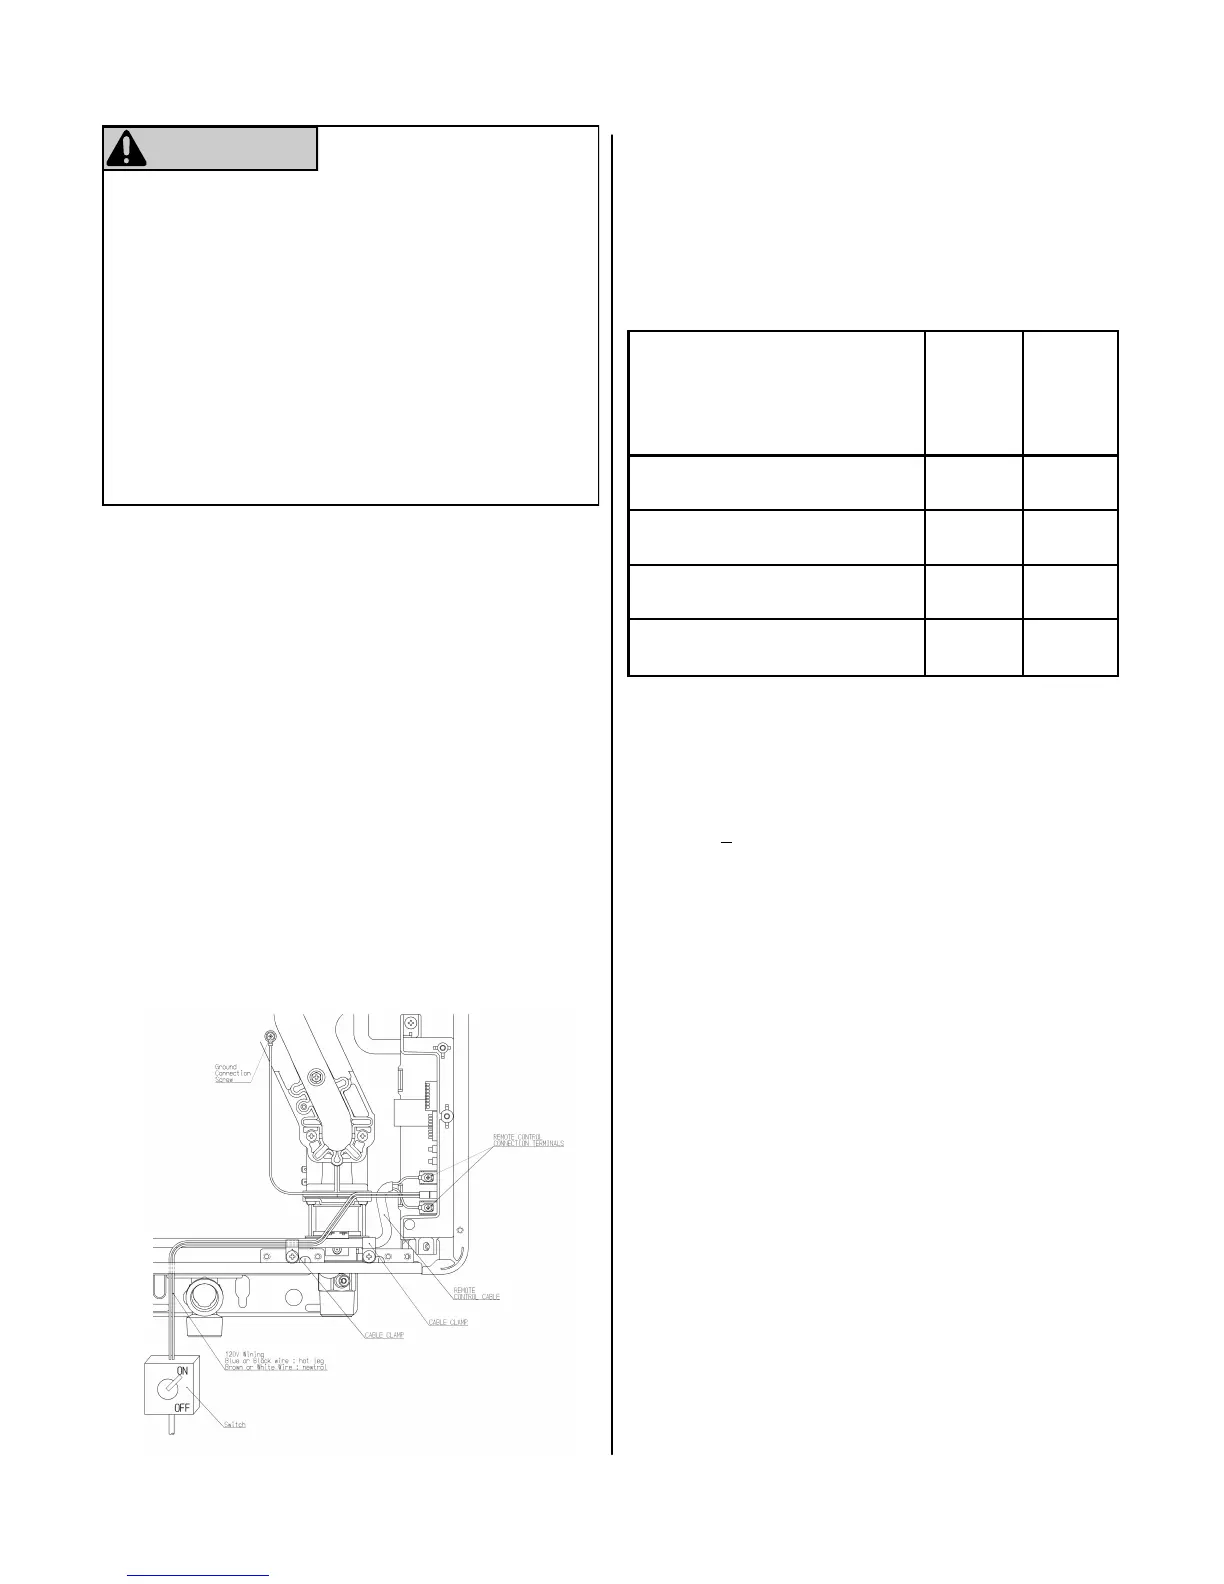
Connect Electricity
Do not rely on the gas or water piping to ground the
water heater. A screw is provided in the juncon box
for the grounding connecon.
The water heater requires 120 VAC, 60 Hz power from
a properly grounded circuit.
If using the 5 foot long power cord, plug it into a
standard 3 prong 120 VAC, 60 Hz properly grounded
wall outlet.
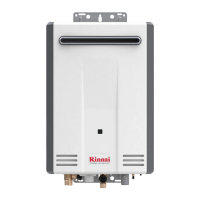
On outdoor models, a disconnect switch must be
provided and installed for the incoming 120 VAC
power. It should be a type that is suitable for outdoor
use. Check the Naonal Electrical Code, ANSI/NFPA
70 and your local codes for a proper switch type to
use in your area.
The wiring diagram is located on the Technical Sheet
aached to the inside of the front cover.
WARNING
Do not use an extension cord or an adapter plug with
this appliance.
The water heater must be electrically grounded in
accordance with local codes and ordinances or, in the
absence of local codes, in accordance with the
Naonal Electrical Code, ANSI/NFPA No. 70.
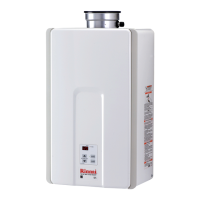
Indoor water heaters are equipped with a three-
prong (grounding) plug for your protecon against
shock hazard and should be plugged directly into a
properly grounded three-prong receptacle. Do not
cut or remove the grounding terminal from this plug.
Checklist for Gas and Electricity
□ A manual gas control valve is placed in the gas
line to the water heater.
□ Check the gas lines and connecons for leaks.
□ Conrm that the gas inlet pressure is within
limits.
□ Conrm that the water heater is rated for the gas
type supplied.
□ Conrm that the electricity is supplied from 120
VAC, 60 Hz power source and is in a properly
grounded circuit.
□ An extension cord or an adapter plug has not
been used with the water heater.
□ For indoor models verify that switch No. 1 in the
SW1 DIP switch (tan switches) has been adjusted
for vent length if necessary. Refer to the secon
on Maximum Vent Length.
Adjust for High Altude
Using the SW1 DIP switch (tan switches), set switches
2 and 3 to the values shown in table below for your
altude. The default seng for the appliance is 0-
2000 (0-610 m) with switches No. 2 and No. 3 in the
OFF posion. When the DIP switch is adjusted, it is
not necessary to adjust the gas pressure seng for
high altude.
Altude
SW1
Switch No.
2
SW1
Switch No.
3
0-2000 (0-610 m) OFF OFF
2001-5200 (610-1585 m) OFF ON
5201-7700 (1585-2347 m) ON OFF
7701-10200 (2347-3109 m) ON ON
Adjust for Vent Length
(indoor models only)
Adjust switch No. 1 in the SW1 DIP switch (tan
switches) if required. Refer to the secon “Maximum
vent length”.
 Loading...