C.5 Save Streaming Sensor Data into PCAP File
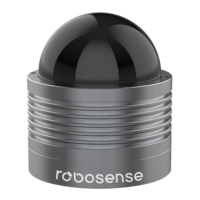
1. Click the “Record” button while real-time display (Fig. C-4).
Figure C - 4: RSView Record Button.
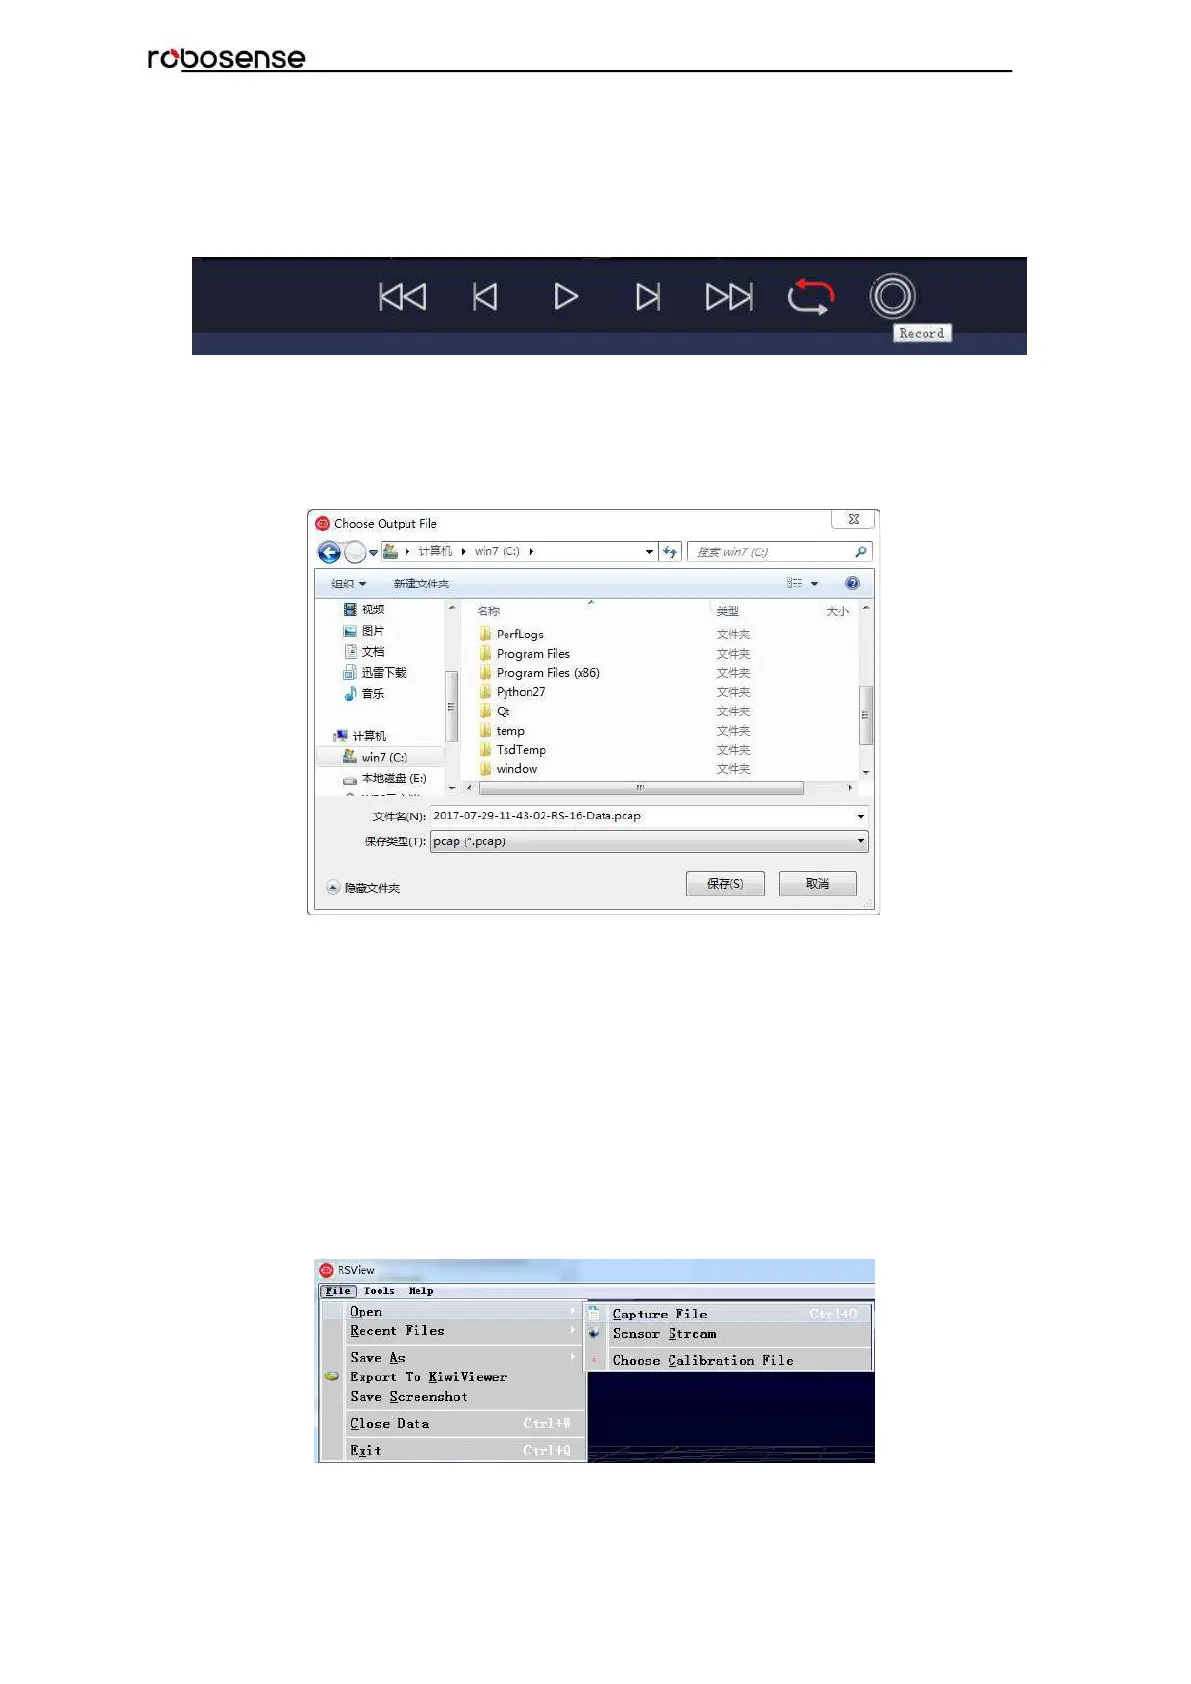
2. In the dialogue box Choose Output File, the save path and file name of pcap file can
be set up. (Fig. C-5). After clicking “save” button, RSView begins writing data into pcap file.
(Note: RS-Bpearl will generate enormous measuring data. So, it is best to use a fast, local
HDD or SSD, not to use a slow subsystem such as USB storage device or network drive.)
Figure C - 5: RSView Record Saving Dialog.
3. Click “Record” Button will finish record and save the all recorded data into this pcap
file.
C.6 Replay Recorded Sensor Data from PCAP Files
In order to replaying (or examining) a pcap file, please import it into RSView. Then press
“Play/Pause” button to let it play or scrub the time slider to a certain time point as user
wishes. When only a part of 3D point cloud is concerned, it can be selected out by
mouse. Then point cloud data of this part can be shown in table. Save path of pcap file
can’t contain Chinese characters.
1. Click File -> Open then select Capture File.
Figure C - 6: RSView Open Capture File.
2. In dialogue box “Open File”, please import a recorded pcap file then click “open (O)”
 Loading...