36
PRESET
PRESET1
PRESET
PRESET1 PRESET1
5-8 The Preset Feature
With the CX-500/400/300, you can set and store eight types of cutting conditions for different tools and materials. You can call up
the settings simply by using the [PRESET] key.
To Store in Memory
2
Press the [MENU] key to enter the menu mode.
3
4
Press the [ ] key to move to the setting screen, then
use the [
] and [ ] keys to select the preset number
for the conditions you want to store in memory.
5
Press the [ENTER] key to enable the setting.
6
Press the [ ] key to exit the menu mode.
1
Use the display menu to make the settings for cutting conditions matched to the tool and material in use. You can set the
following five types of parameters.
Blade force : [FORCE] key
Offset : Menu mode [OFFSET]
Cutting speed : [SPEED] key
Cutting quality : Menu mode [QUALITY]
Up speed : Menu mode [UPSPEED]
Storing is now completed. When you store to a preset number, any cutting conditions already stored to the number are automatically
updated (overwritten) with the newly set parameters. If you want to keep the previous cutting conditions, store them to a different
number. You can store up to eight types of cutting conditions using the steps described above.
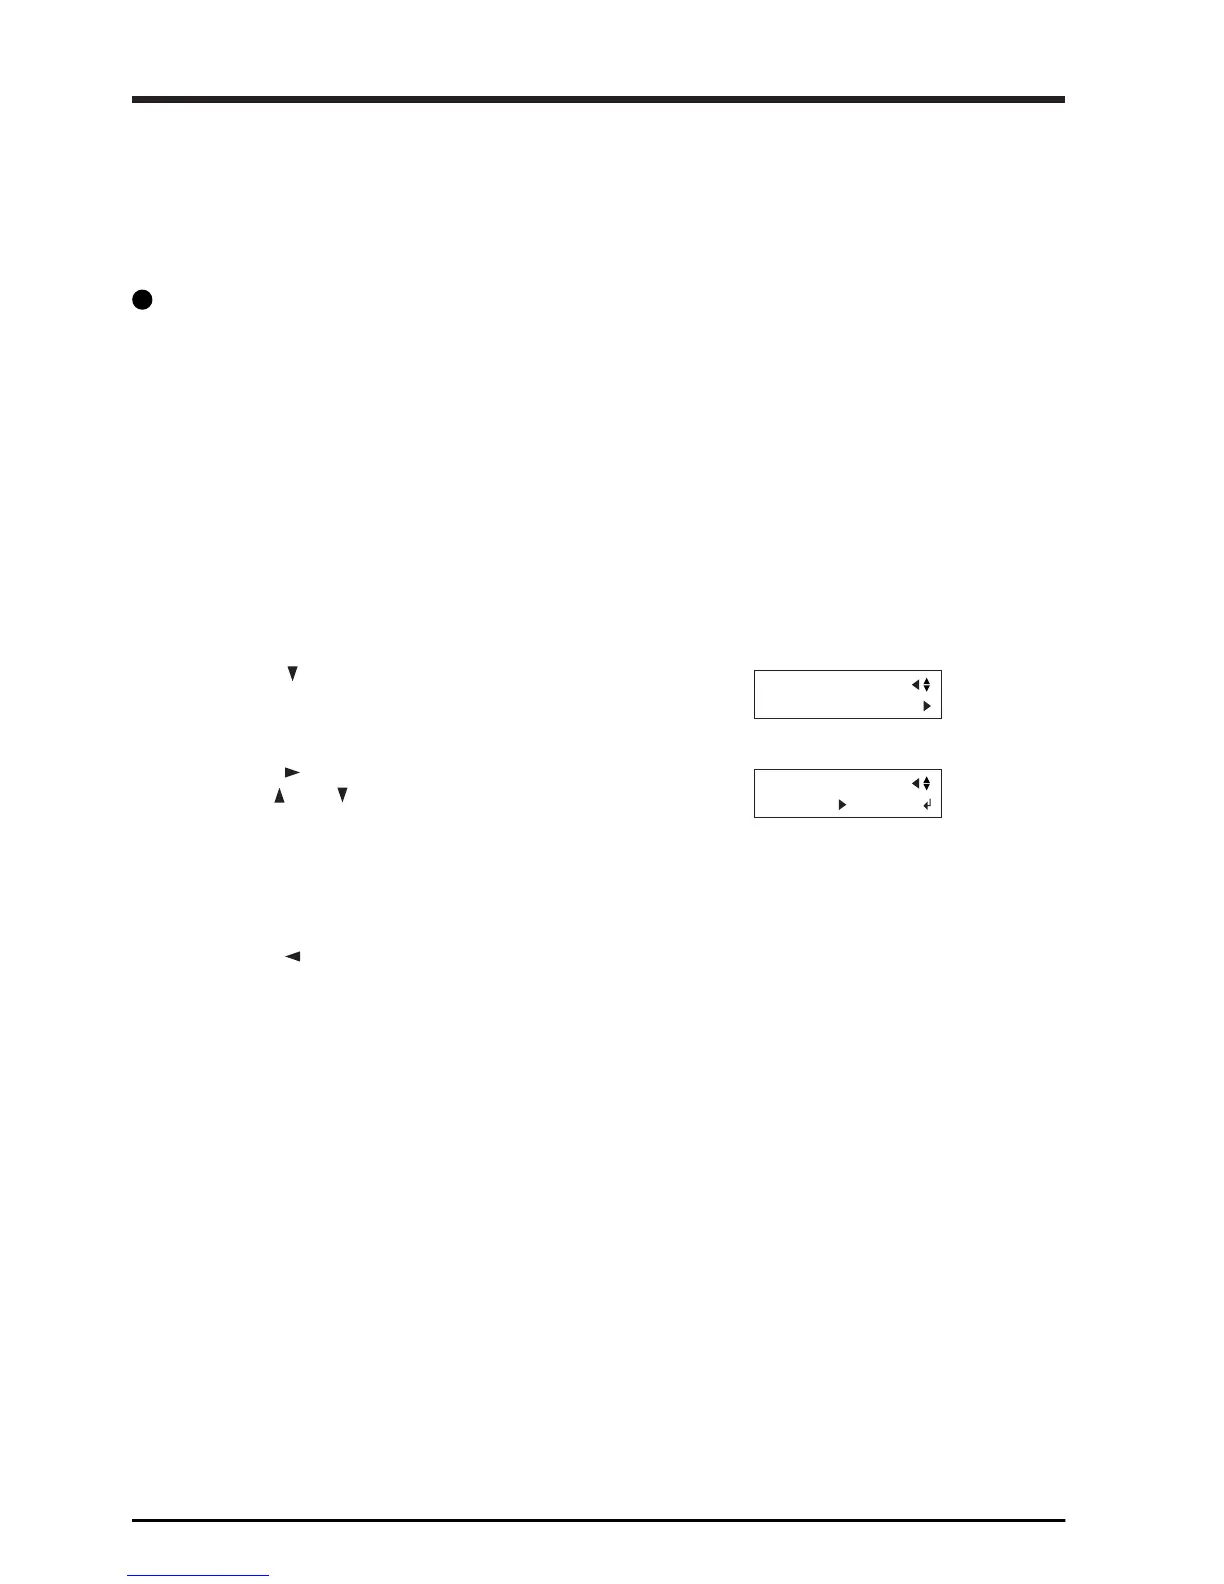
Press the [
] key several times until the screen shown
at right appears.
 Loading...